DIY Desk PC
Why did I decide to build my own desk PC?
I had the necessity to switch to a smaller desk to free up some required space in my office at home.
With a smaller desk my previous build would have to give up it's center piece spot on top of my desk and find a new home...
Trying to find the perfect desk for me was a frustrating task that was leading nowhere.
Desk too small... Where do I put my PC? Too expensive, Ugly as f**k...
That's when I told myself:
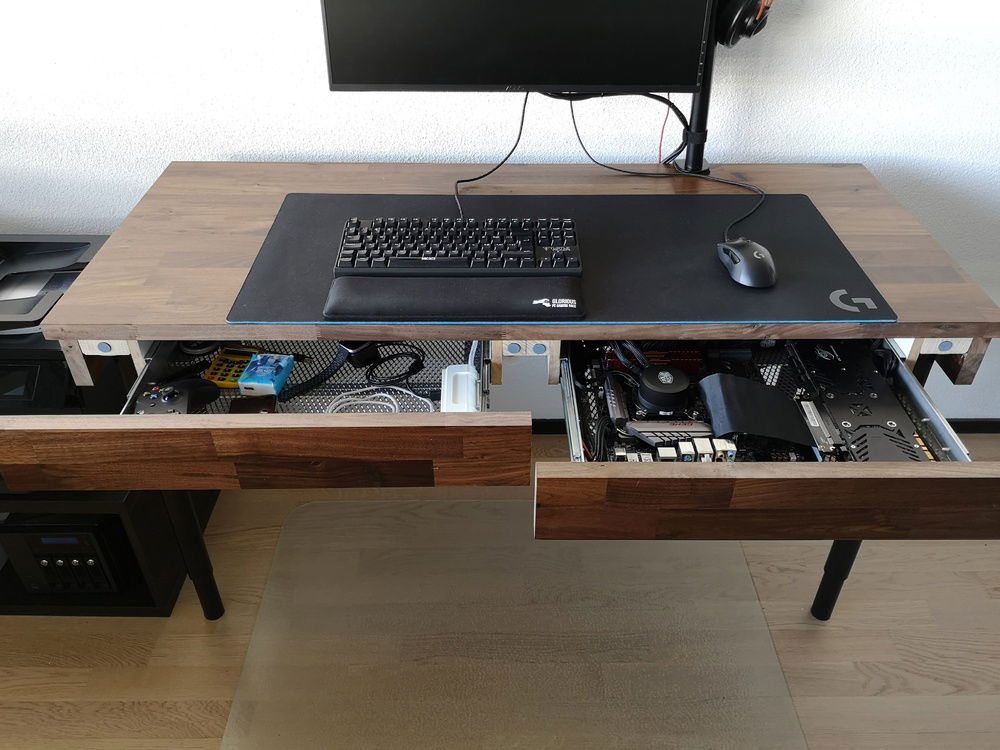
Well f**k it, if I can't buy one then I'll build it myself! And I'll fit my PC build inside a drawer.
What a ridiculous idea for someone that has basically no experience in woodworking.
But oh boy do I love the challenge.
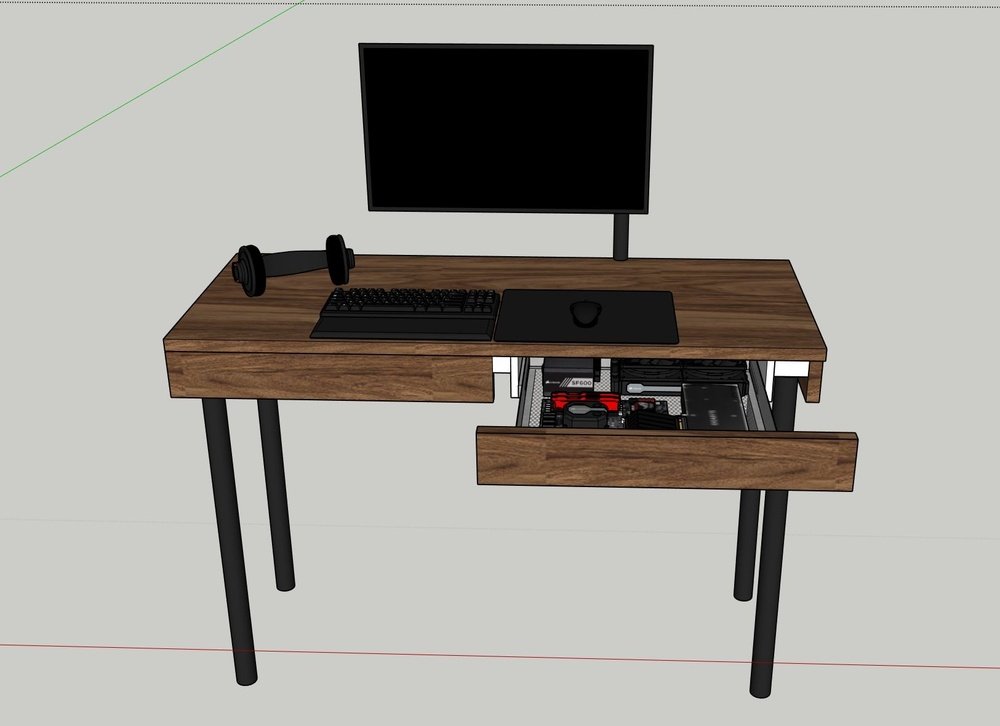
I started right away by planing the desk layout.
First I was drafting on paper and after realizing my artistic skills with a pen are comparable to a Neanderthal I switched to digital.
I started teaching myself to use SketchUp and was soon drafting away for hours.
Hey look at that! You can finally recognize something resembling a desk.
After planing every single detail and seeing the possible finished product there was no going back.
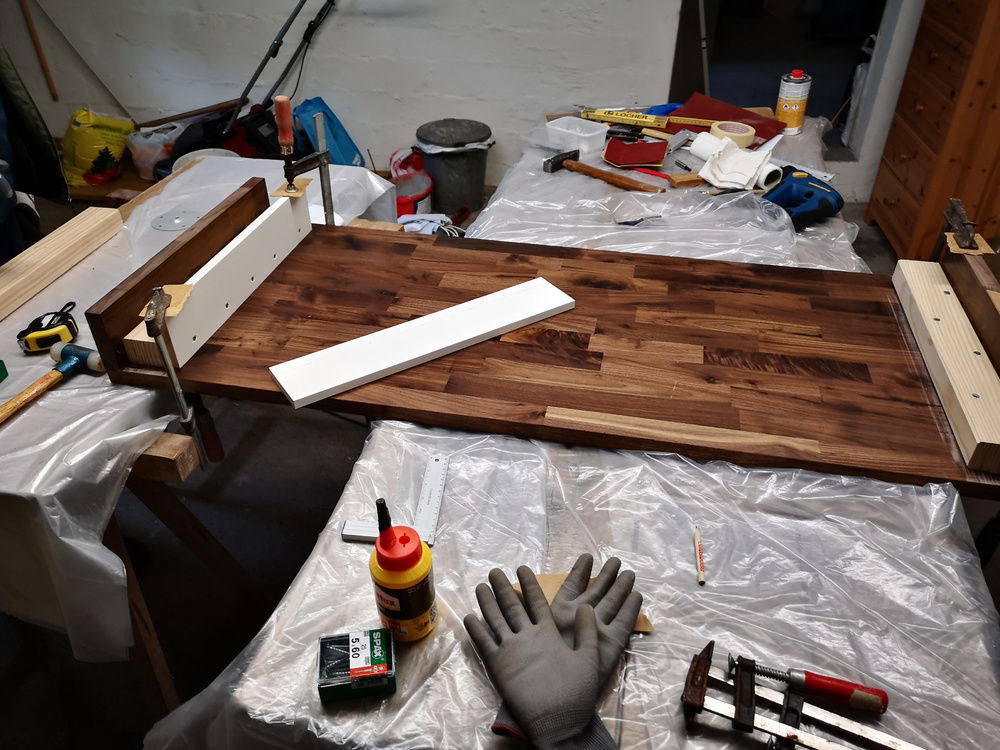
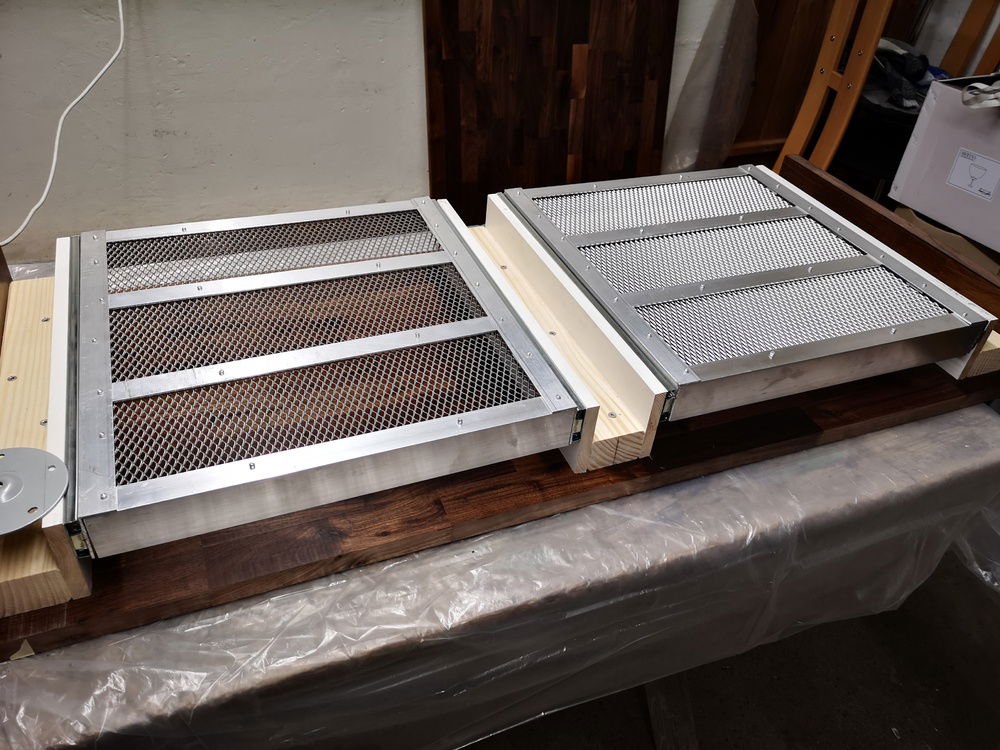
Off to the hardware store and let's build an utterly over engineered PC case out of wood, planks, screws and aluminum!
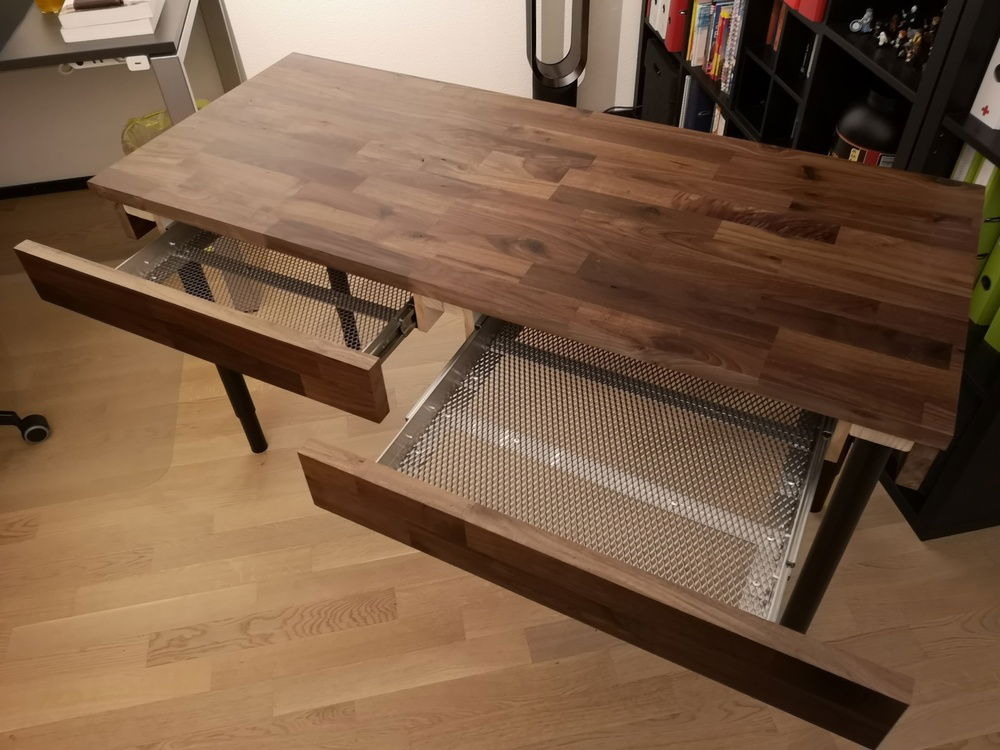
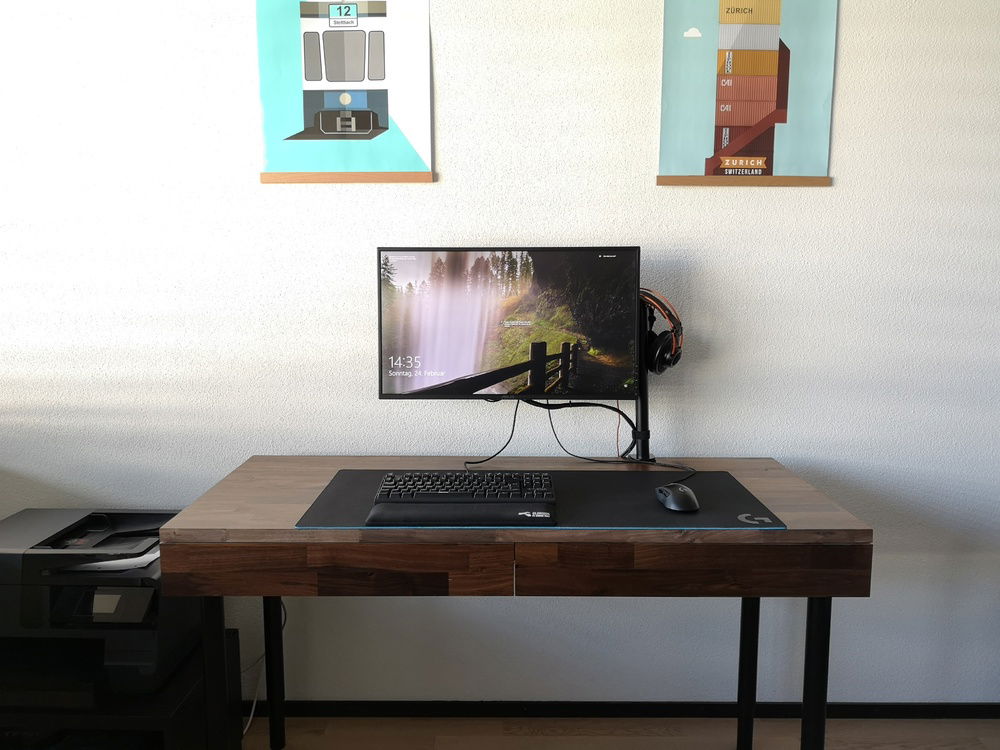
The desk was already standing a week later and I was surprised that the result pretty much matched my drafts.
Well the hard part was done and now the only thing left was fitting my PC build inside the aluminum drawer. Easy right?
Oh boy...
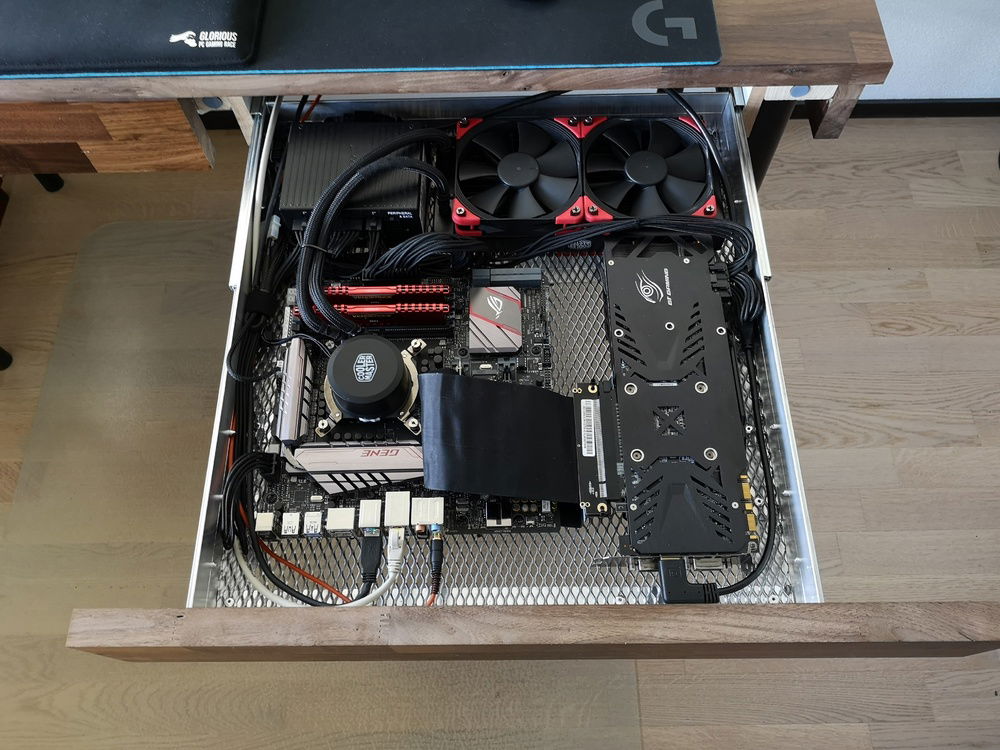
What must fit inside the drawer
- Mainboard (Micro-ATX)
- Power Supply
- GPU
- AIO Water Cooler
- Cables (lots of)
A few weeks before planing this desk I already replaced my SSD with a 1TB NVME SSD - Great no additional space required!
My old PSU (Corsair AX860) was never going to fit in the drawer so off to find a replacement.
Perfect timing - Corsair just release the SF750 platinum PSU. Amazing how much power was stuffed into this tiny PSU.
Next step: Planing the layout of the hardware inside the drawer and trying to figure out how to mount everything.
For the mainboard I attached some wooden strips to the drawer and screwed in the standoffs.
To fit the GPU I had to order a PCI extension cable and mount the GPU next to the mainboard.
The water cooler was the biggest challenge to fit. The tubing on my Corsair H100i was way too stiff to work with.
After forcing the tubes into place and creating a leak I replace the water cooler with the Cooler Master ML240L.
The tubing is much more flexible and bonus points for right angle connectors on the CPU block!
After fitting the entire build inside the drawer the next step was to tidy up everything.
A Power strip attached to the underside, lots of cable ties and a monitor mounting arm for a satisfying clean setup!
Did I manage to build the perfect desk for me? Yes
Would I do this again anytime soon? Hell No
Am I damn f**king proud of the result? F**K YEAH!
Color(s): Black
RGB Lighting? No
Theme: none
Cooling: AIO Cooling
Size: Micro-ATX
Type: General Build
Contests
This build participated in 1 contest.
| Rank | Contest | Date |
|---|---|---|
| #433 | The builds.gg 10K Challenge | ended |
Hardware
CPU
$ 124.71
Motherboard
Memory
$ 36.99
Case Fan
$ 32.95
Cooling
$ 216.00
Keyboard
$ 107.99
Approved by:
