


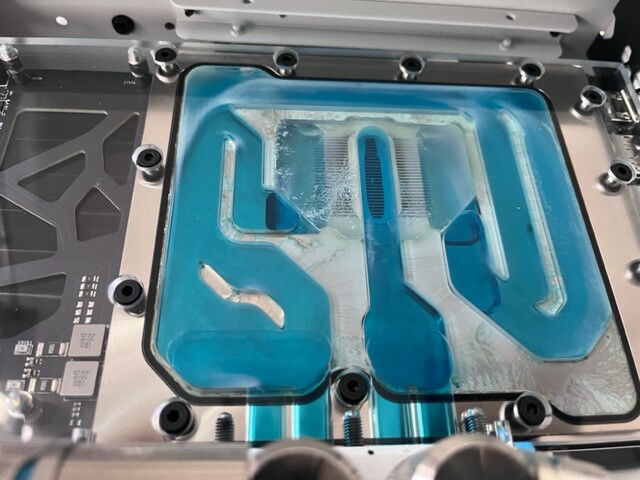
Uggg! Solid component falling out of solution.
Modded Supremacy EVO block by replacing Intel to AM4 jet plate and replaced LGA backplate with AM4 backplate
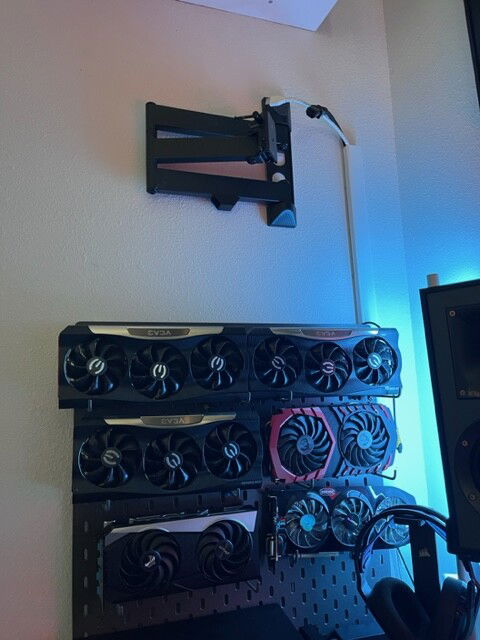
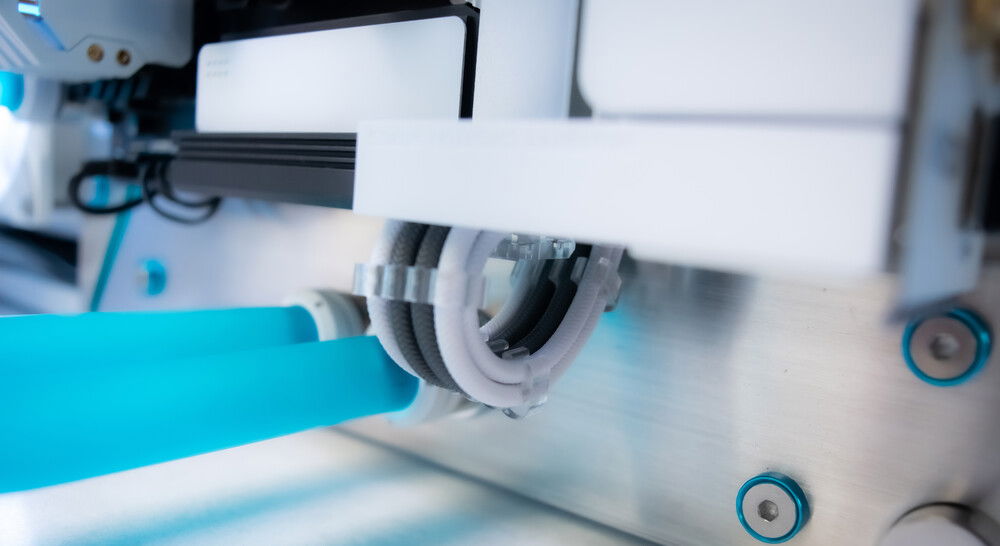
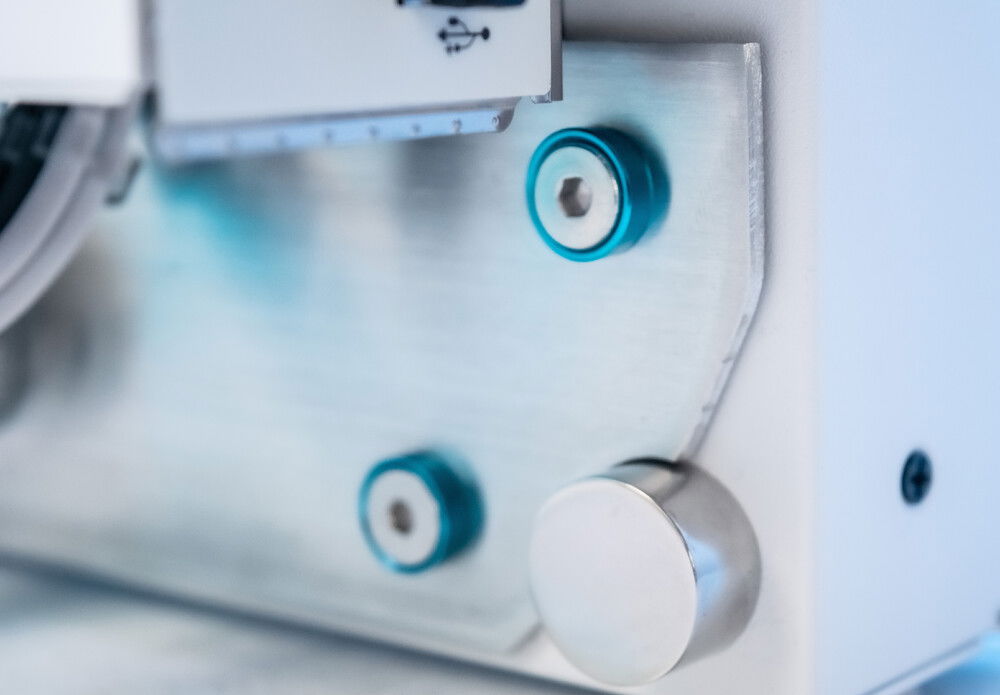
44 pound capacity mount, needed upgrade too!
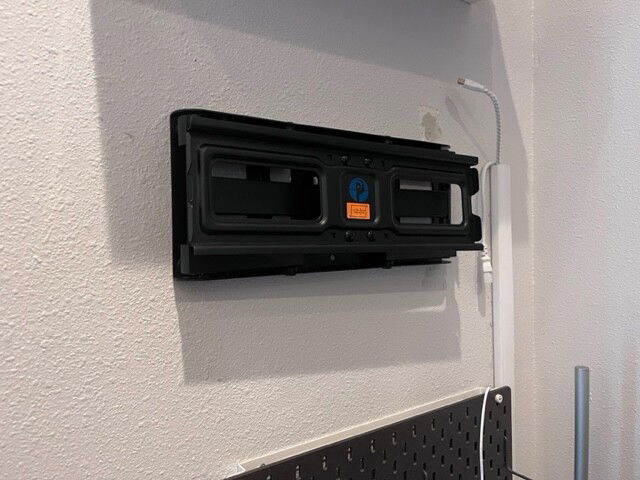
New 77 pound capacity mount
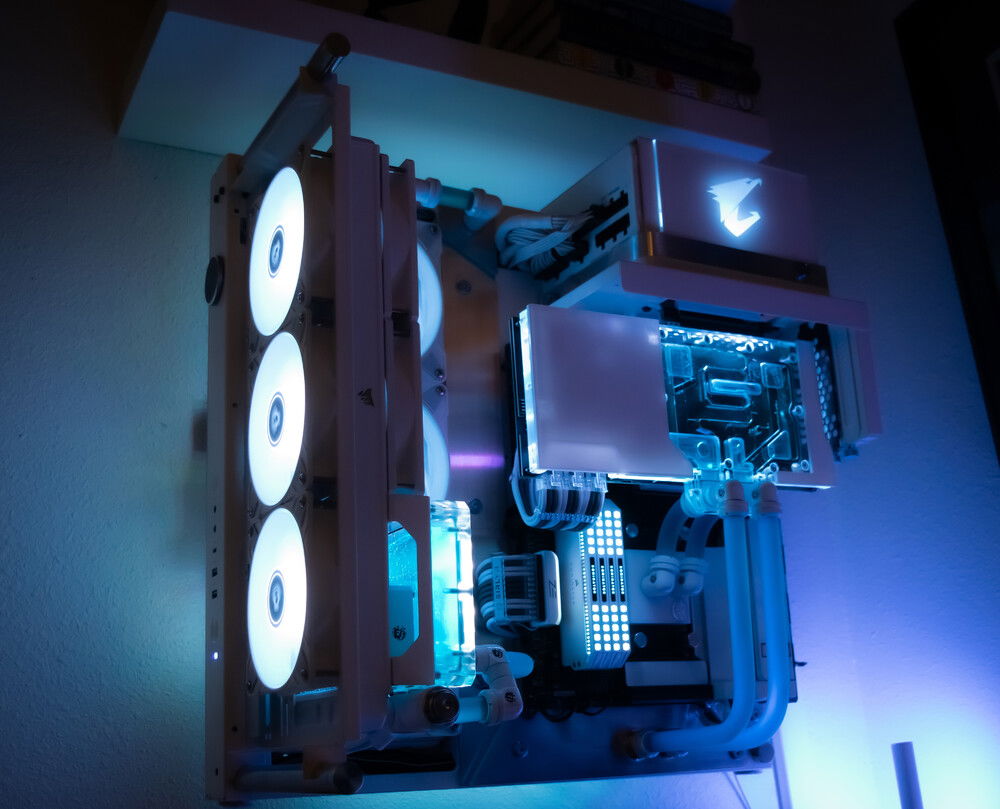
ChillyRig V.4 - Inverted Wall-Mounted Workstation
AD:
ChillyRig has been my daily driver/workstation for the last 4+ years. The build started its humble beginnings as a back up PC for my 2015 MacBook Pro. The first iteration (v.0) was outfitted with a Ryzen 2700X + x470 motherboard + a spare MSI 980Ti Gaming X that I custom painted white. Back then, I only had the CPU in a custom loop. My desk started to get too crowded, so I decided to wall mount ChillyRig. I was tempted to upgrade to Ryzen Gen 4, but I had no reason to as I was extremely happy with the 5950X performance.
I’ve upgraded ChillyRig 3x but over the last year, I encountered issues that required more than routine annual maintenance such as the solid component separating from the EK Azure Blue Solid coolant. The solid component got into the GPU block and everywhere else. The Lian Li Unifans worked great until a few months ago, when I started to hear high-pitched whine that got louder over time.
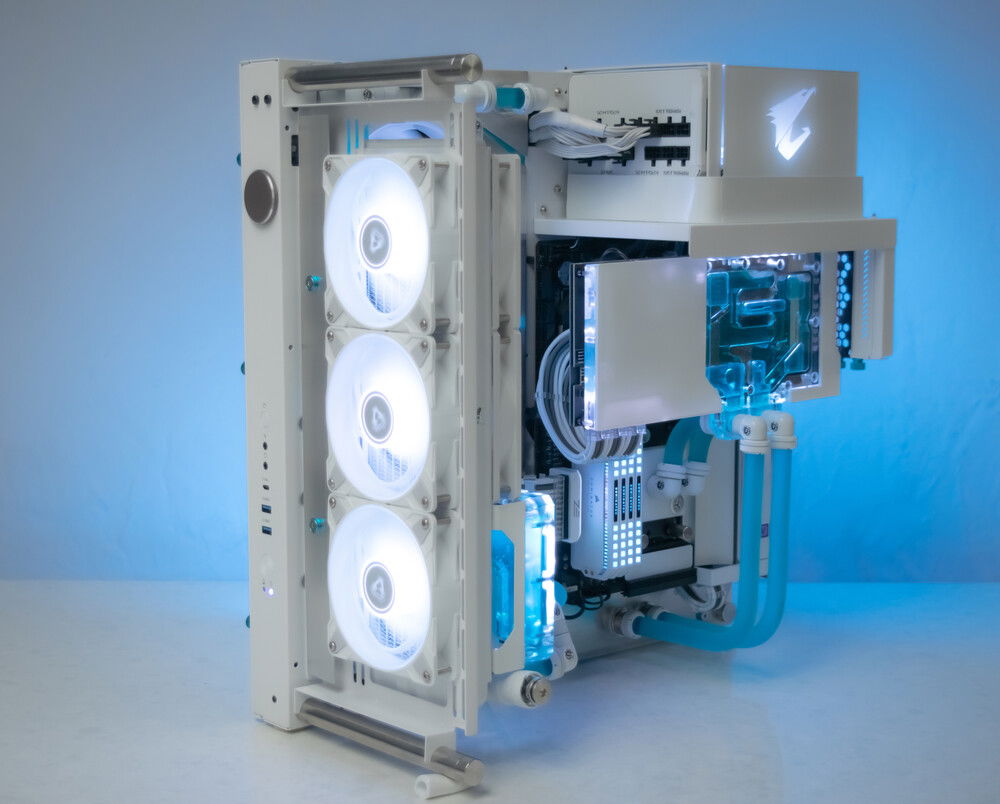
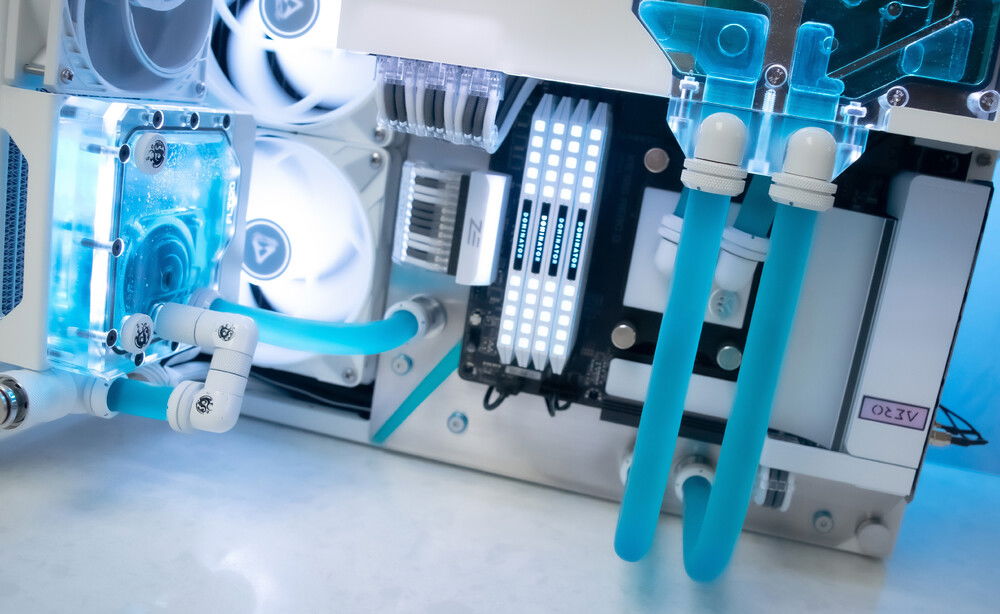
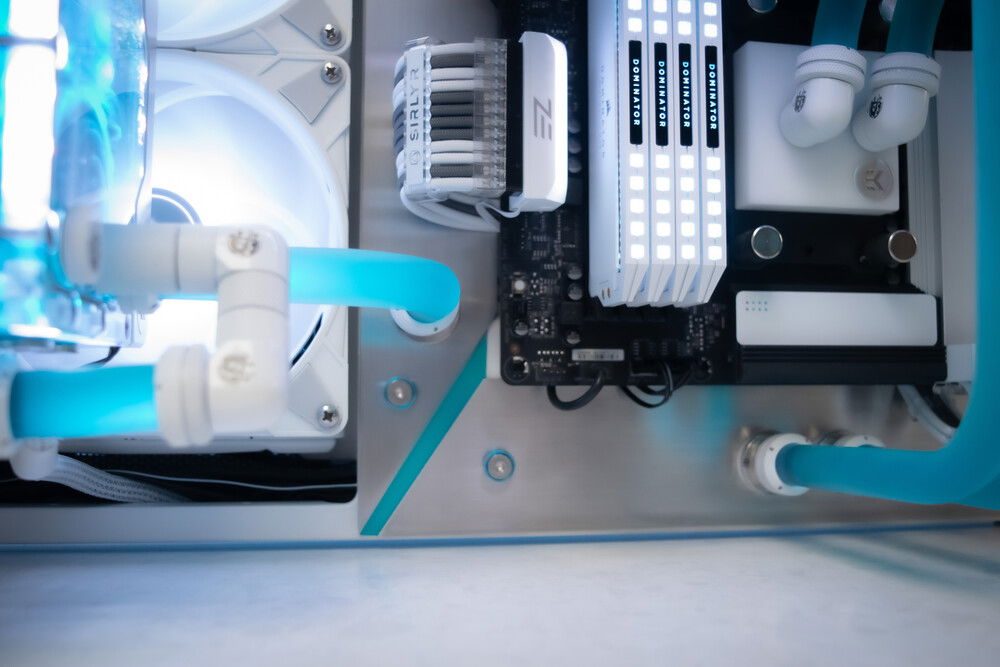
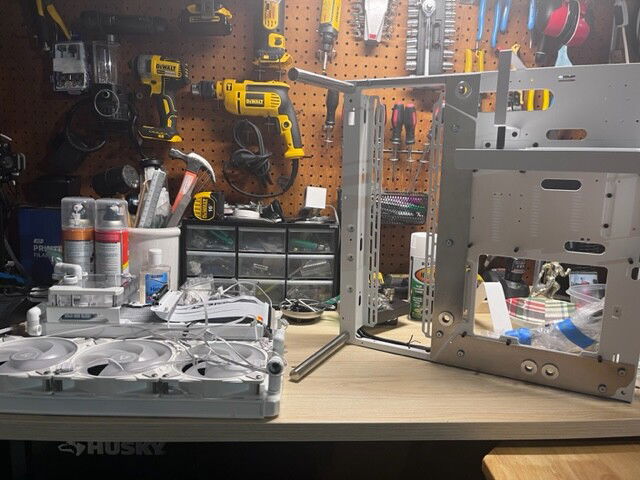
While I was at it, I thought of giving ChillyRig a make over. I wasn't looking to do a complete swap with newer core hardware (i.e., CPU. GPU, RAM) yet, as she's been performing exceedingly well, before the discovery of the above issues. Component updates included a case upgrade to the CoreP3 Pro, new CPU block, replacement GPU and GPU block, fittings and coolant, of course.
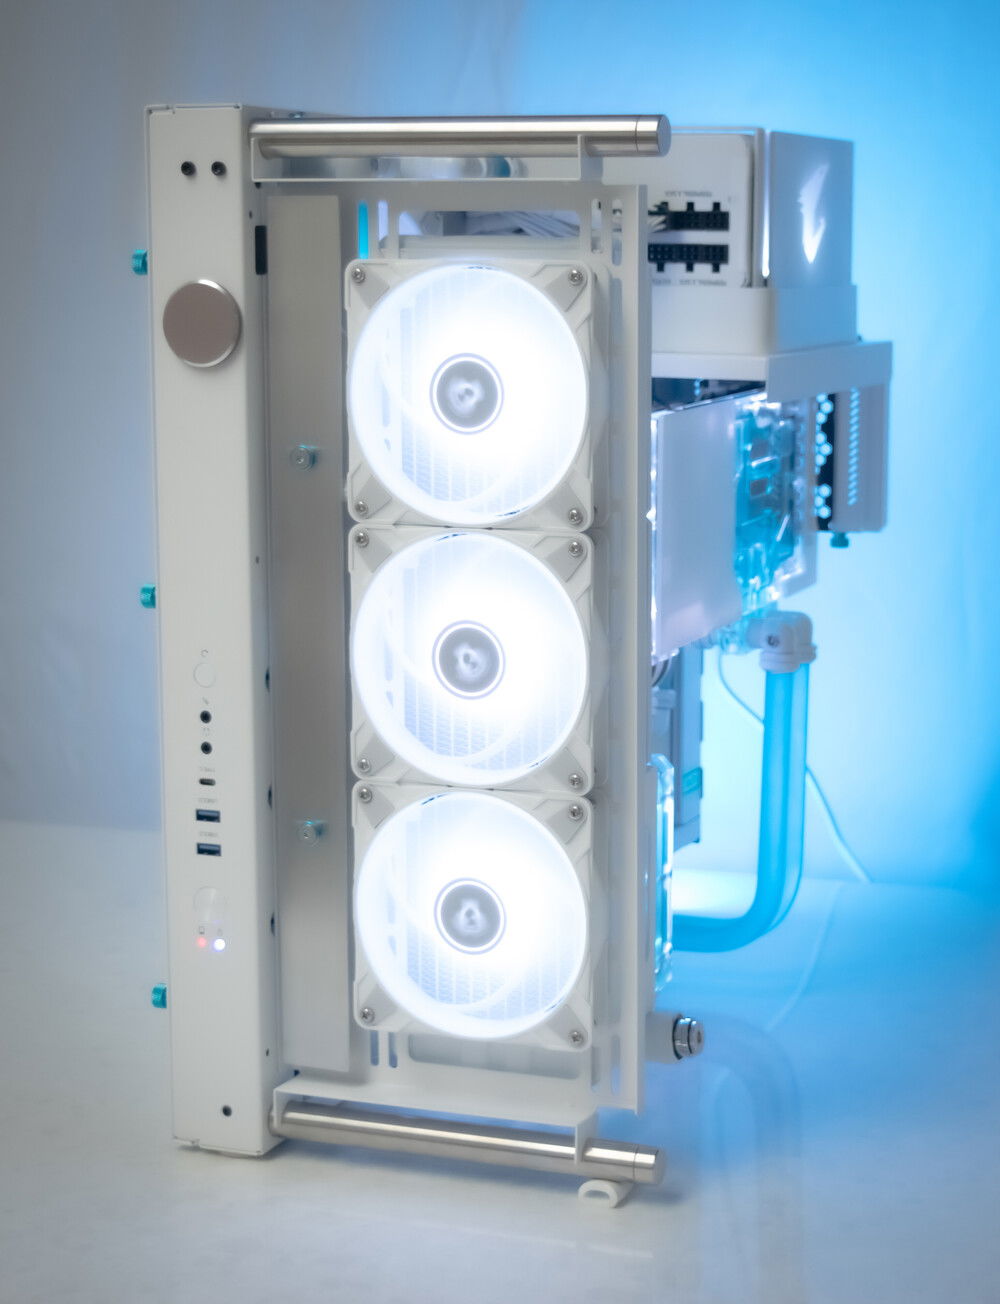
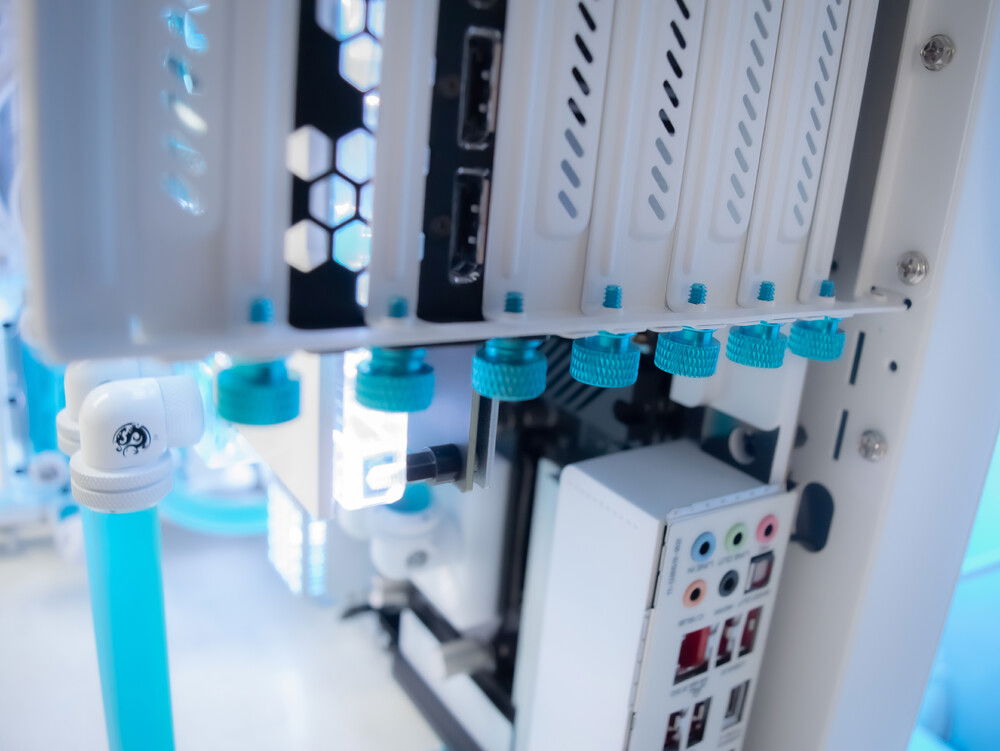
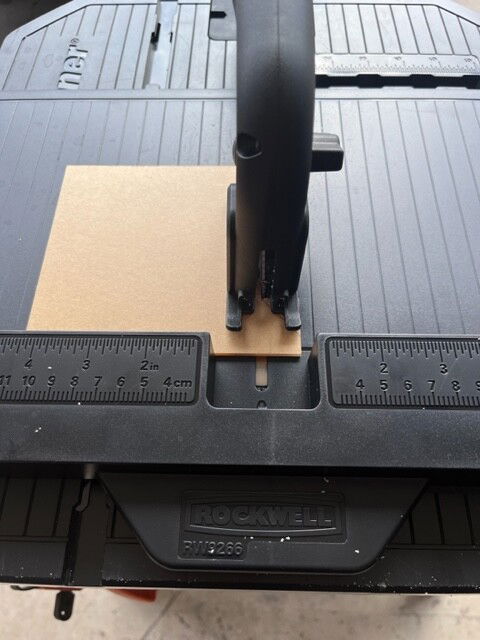
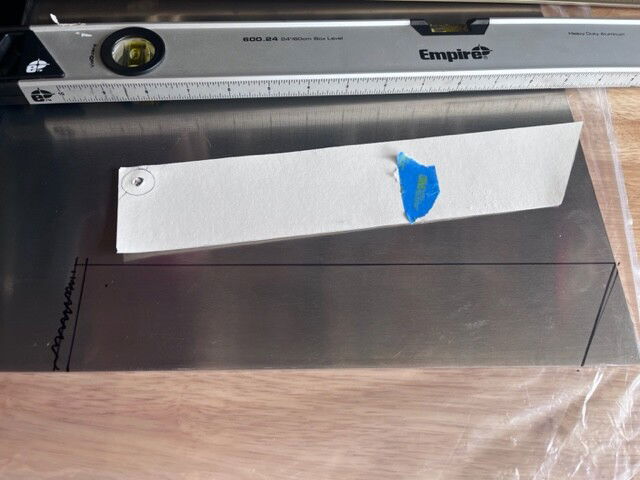
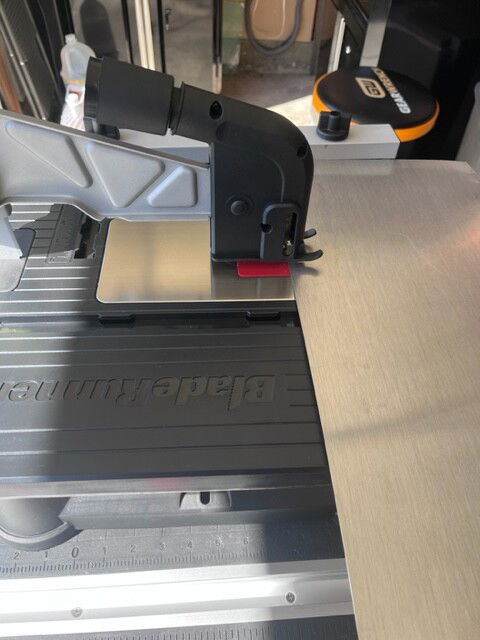
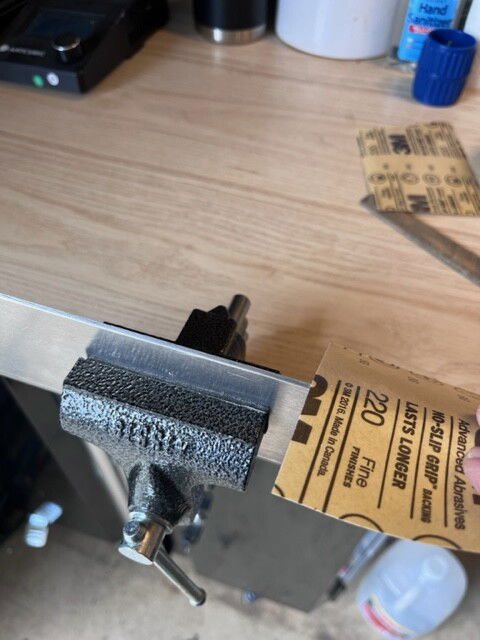
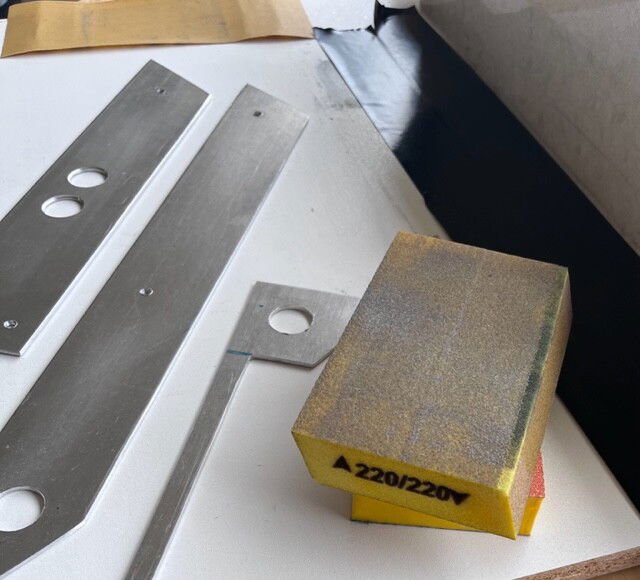
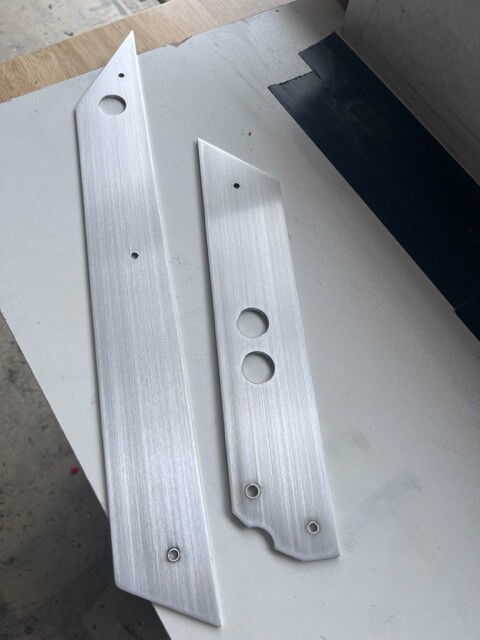
I framed the Core P3 Pro with aluminum trim I designed, cut, and finished. I acquired a 30cm x 30cm of 13 gauge aluminum sheeting for the trim. I used my table saw with an aluminium blade to cut out the design. Afterwards, I sanded and rounded the edges to prevent them from cutting my fingers. I then drilled and tapped M5 sizes holes on the aluminum trim and case to allow me to fasten with M5 flat head screws and blue washers for a custom look. Afterwards, I sanded the aluminium trim with 220 grit sand paper for a brushed finished.
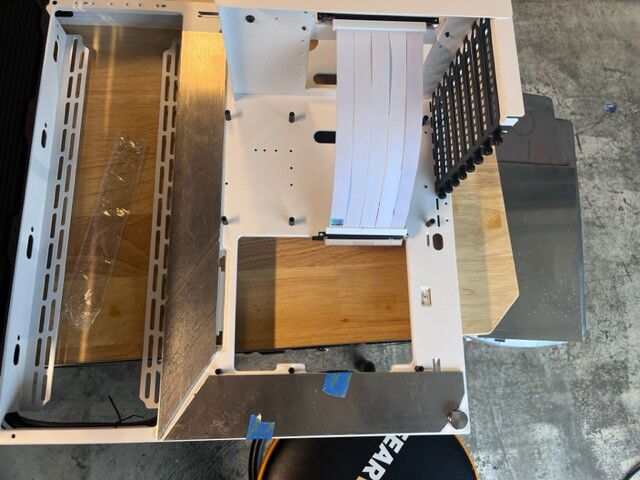
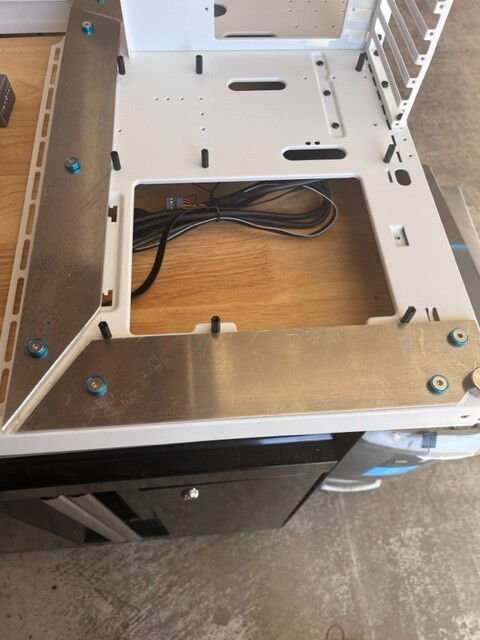
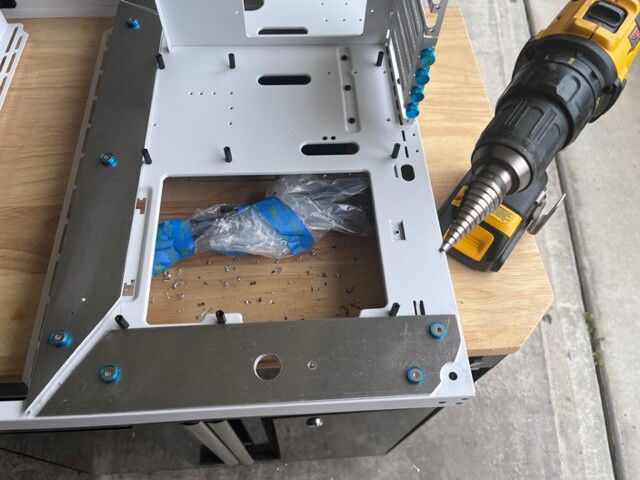
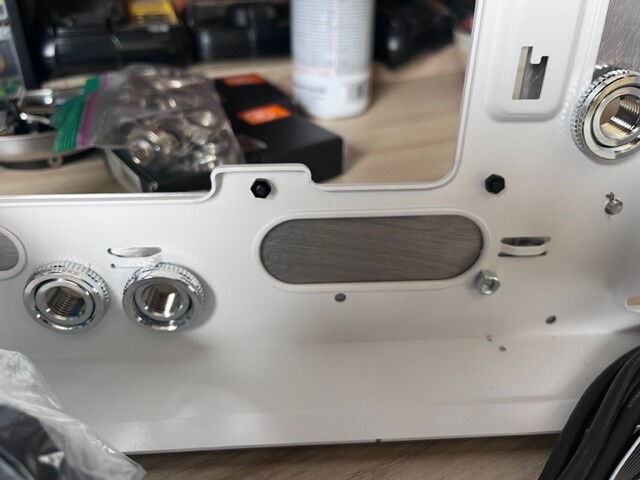
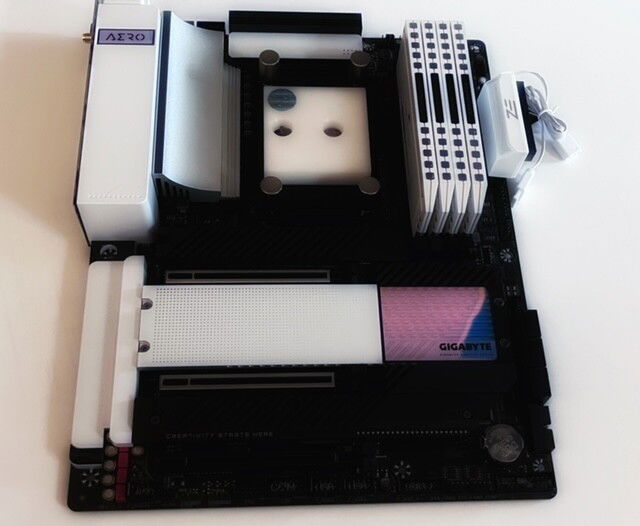
Since the aluminium trim was going to cover the grommets to run cables through, I raised the motherboard using 20mm standoffs. This allowed me to run the all cables under the motherboard.
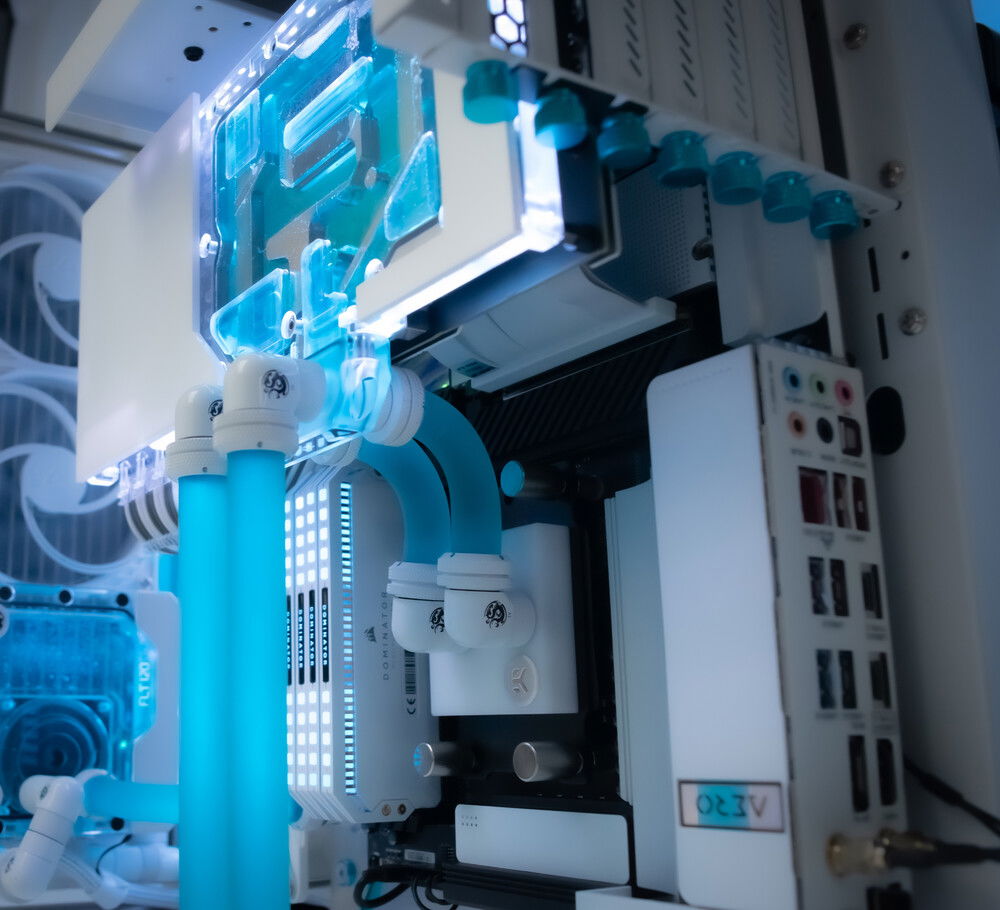
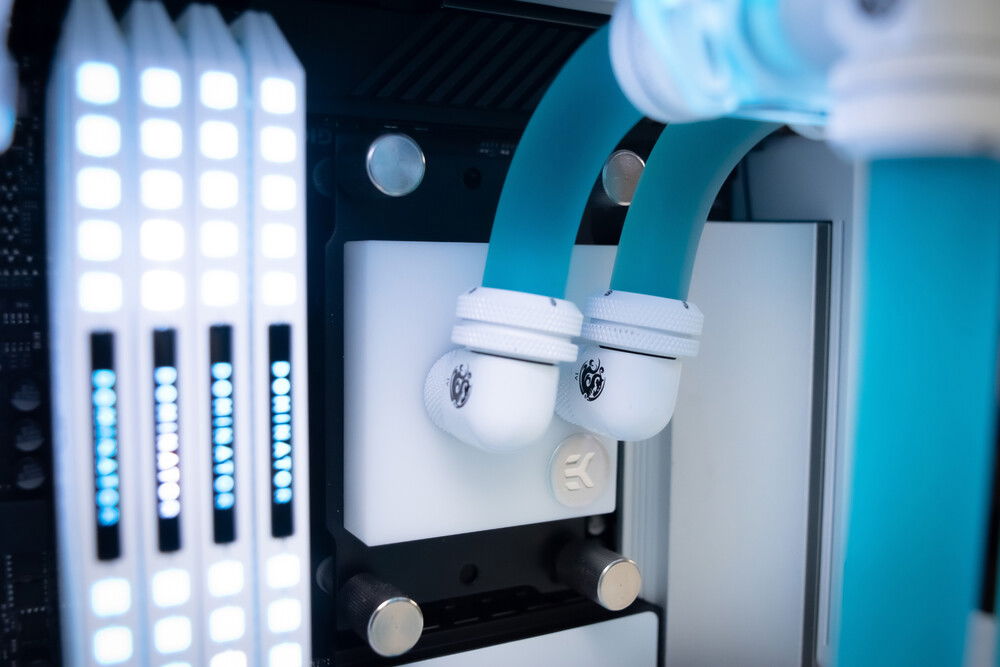
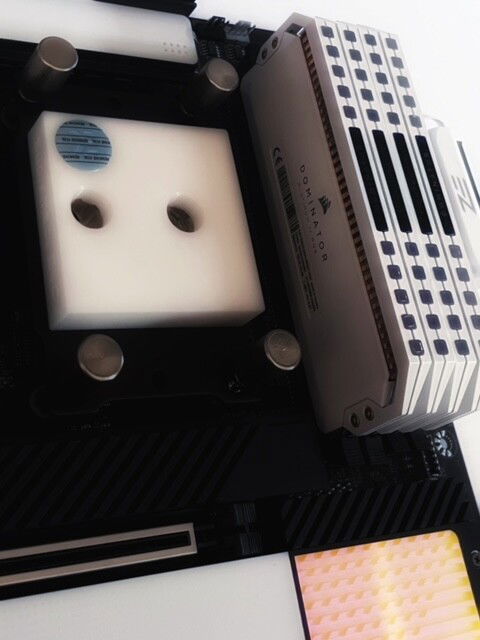
When I tore down the Optimus AMD CPU block, I discovered a severely gunked up jet plate and corrosion. Further, the clear top had small cracks that formed on one of the G1/4 ports. Unfortunately it was time for a new block. I decided on a white block. Apart from the Corsair CPU block, I couldn't find another white block (white acetal) that allowed for a proper parallel loop configuration. I “customised” my own CPU block by converting an unused EK White Acetal Supremacy EVO block. I tore the block down, switched out the jet plate, switched out the LGA backplate to the AM4 back plate and VIOLA!!!! The block looked great and fit perfectly.
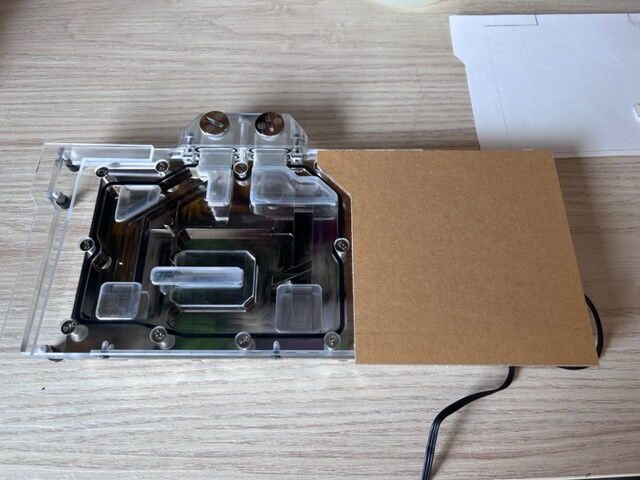
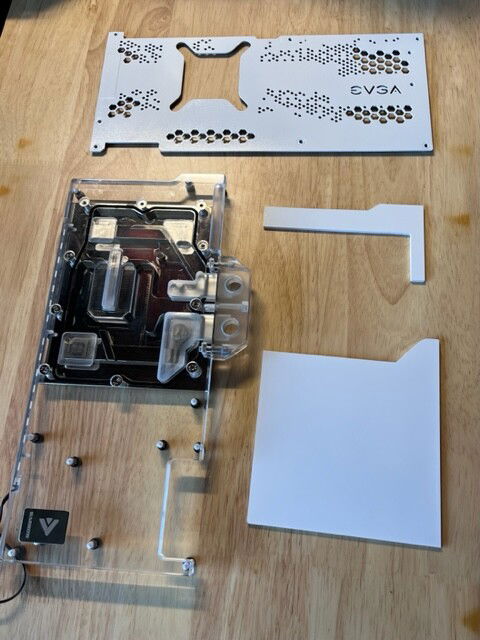
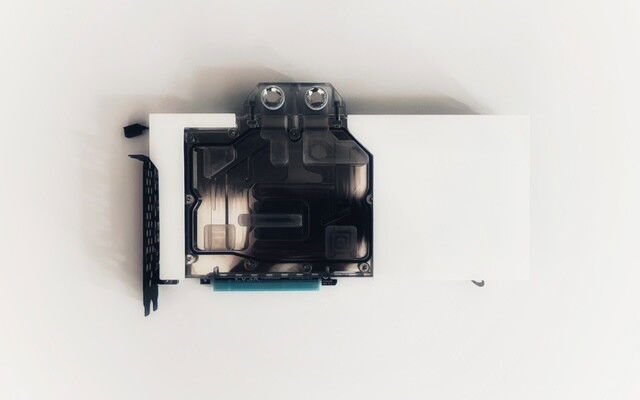
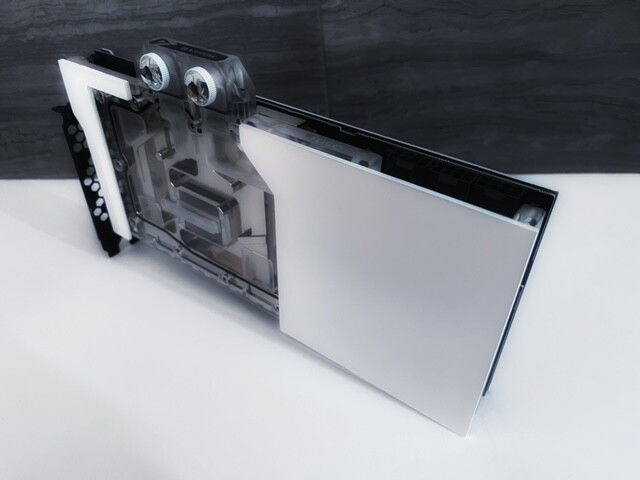
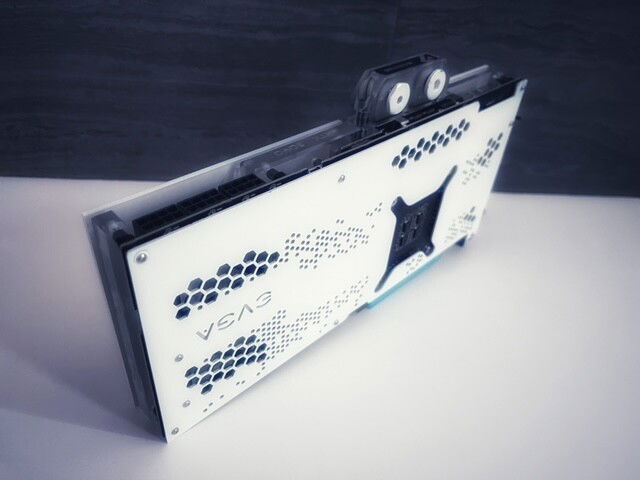
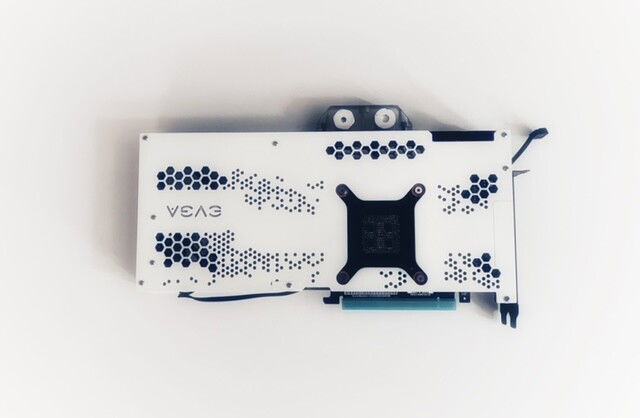
For the GPU, luckily I already had a block for the 3080, but the block top was clear acrylic, and I wanted more white coverage. I couldn't find any white GPU blocks for the FTW3 3080, so I decided to make my own white trim. Using 3mm thick cast acrylic, I cut out my design, spray painted it white. The acrylic trim will be affixed to the acrylic top. While I was at it, I used white automotive spray paint (to preserve heat transferability) and painted the GPU backplate to match.
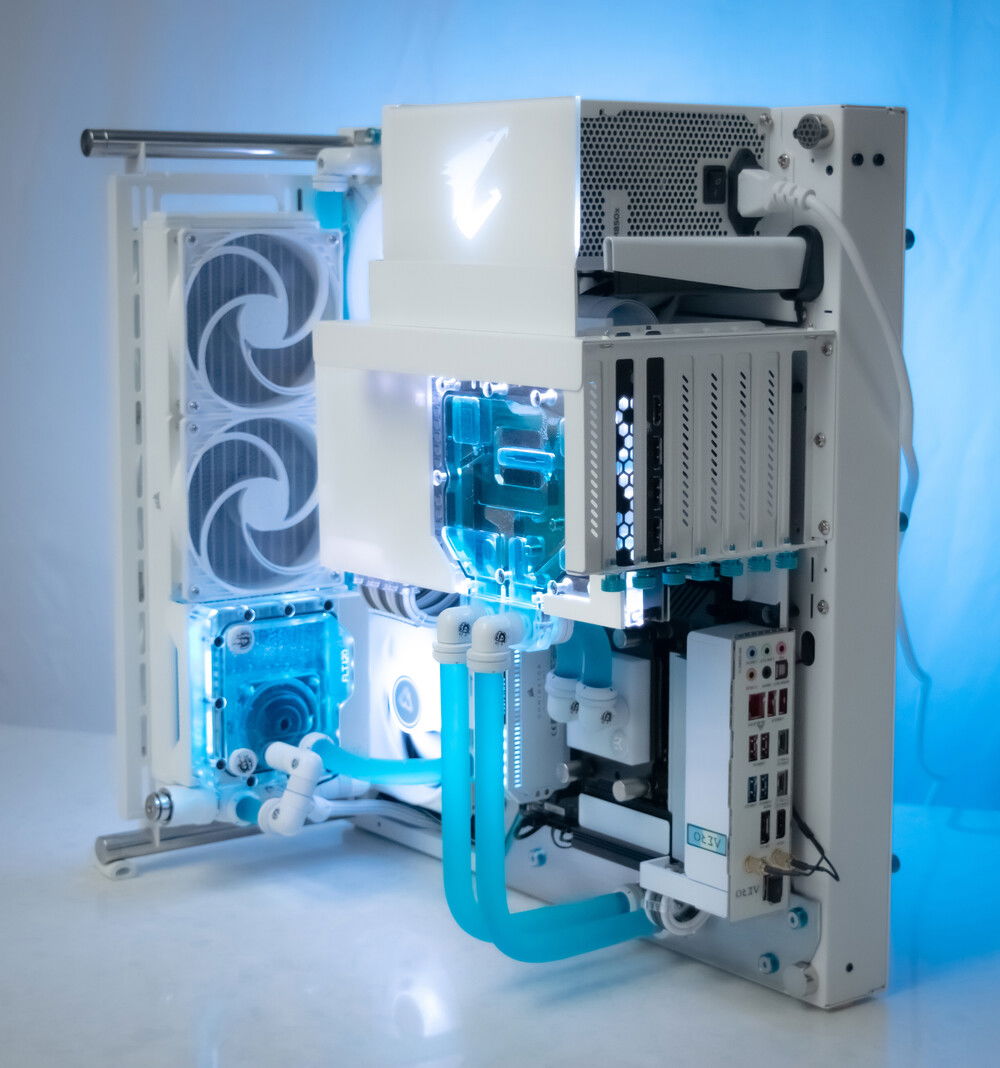
I wanted to have cleaner tube runs, so I routed a large part of tubing runs behind the case. I drilled out additional passthrough holes through the aluminum trim and case, then installed passthrough fittings. I performed a final test fitting of hardware and the modded components before bending and installing tubing. Everything fit! It was time to bend tubing.
After leak testing was completed, I weighed ChillyRig for mounting purposes and she gained some weight! Previously, weighing about 40lbs, she’s now at 45lbs. The original wall mount hardware was rated at 44lbs. Rather than chancing it, I upgraded the mounting hardware that had a weight rating of 77lbs.
All in all, everything went as planned; however I do admit I spent more time with the custom mod work![Emoji]()
I’ve upgraded ChillyRig 3x but over the last year, I encountered issues that required more than routine annual maintenance such as the solid component separating from the EK Azure Blue Solid coolant. The solid component got into the GPU block and everywhere else. The Lian Li Unifans worked great until a few months ago, when I started to hear high-pitched whine that got louder over time.
While I was at it, I thought of giving ChillyRig a make over. I wasn't looking to do a complete swap with newer core hardware (i.e., CPU. GPU, RAM) yet, as she's been performing exceedingly well, before the discovery of the above issues. Component updates included a case upgrade to the CoreP3 Pro, new CPU block, replacement GPU and GPU block, fittings and coolant, of course.
I framed the Core P3 Pro with aluminum trim I designed, cut, and finished. I acquired a 30cm x 30cm of 13 gauge aluminum sheeting for the trim. I used my table saw with an aluminium blade to cut out the design. Afterwards, I sanded and rounded the edges to prevent them from cutting my fingers. I then drilled and tapped M5 sizes holes on the aluminum trim and case to allow me to fasten with M5 flat head screws and blue washers for a custom look. Afterwards, I sanded the aluminium trim with 220 grit sand paper for a brushed finished.
Since the aluminium trim was going to cover the grommets to run cables through, I raised the motherboard using 20mm standoffs. This allowed me to run the all cables under the motherboard.
When I tore down the Optimus AMD CPU block, I discovered a severely gunked up jet plate and corrosion. Further, the clear top had small cracks that formed on one of the G1/4 ports. Unfortunately it was time for a new block. I decided on a white block. Apart from the Corsair CPU block, I couldn't find another white block (white acetal) that allowed for a proper parallel loop configuration. I “customised” my own CPU block by converting an unused EK White Acetal Supremacy EVO block. I tore the block down, switched out the jet plate, switched out the LGA backplate to the AM4 back plate and VIOLA!!!! The block looked great and fit perfectly.
For the GPU, luckily I already had a block for the 3080, but the block top was clear acrylic, and I wanted more white coverage. I couldn't find any white GPU blocks for the FTW3 3080, so I decided to make my own white trim. Using 3mm thick cast acrylic, I cut out my design, spray painted it white. The acrylic trim will be affixed to the acrylic top. While I was at it, I used white automotive spray paint (to preserve heat transferability) and painted the GPU backplate to match.
I wanted to have cleaner tube runs, so I routed a large part of tubing runs behind the case. I drilled out additional passthrough holes through the aluminum trim and case, then installed passthrough fittings. I performed a final test fitting of hardware and the modded components before bending and installing tubing. Everything fit! It was time to bend tubing.
After leak testing was completed, I weighed ChillyRig for mounting purposes and she gained some weight! Previously, weighing about 40lbs, she’s now at 45lbs. The original wall mount hardware was rated at 44lbs. Rather than chancing it, I upgraded the mounting hardware that had a weight rating of 77lbs.
All in all, everything went as planned; however I do admit I spent more time with the custom mod work

Color(s): Aluminum Blue White
RGB Lighting? Yes
Theme: none
Cooling: Custom Liquid Cooling
Size: ATX
Type: General Build
Hardware
CPU
Motherboard
$ 516.90
Memory
$ 146.99
Graphics
Storage
$ 299.99
PSU
$ 309.00
Case
$ 129.99
Case Fan
$ 51.00
Case Fan
$ 12.99
Cooling
Cooling
$ 79.99
Cooling
$ 99.99
Cooling
Cooling
$ 189.99
Approved by: