TenaciousTeapot
Member since
Computer Repair/Retail/Small office IT admin/Adult Life (RiP)
Australia
The Catastrophe
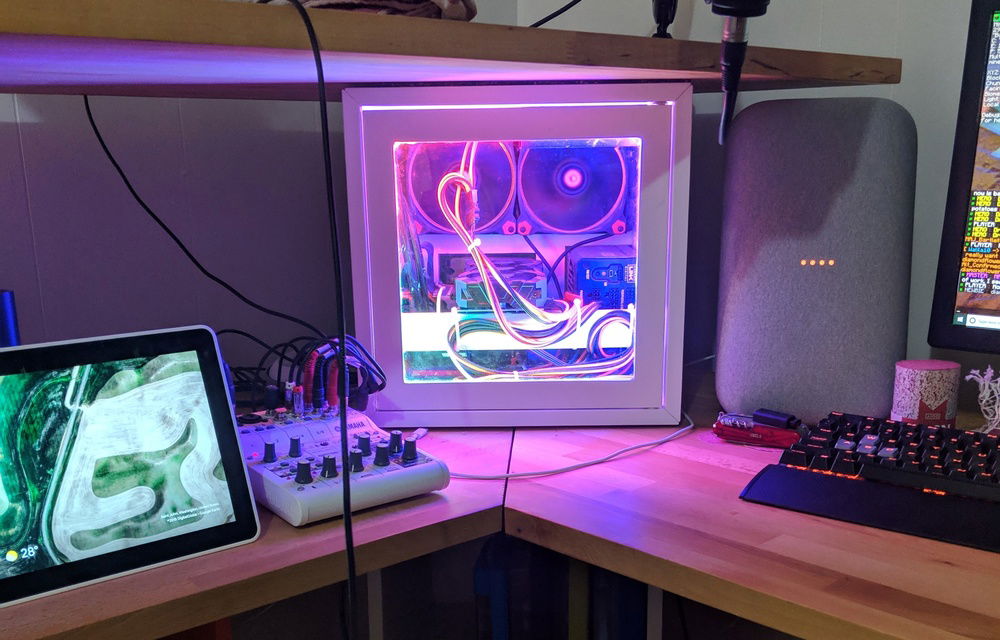
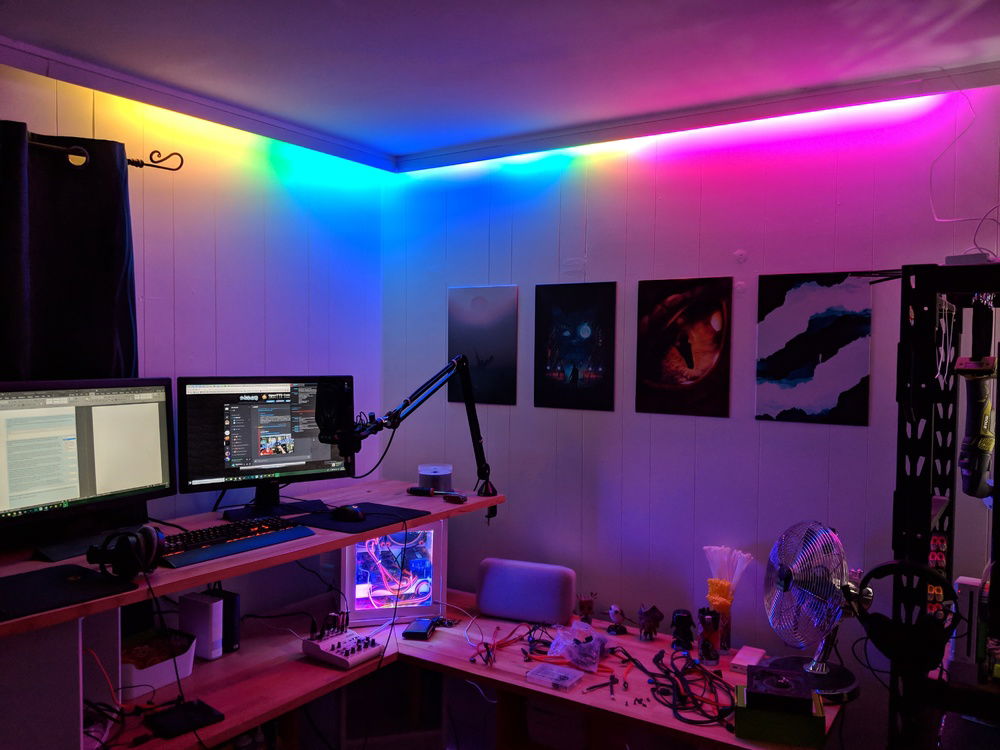
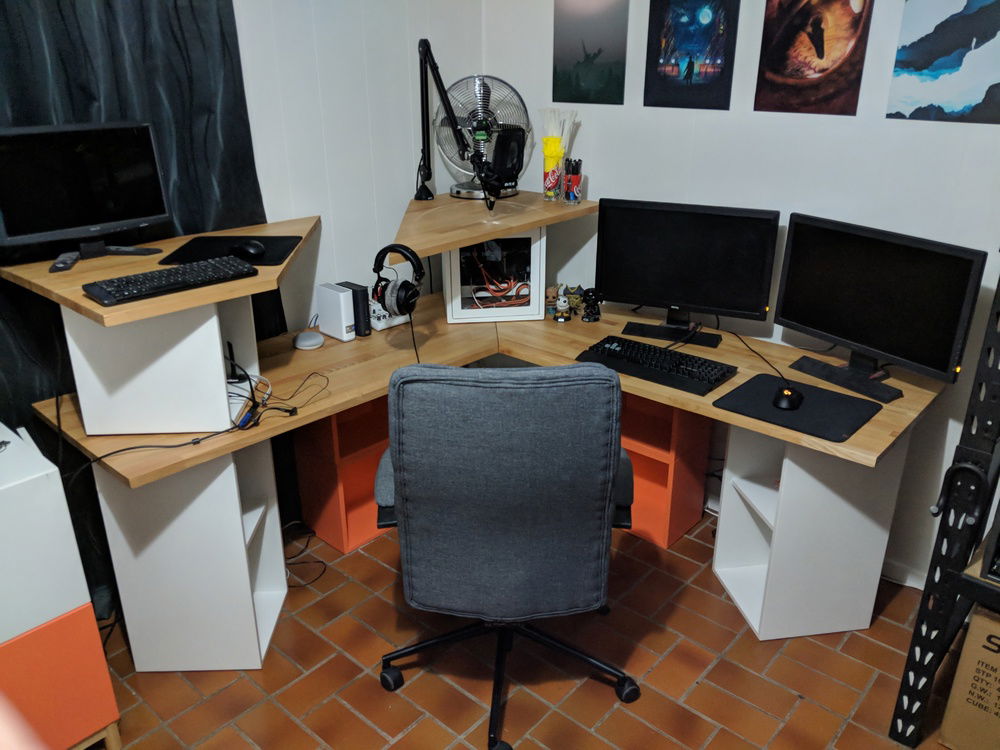
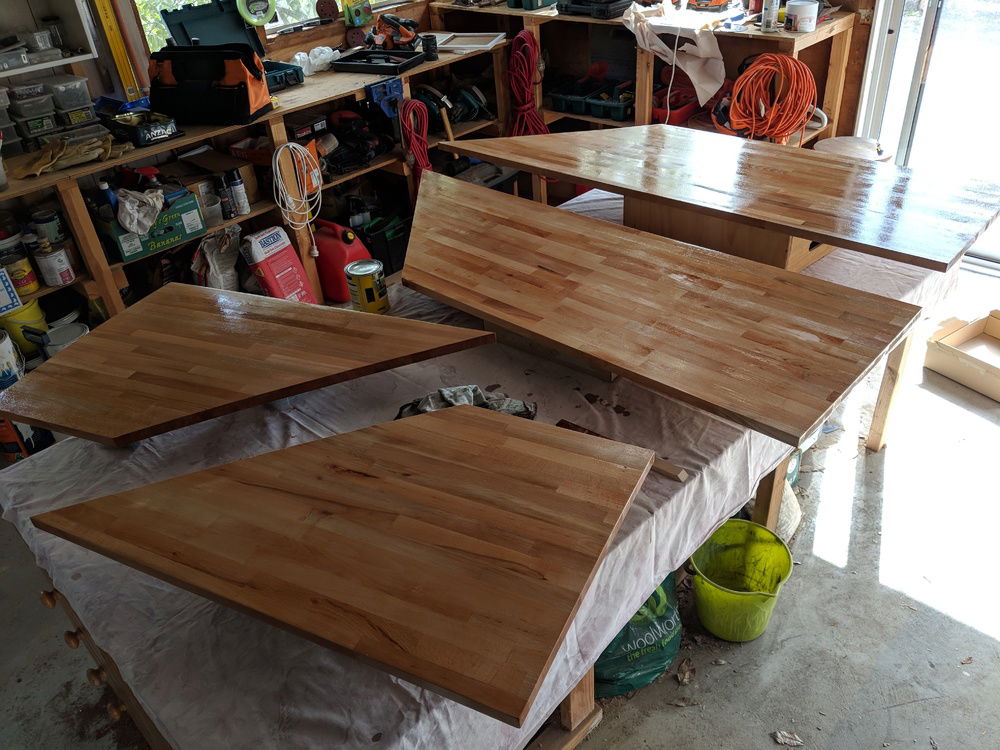
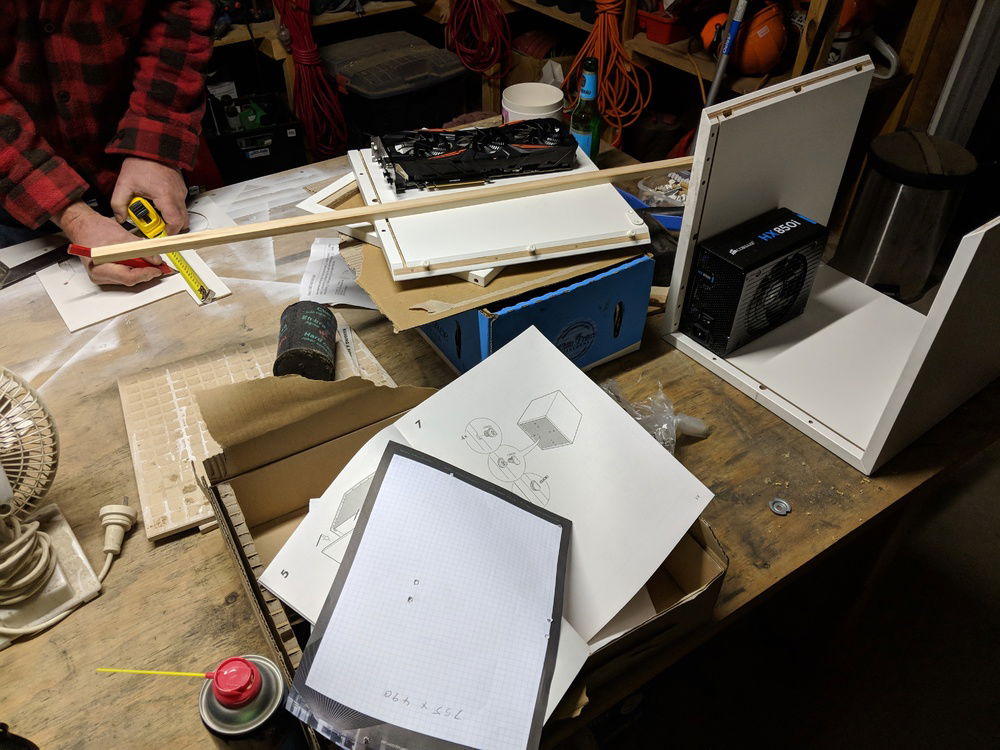
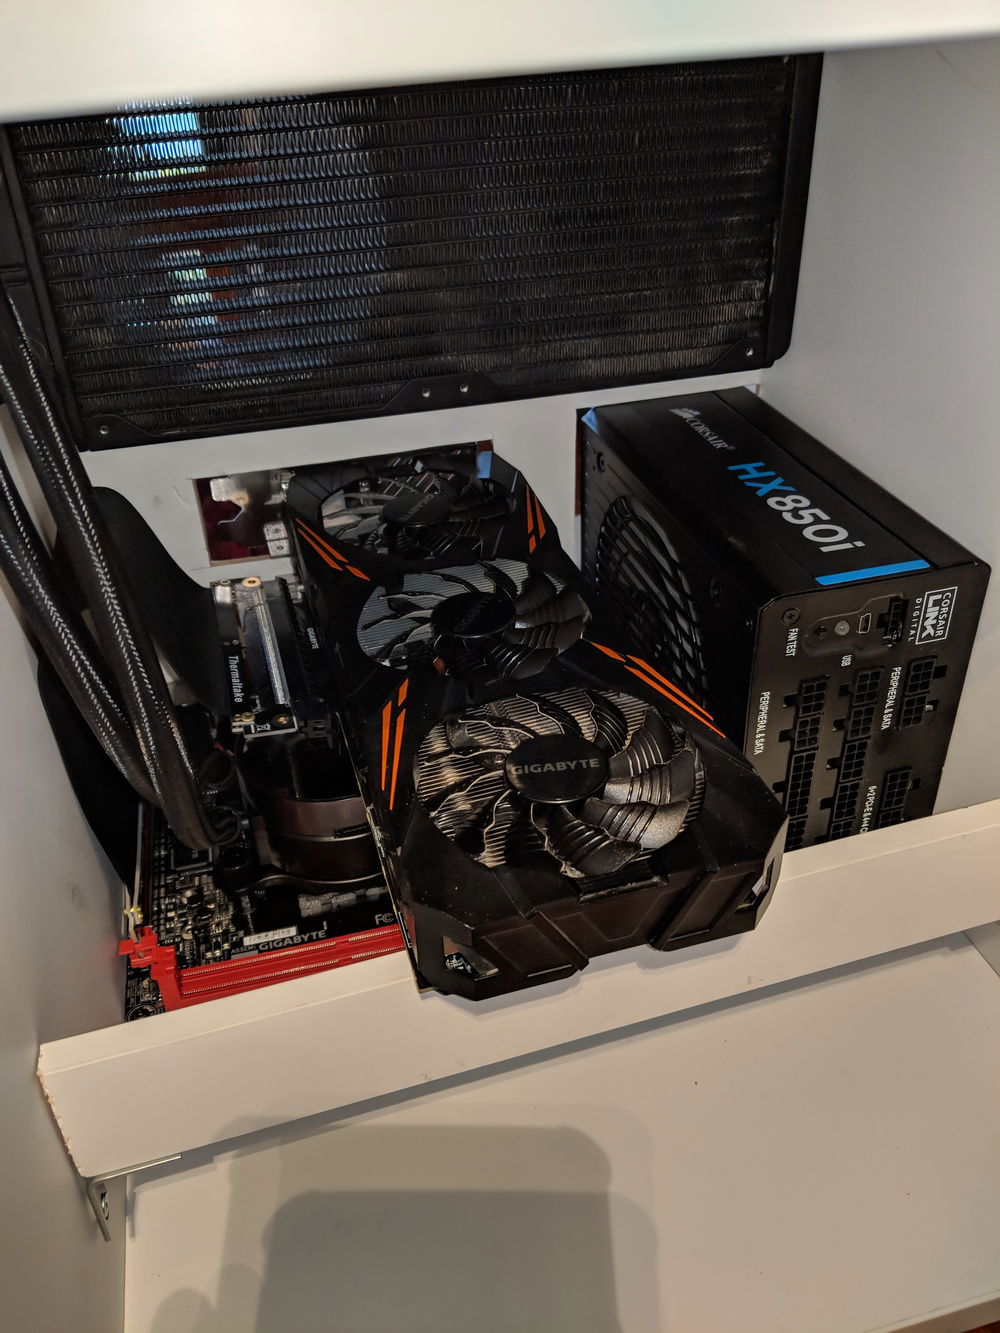
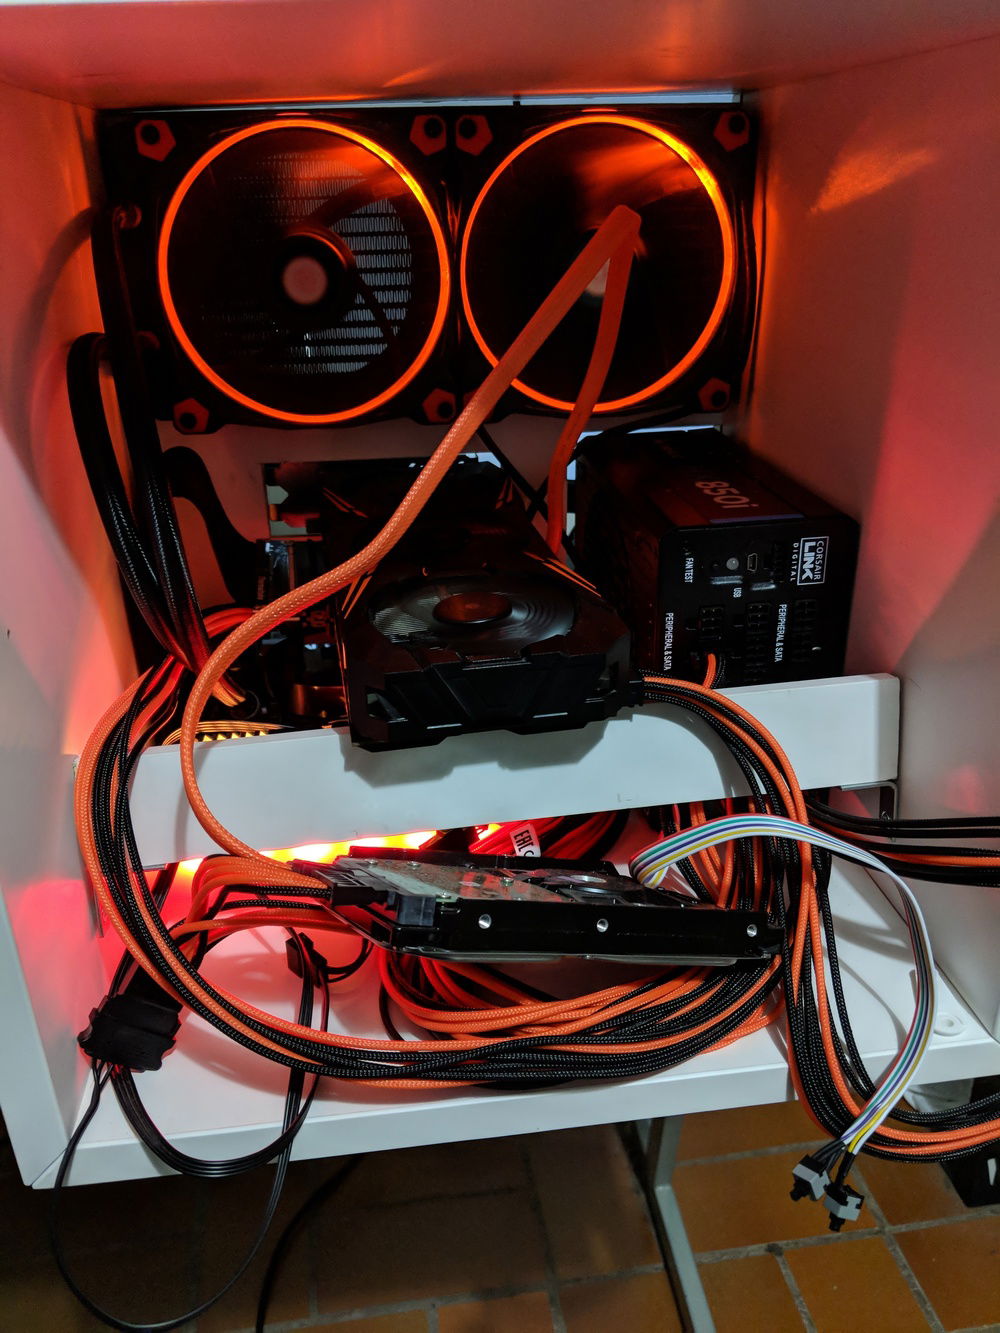
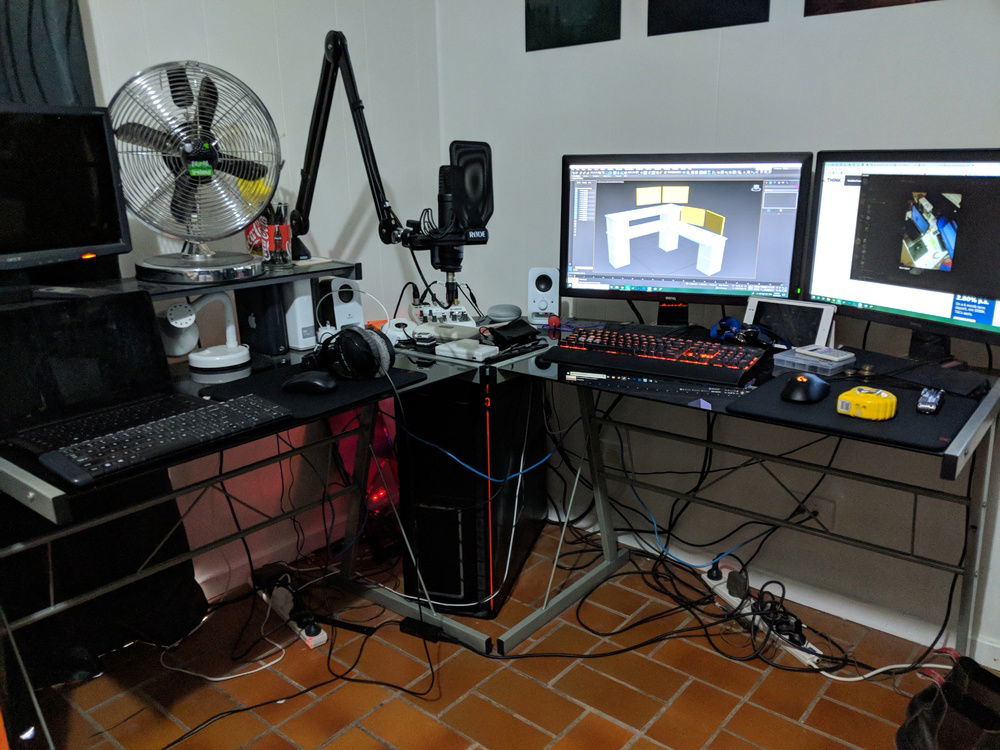
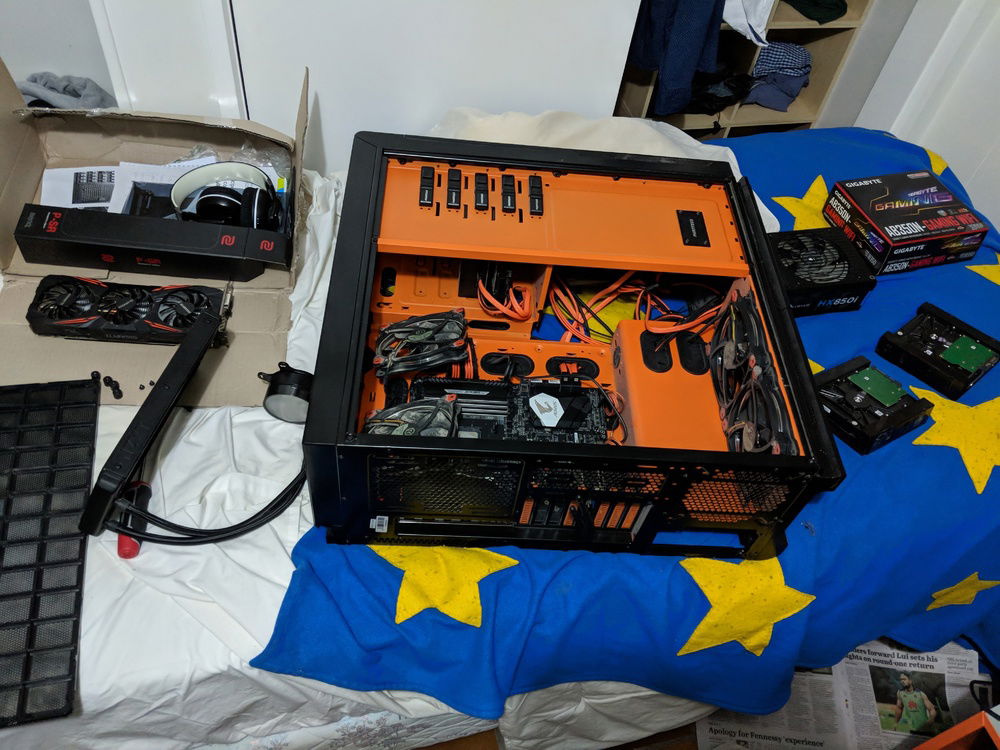
What a catastrophe this build has been for my wallet, hence the name. It started with a regular tower PC and then morphed into wanting a new desk but not having anywhere to put the PC so I decided to build it into my desk and make it the centrepiece. I used a bunch of IKEA boxes to make the supports for my desk so I took one of them and cut holes in it until everything fit in. For the box I made my computer in I made a custom front panel with a glass window with a LIFX RGB light strip around it allowing me to colour it any way I like. I had to float the GPU above the motherboard otherwise there wouldn't have been room. Fun stuff!
Color(s): Orange White
RGB Lighting? Yes
Theme: Desk / Table
Cooling: AIO Cooling
Size: Mini-ITX
Type: General Build
Hardware
CPU
$ 235.99
Motherboard
$ 218.86
Storage
$ 84.00
Cooling
$ 158.00
CableMod
Keyboard
$ 220.99
Approved by:
