
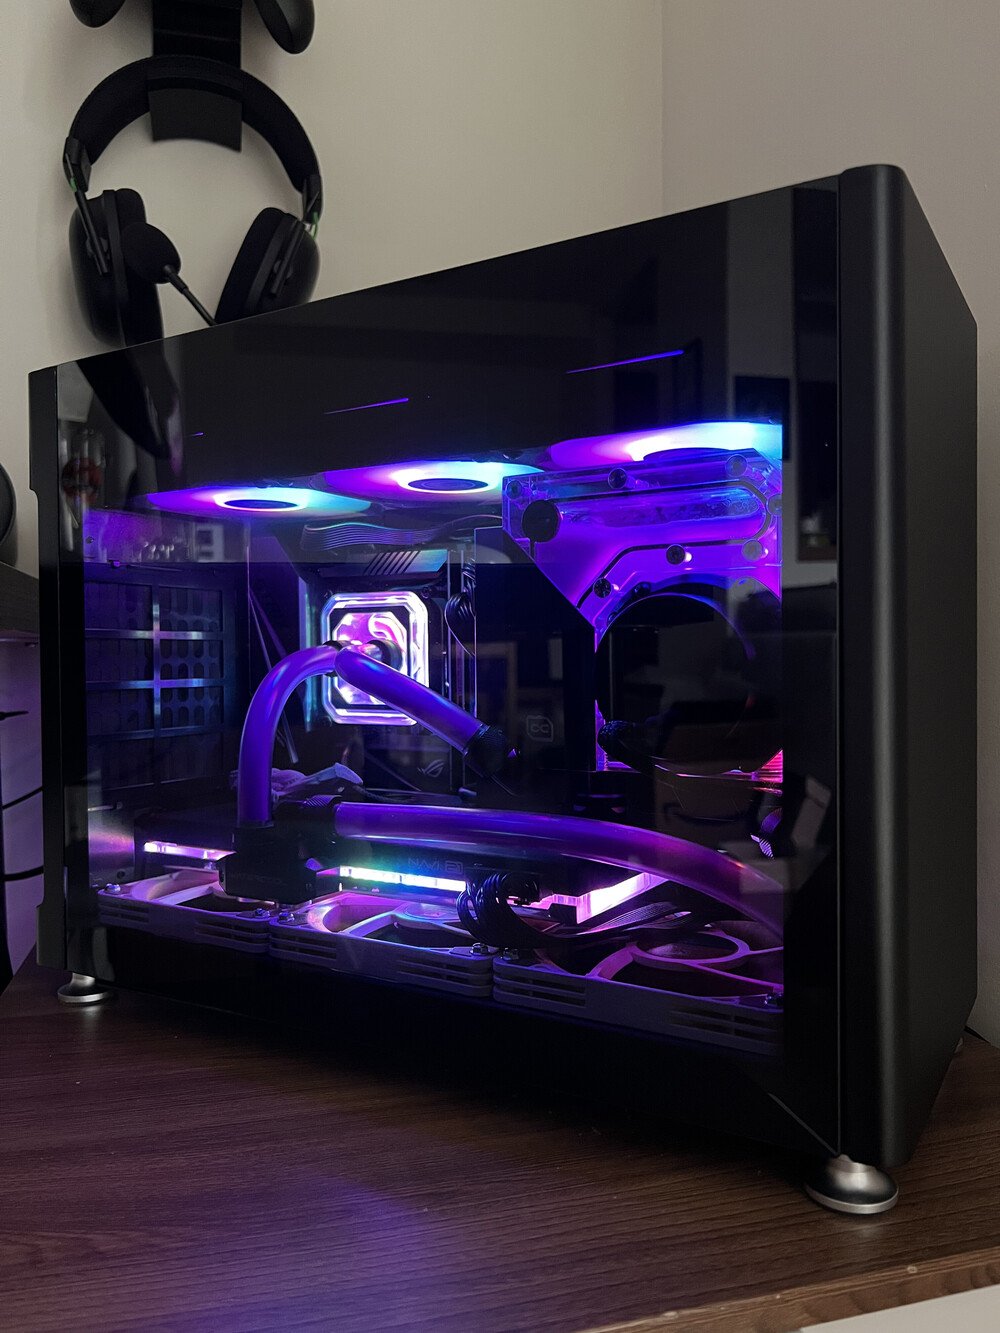
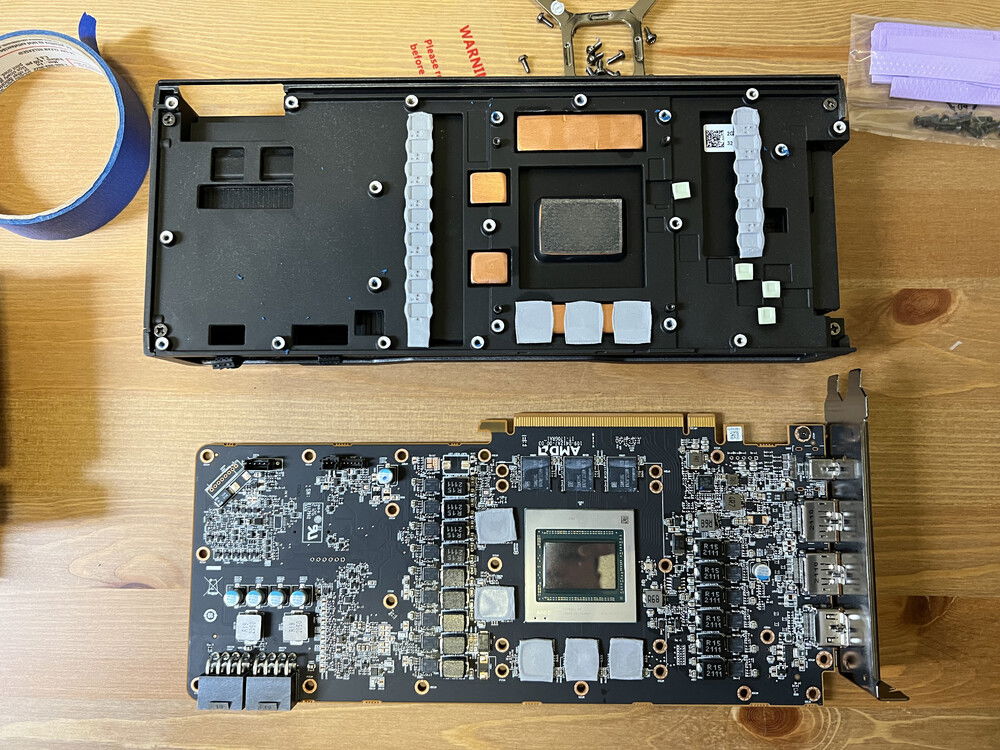
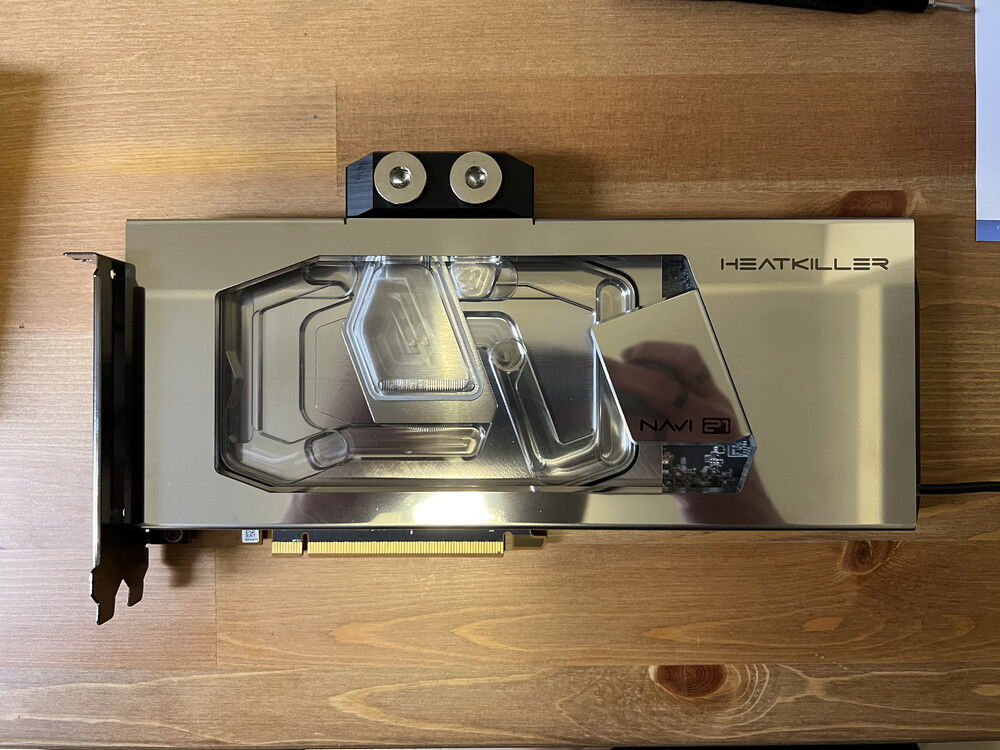
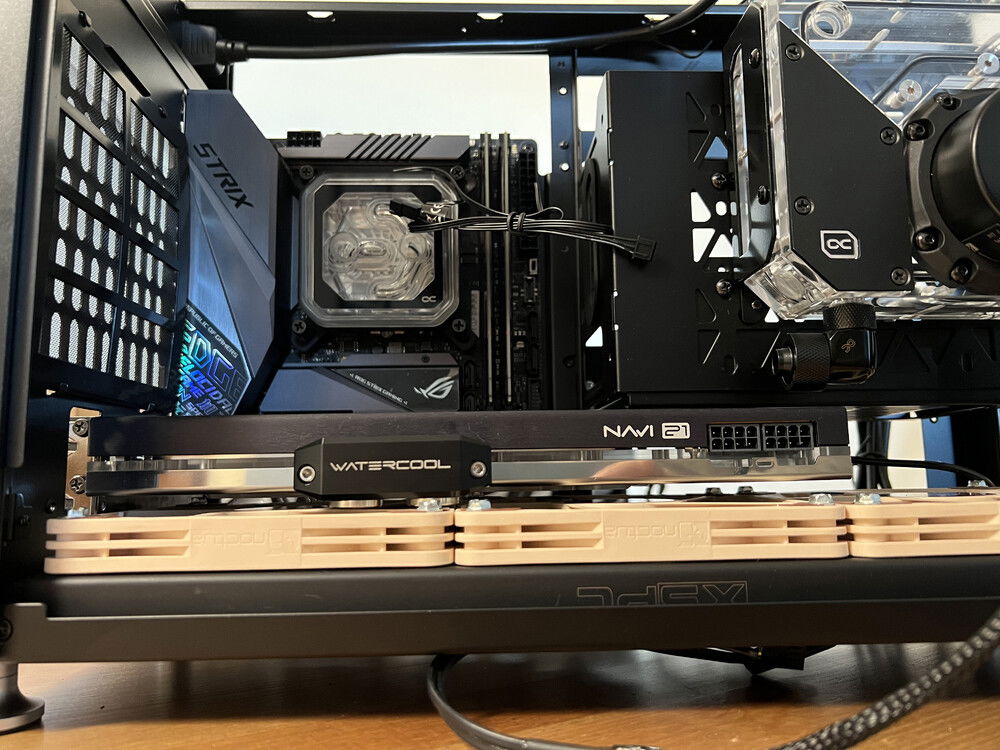
Completed build
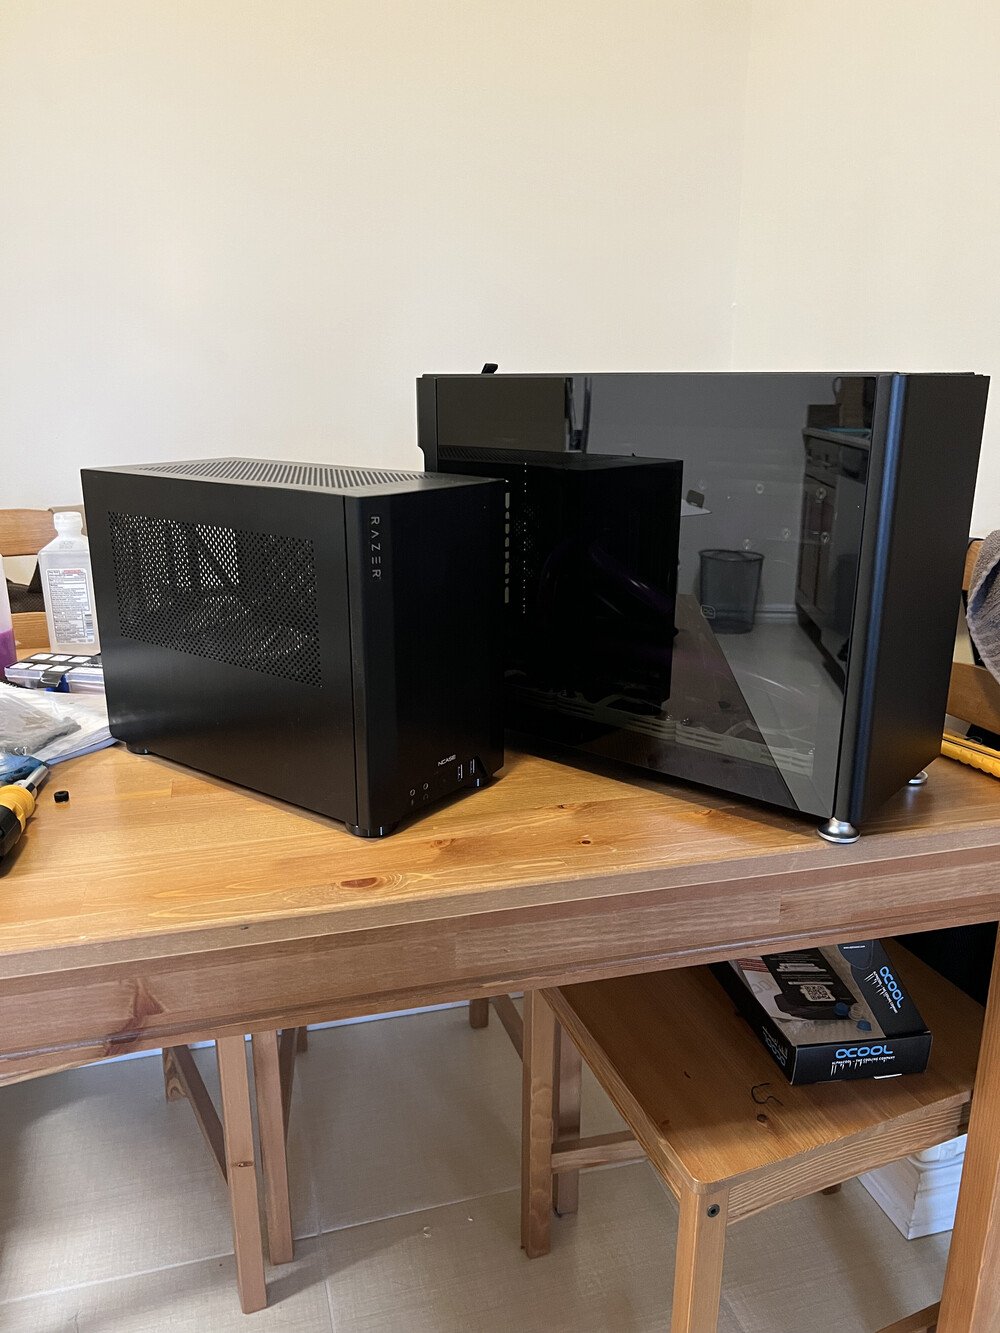
Comparison: Previous SFF NCase M1 vs New Jonsplus i100 Pro
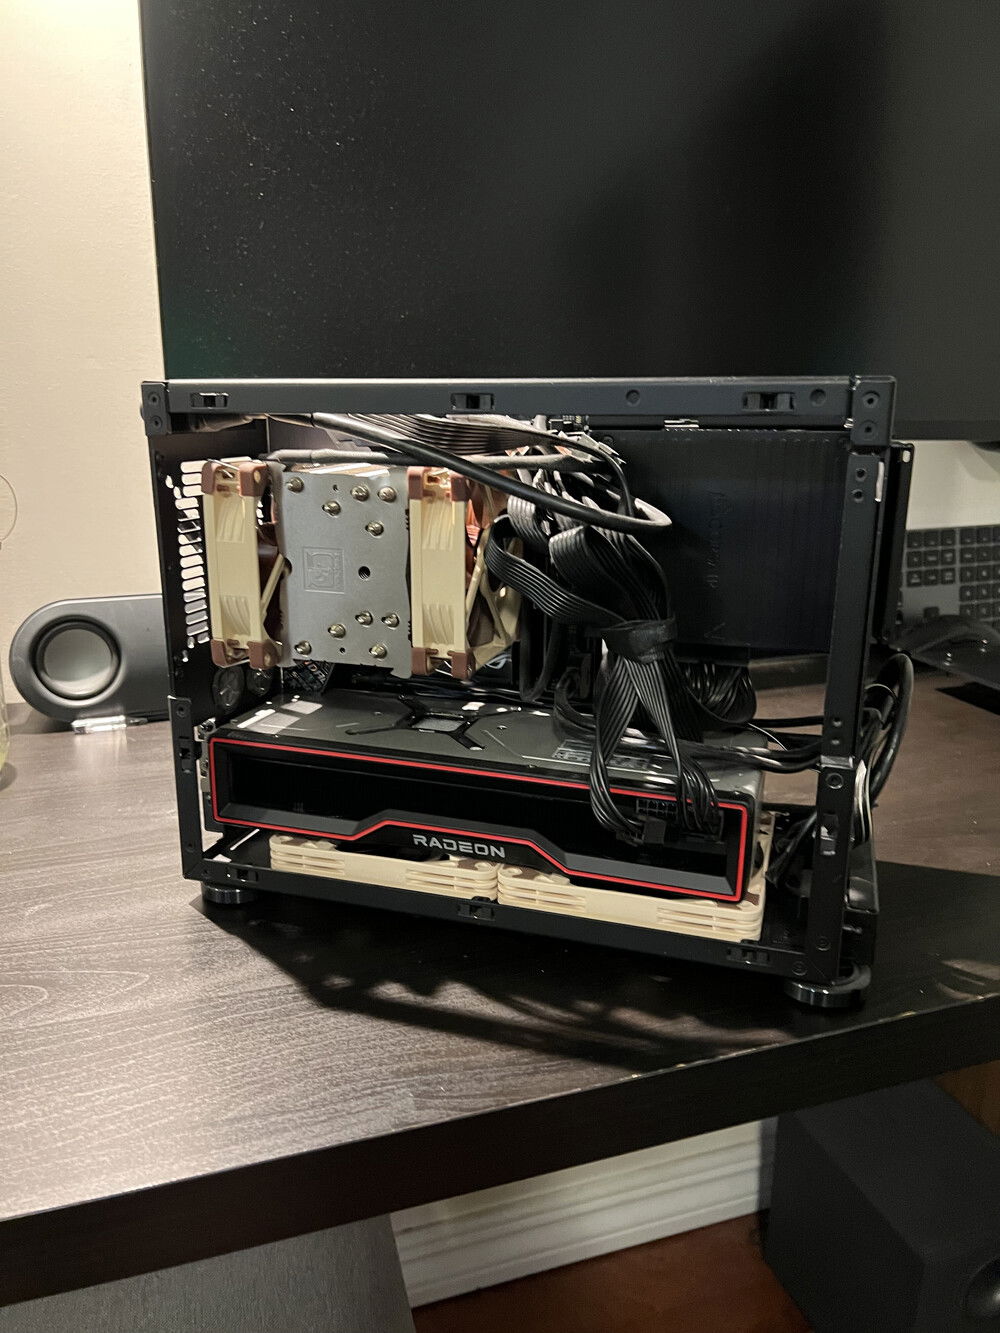
Previous SFF NCase M1 air cooled build.

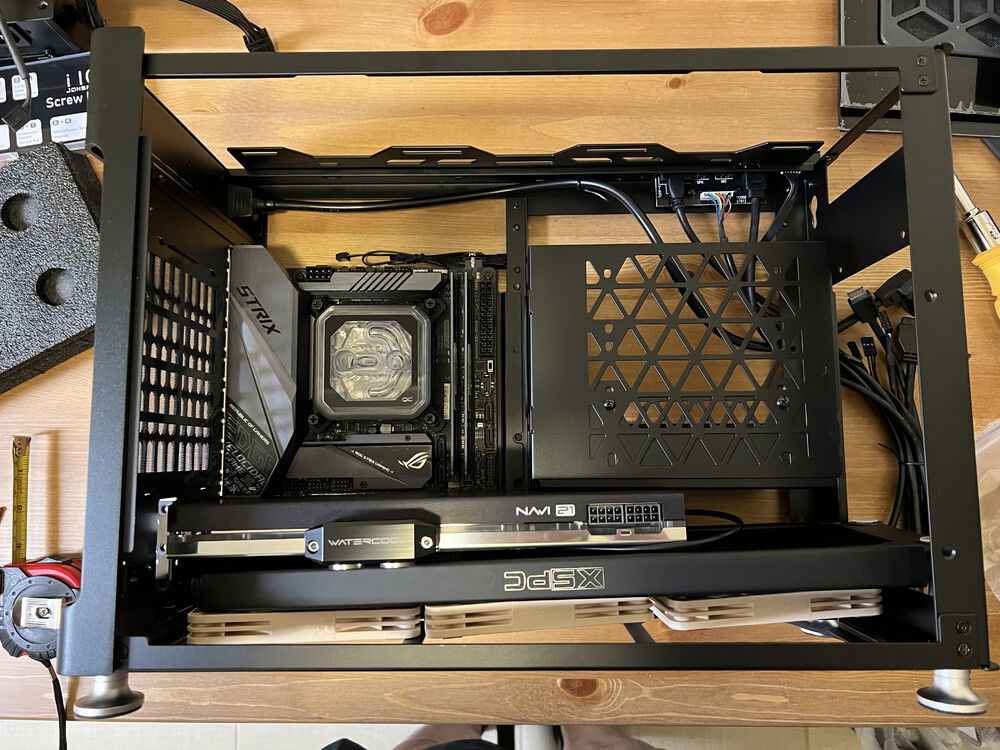
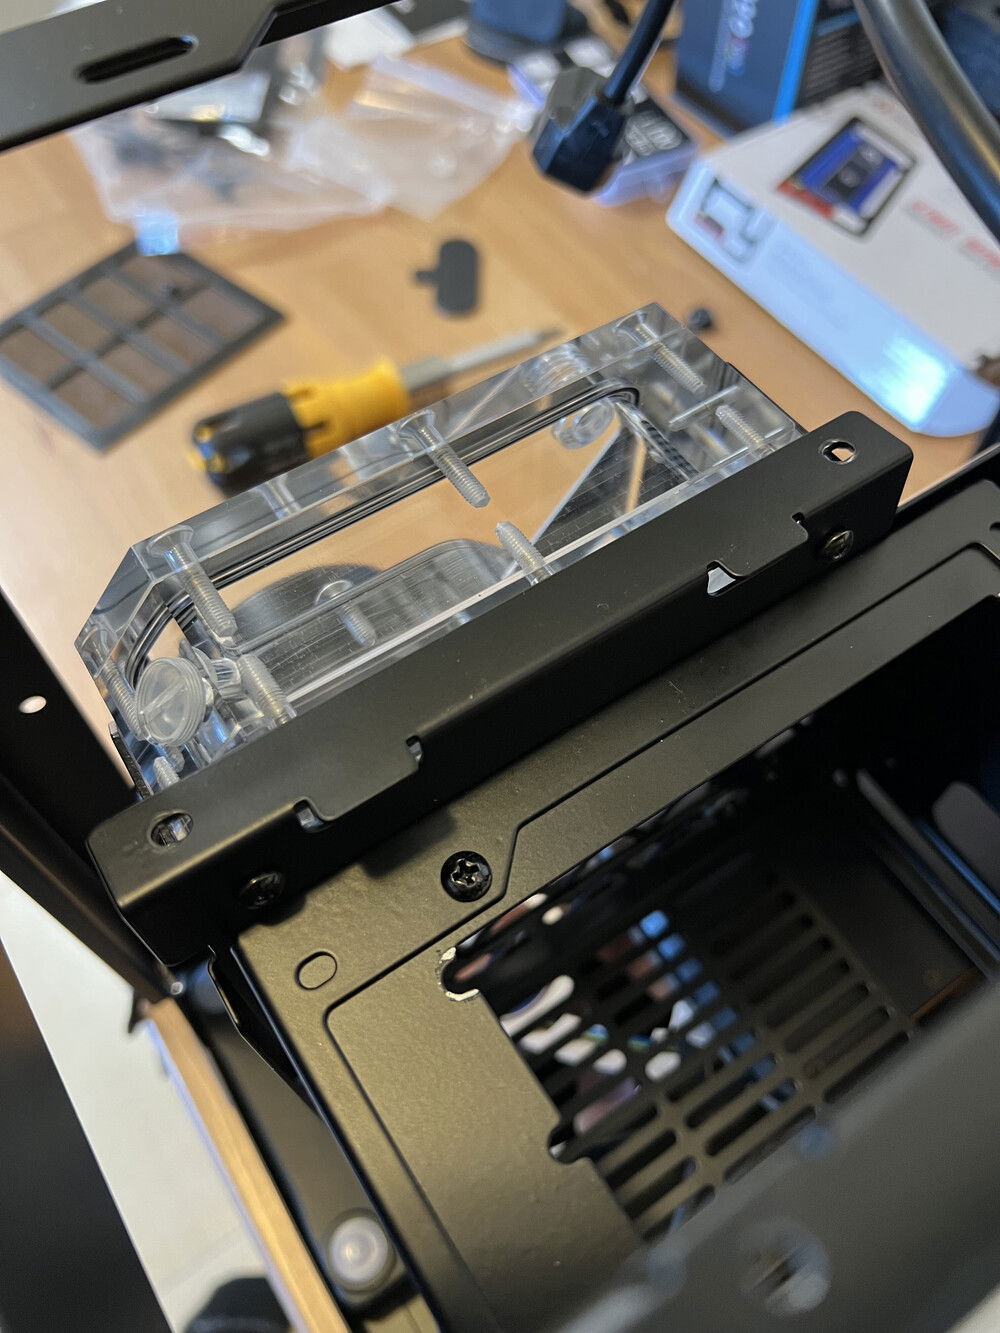
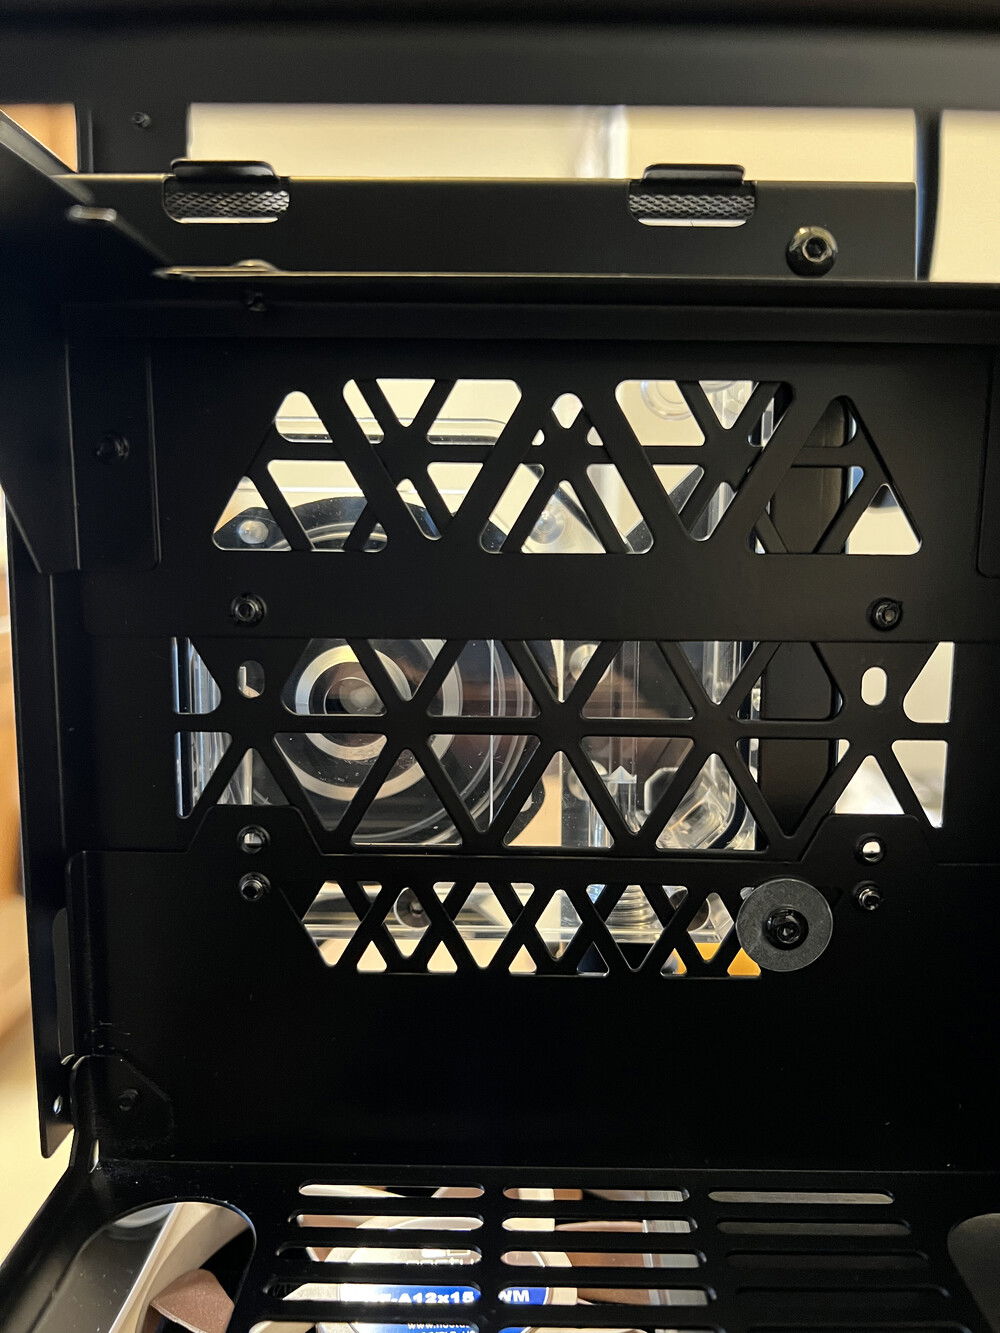
Test fitting. Had to shimmy everything in place.
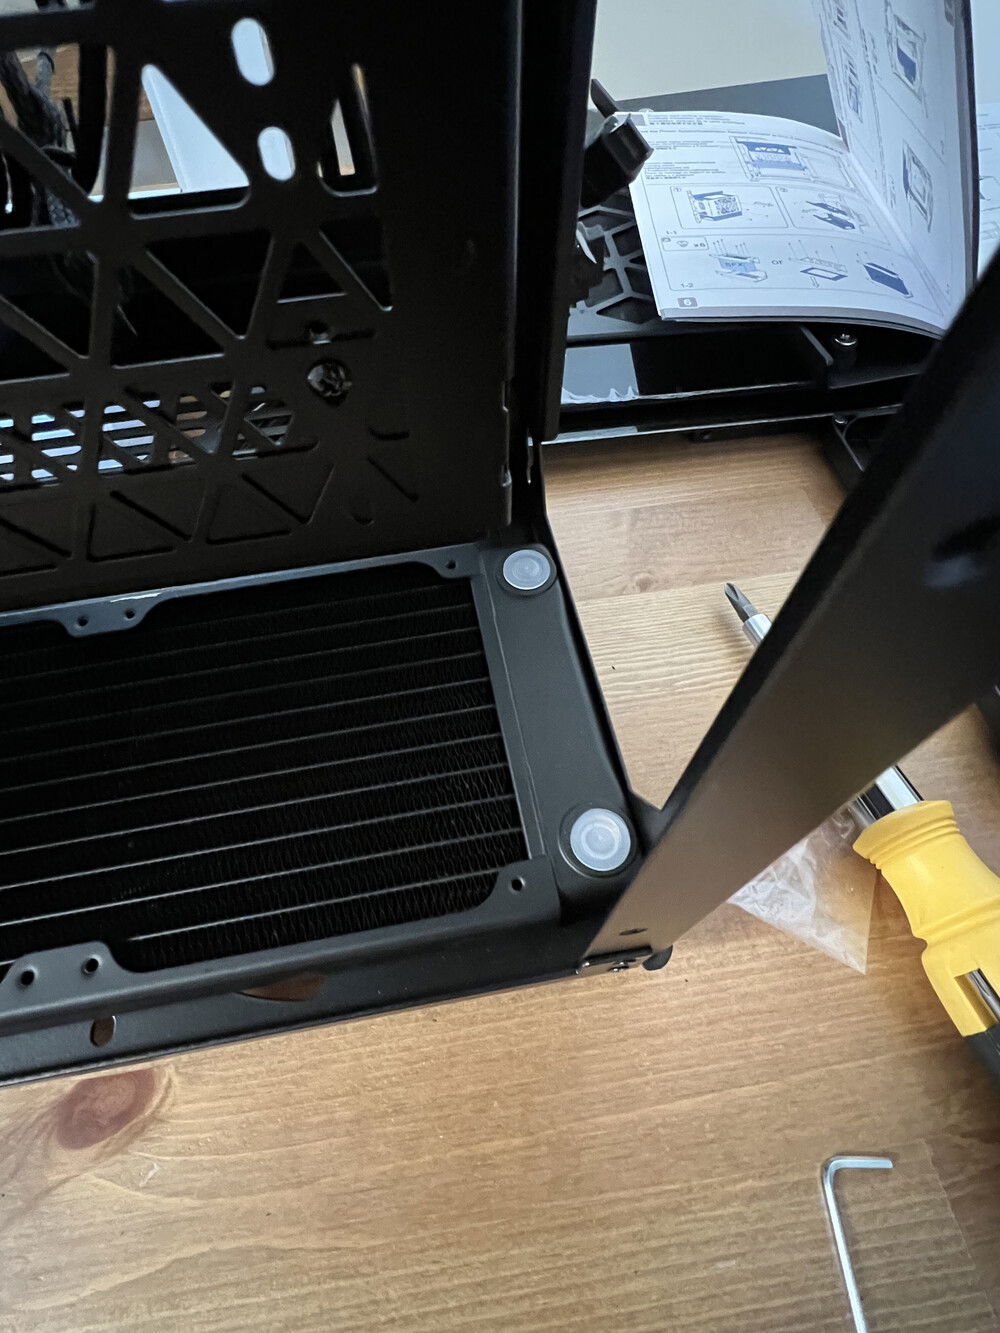
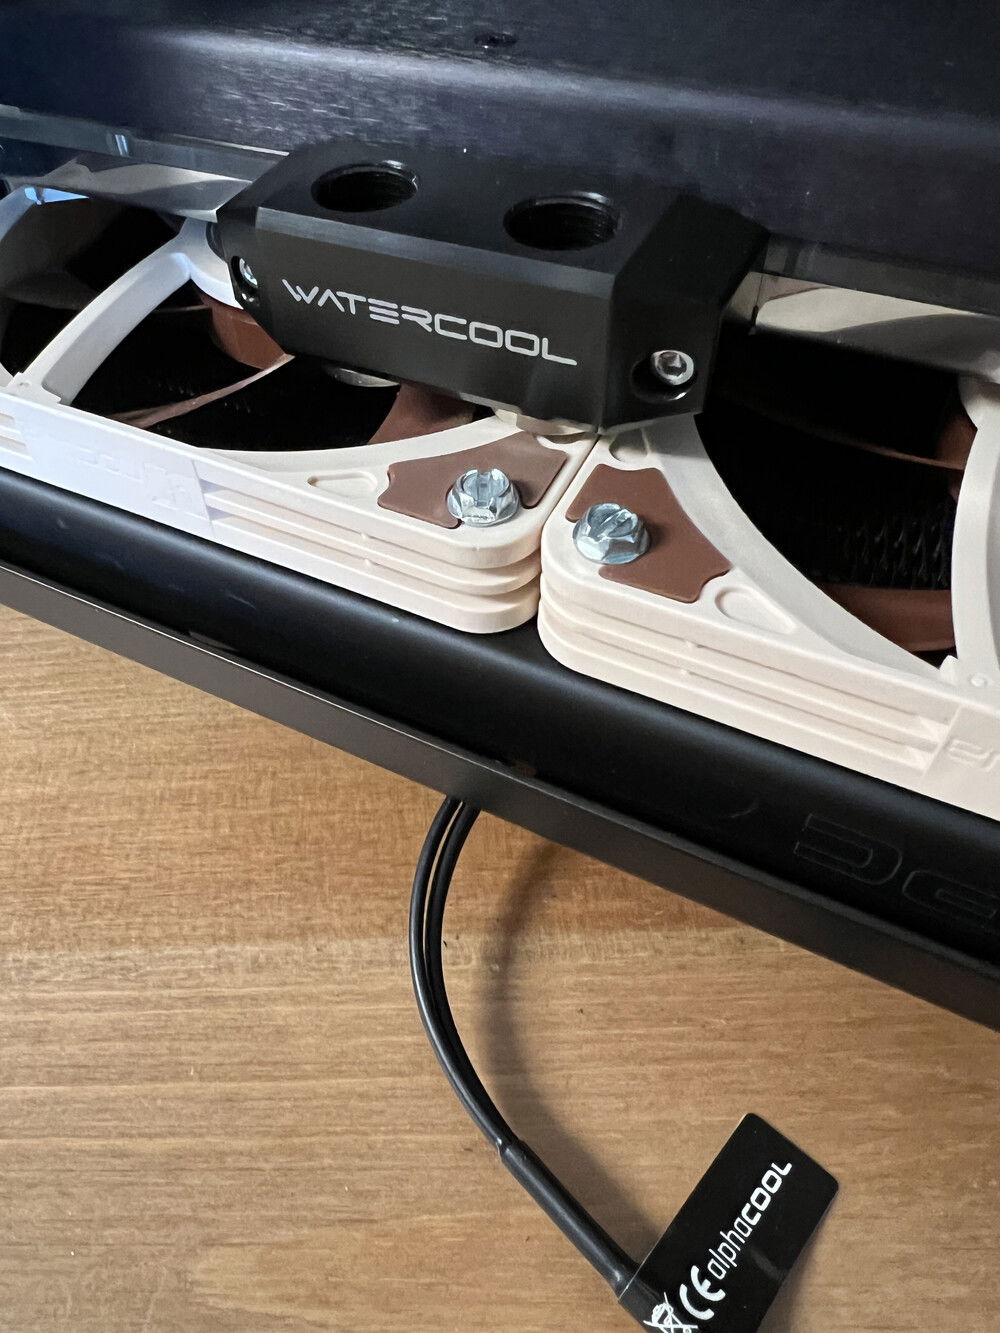
Slim rad just a little too long. Had to loosen the case frame at the bottom corners to get an extra 1mm in addition to removing the HDD panel.
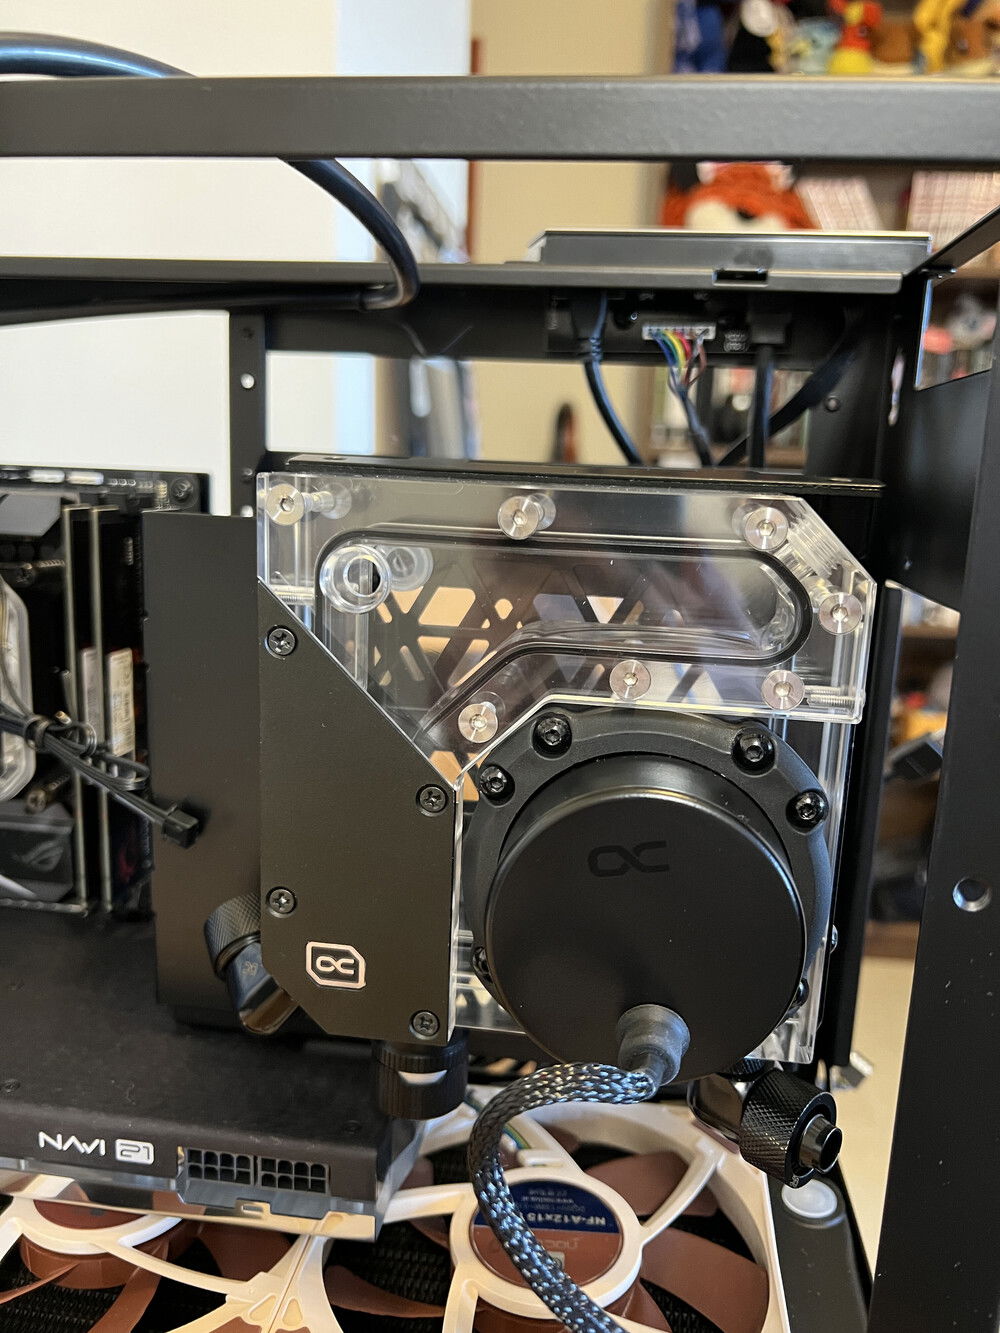
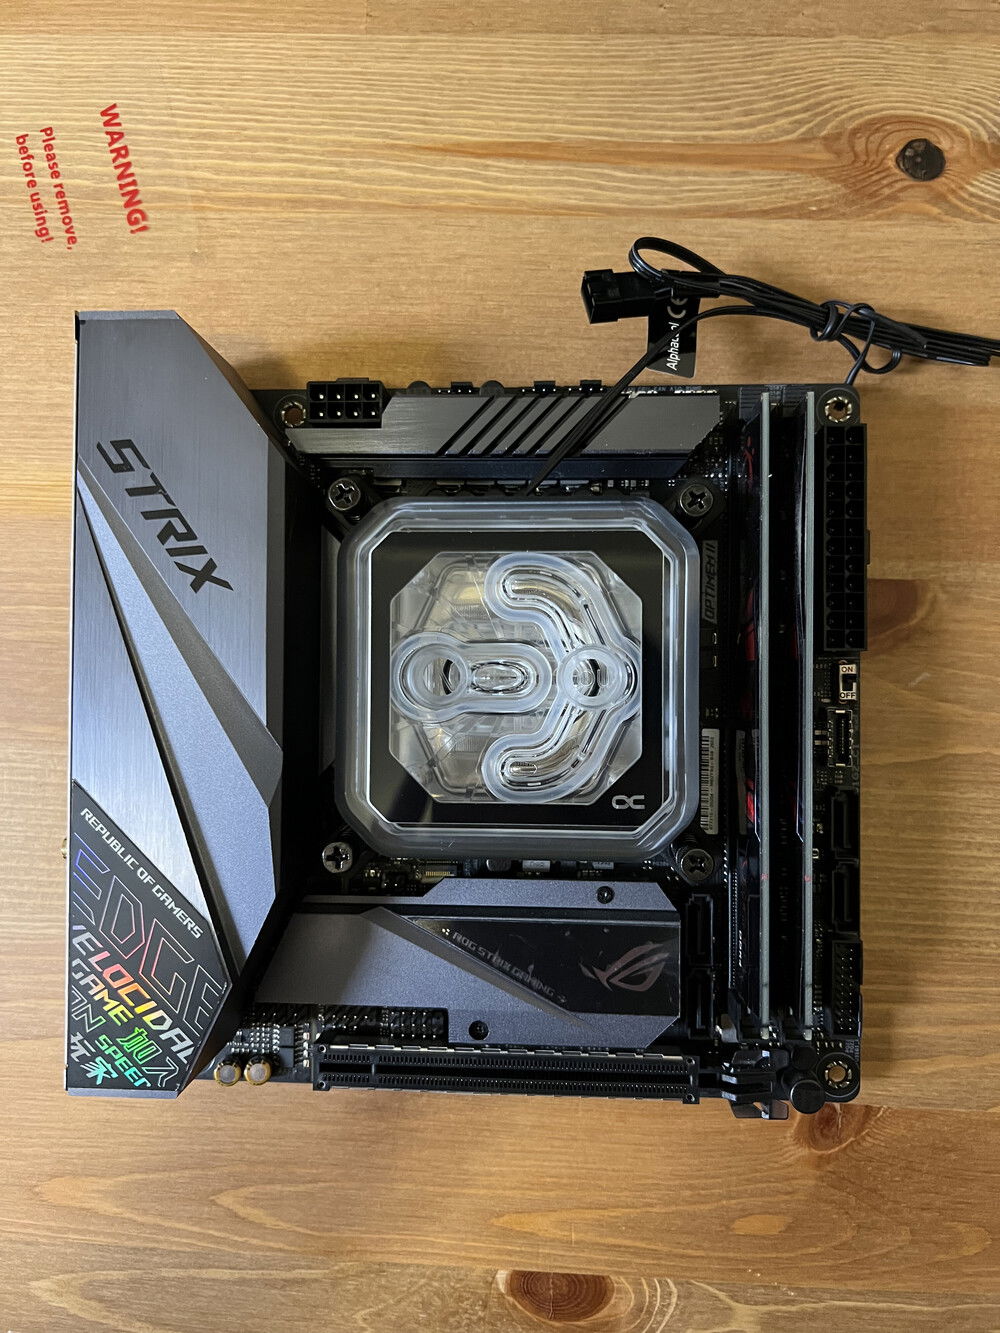
No mod. "Z-clip" style mount for the res/pump. Front view.
Res/pump top view.
Res/pump back view.
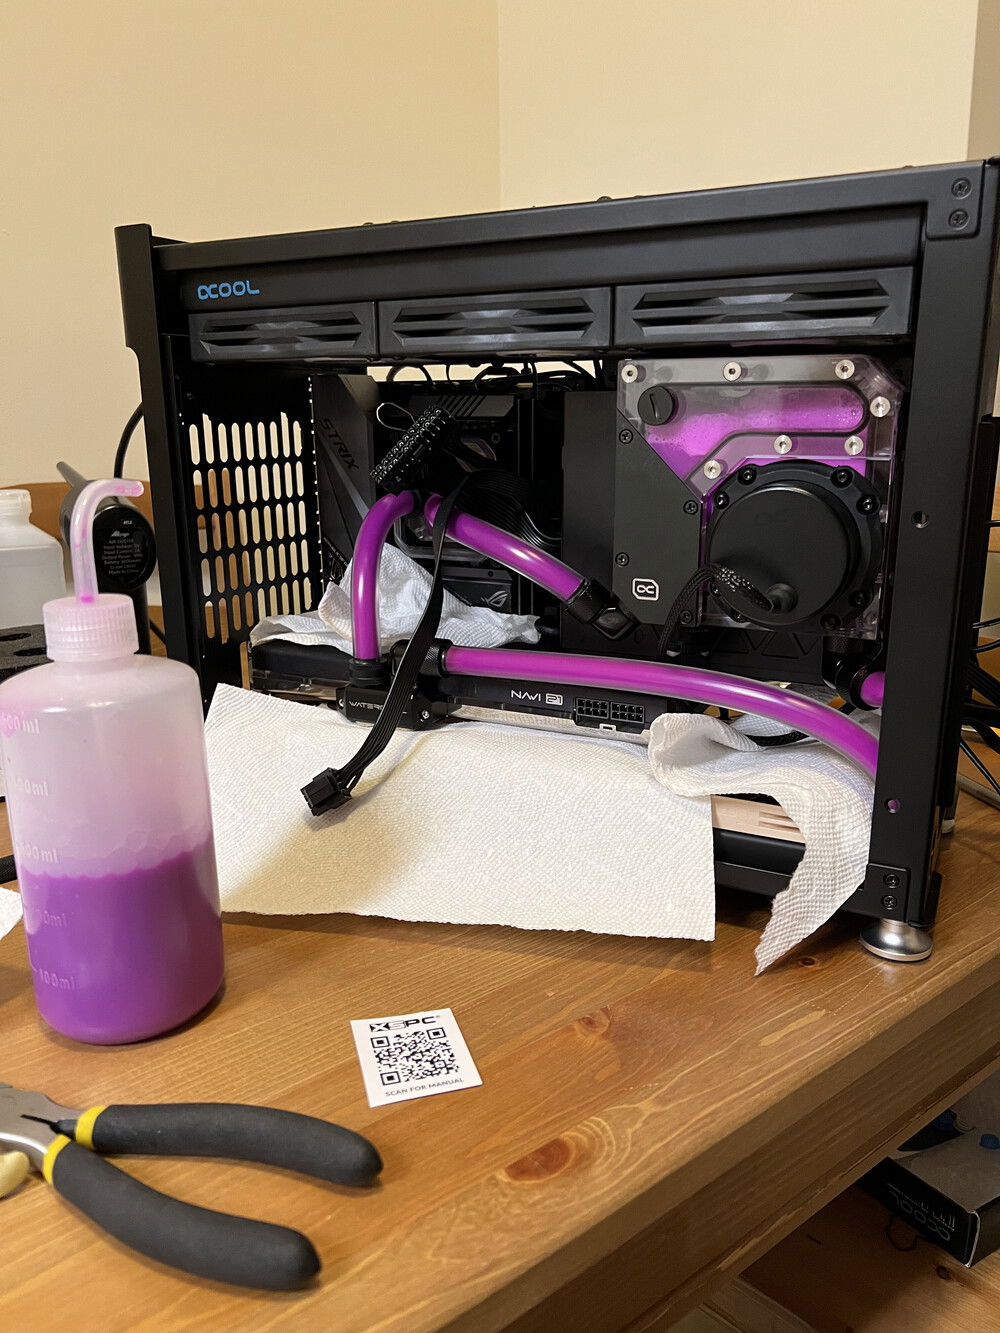
Filling for the first time post leak test.
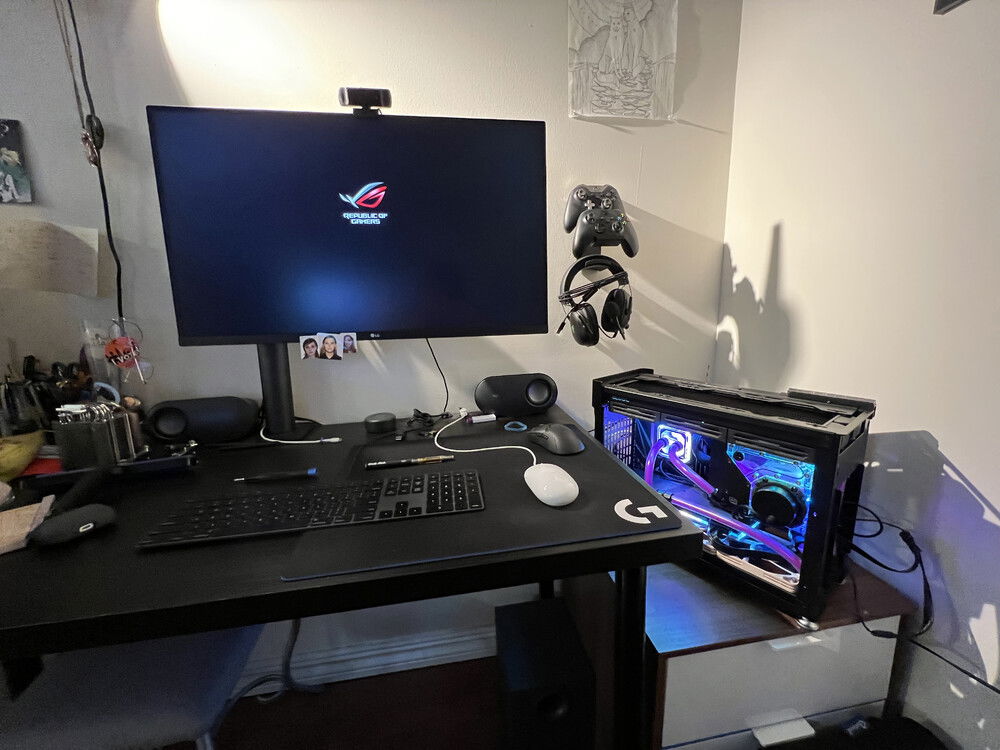
It boots!
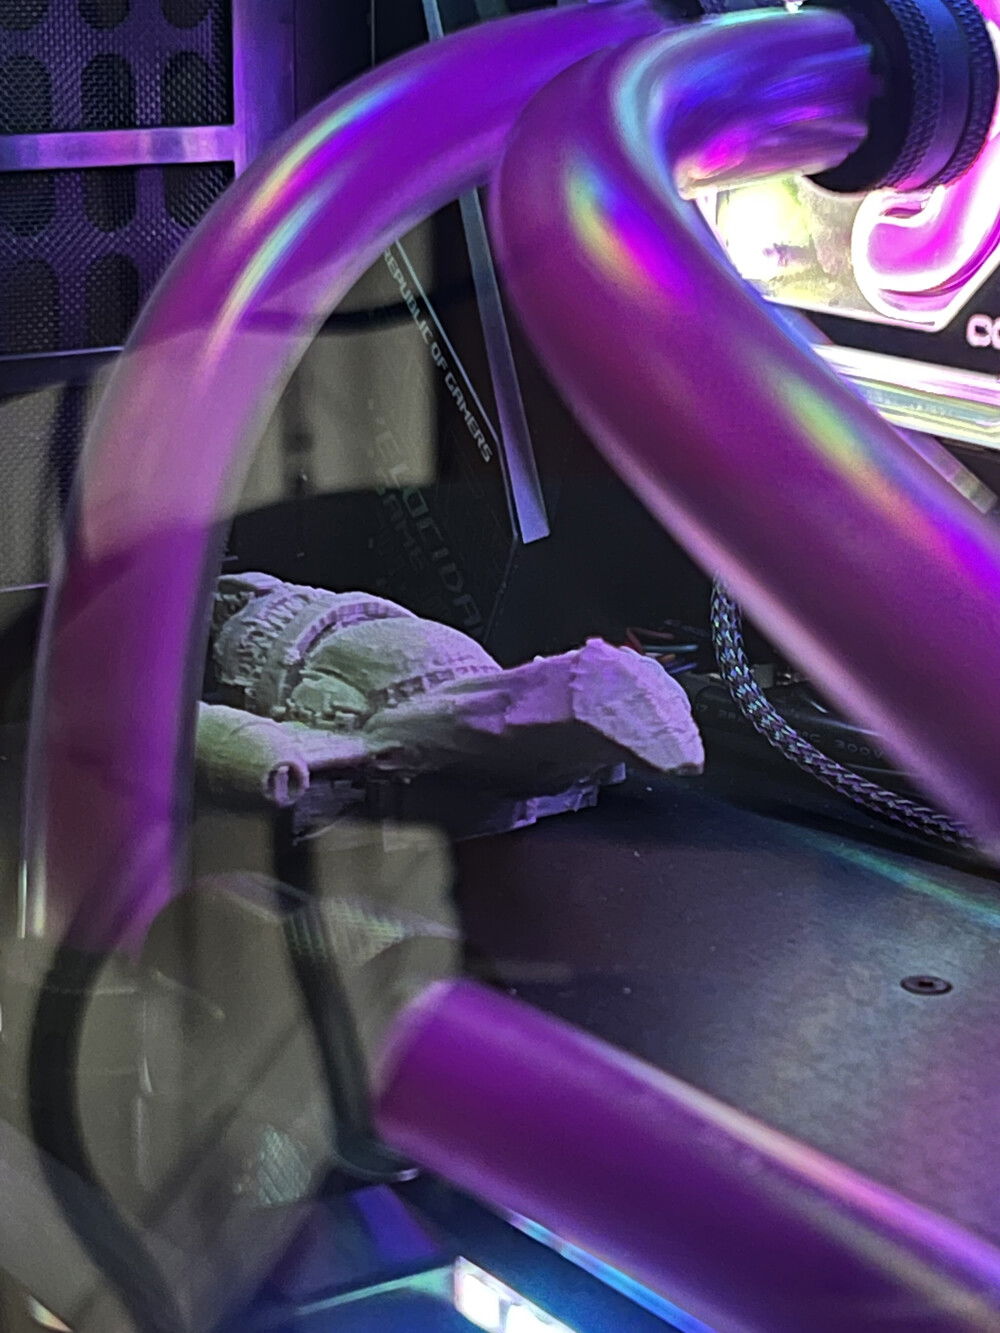
"Midbulk transport. Standard radion accelerator core. Class code 03-k64, Firefly."
Serenity – Jonsplus i100 Pro ITX Dual Rad Build
AD:
This is my first time executing a custom loop. I've been a lurker in the community for a while and finally decided to pull the trigger on my first water-cooled build.
I love SFF. My previous build was an air-cooled NCase M1. Lately, I just started becoming less comfortable with the temps I was getting from gaming with the previous build. I think packing all these hot components into such a small package with little airflow was really holding some performance back. So I decided to find the smallest case that can accommodate at least two 360mm rads (with some adjustments but no modding), the Jonsplus i100 Pro. I moved all the existing components into a new case now with a full custom loop.
Thanks to previous builders here on builds.gg and on reddit for their detailed posts about doing similar configurations (dual 360's) with this case. It really allowed me to plan all the pieces I needed accordingly to get everything just right.
The biggest challenges I faced were the bottom radiator and the res/pump placement.
In order to fit a bottom rad, you have to remove the HDD mount assembly. I also had to loosen the screws of all the bottom corners of the case frame in order to allow some flex. Just a tiny bit of loosening gave an additional 1-2mm of space. Doing both of these things had virtually no impact in the stability of the case. Still solid as hell.
The res/pump was perfect in front of the PSU assembly, however, there wasn't a way to screw it in without drilling. It may have also worked along with the HDD/SDD panel if I didn't remove it to accommodate the bottom rad. Luckily, one of the brackets I removed from the case (L-shaped, I seriously don't remember where it came from 😅) was able to serve as kind of Z-clip or cleat on the top of the reservoir mounting brackets. I "clipped" it over the top of the PSU cage, and with one exposed screw hole on the bottom, I clamped it down with a washer. It worked out perfectly.
Had a great (sometimes agonizing) time with this one. Not as high level impressive like many of the builds on here, but I love the way it turned out. Took about two days to do.
These numbers are not perfect apples-to-apples comparisons and I have much more fine tuning to do but I'm extremely happy with the result.
OLD BUILD – NCase M1, CPU Cooler Noctua NH-U9S, GPU stock cooler, NF-A12x15 case fans:
• CPU idle: 32 C
• CPU load: 69 C
• GPU idle (edge/ hotspot): 30 C / 32 C
• GPU load (edge/ hotspot): 80 C / 95 C
NEW BUILD:
• CPU idle: 30 C
• CPU load: 57 C
• GPU idle (edge/ hotspot): 27 C / 29 C
• GPU load (edge/ hotspot): 57 C / 72 C
Color(s): Black
RGB Lighting? Yes
Theme: none
Cooling: Custom Liquid Cooling
Size: Mini-ITX
Type: General Build
Hardware
CPU
$ 449.00
Motherboard
$ 298.02
Memory
$ 229.99
Storage
Case Fan
$ 104.85
Cooling
$ 74.25
Cooling
$ 79.99
Cooling
$ 110.95
Cooling
Cooling
$ 135.99
Approved by: