Red Giant
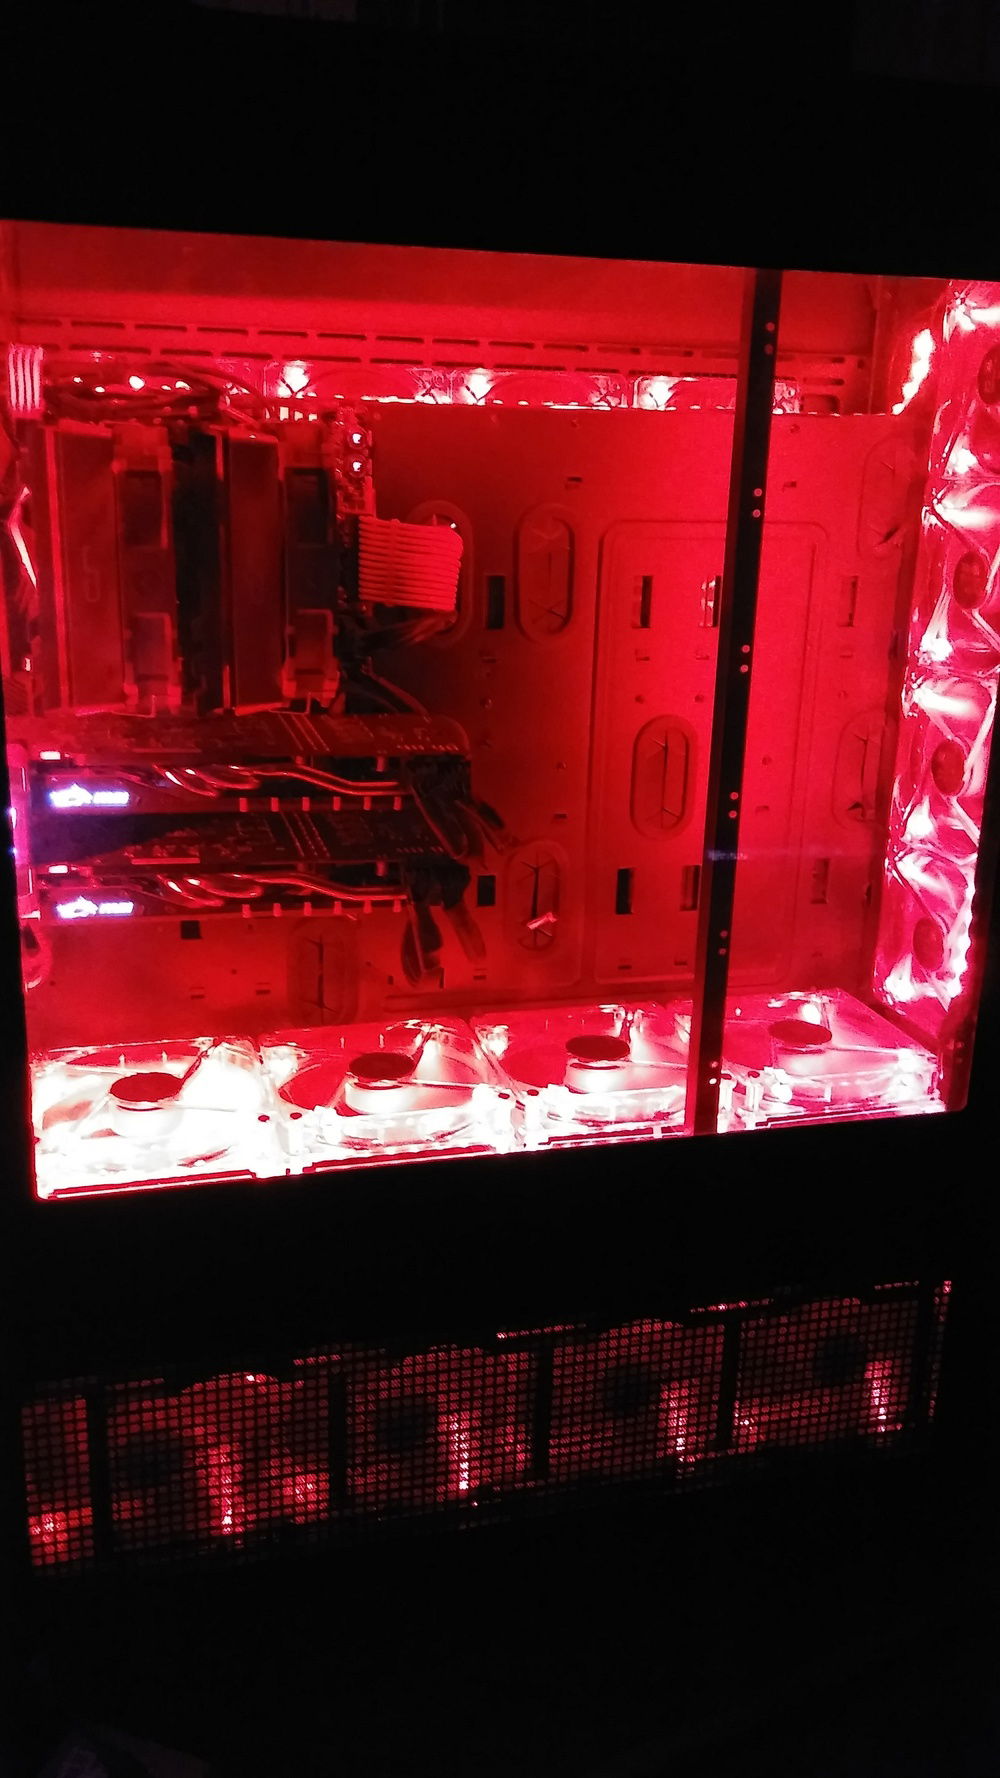
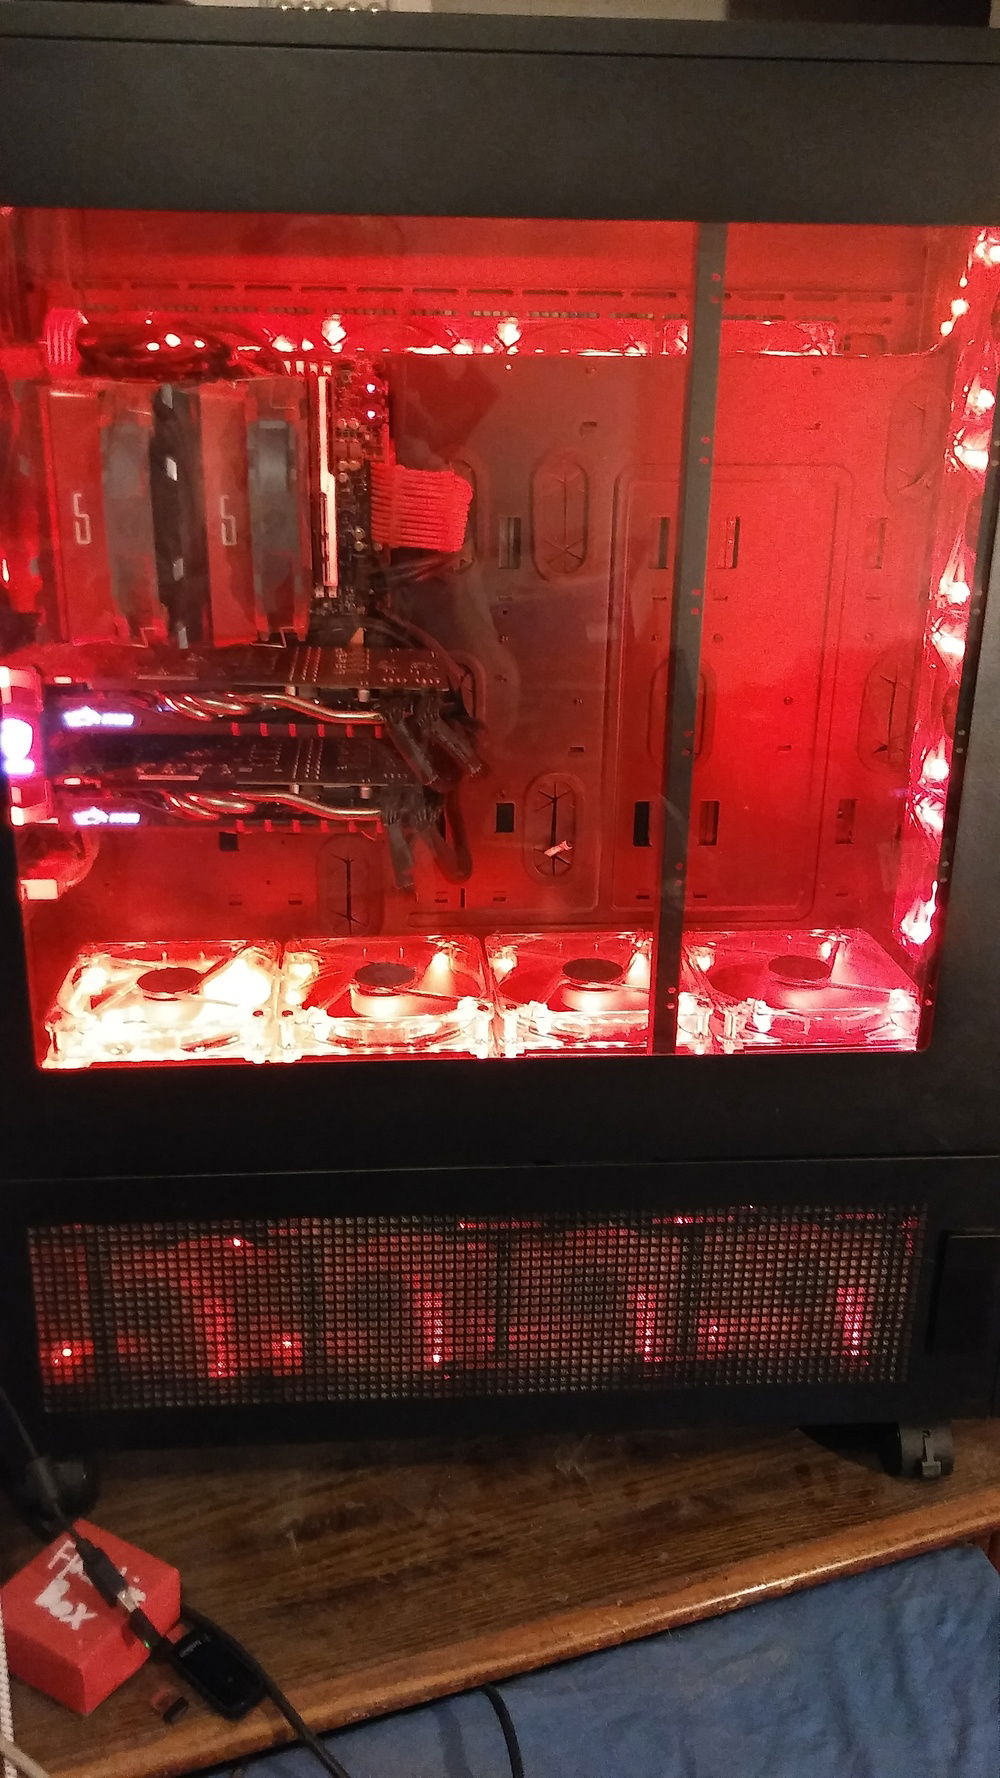
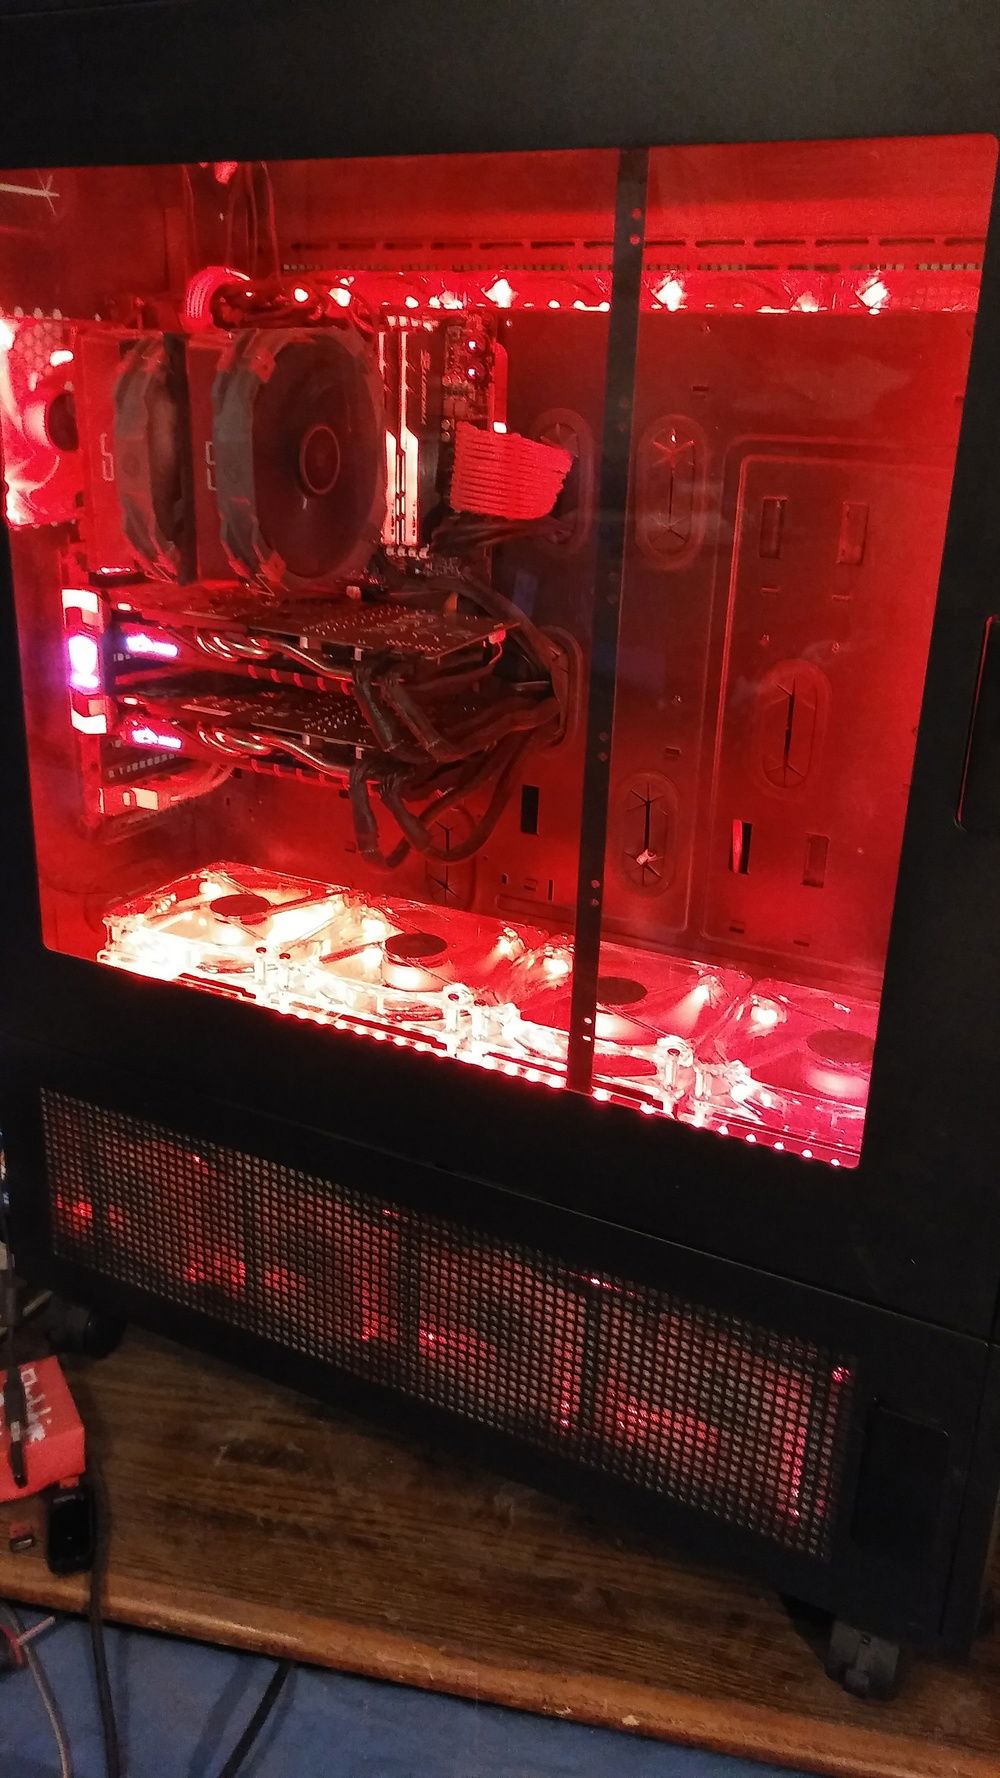
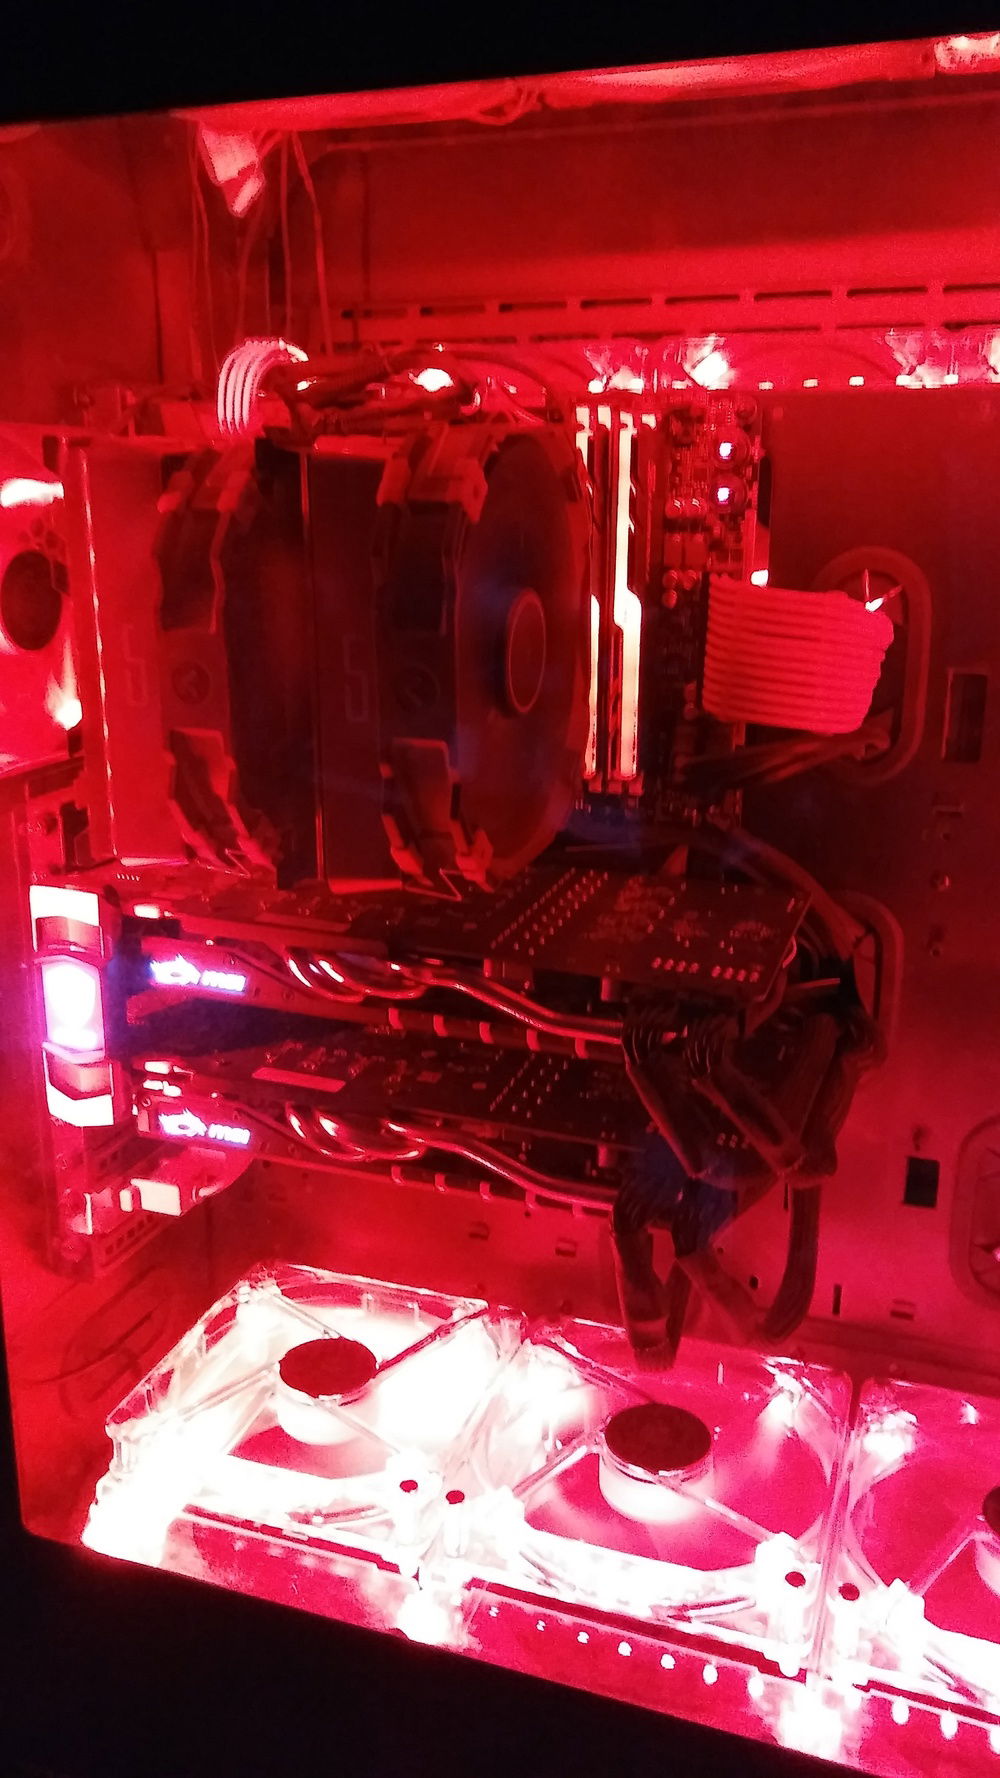
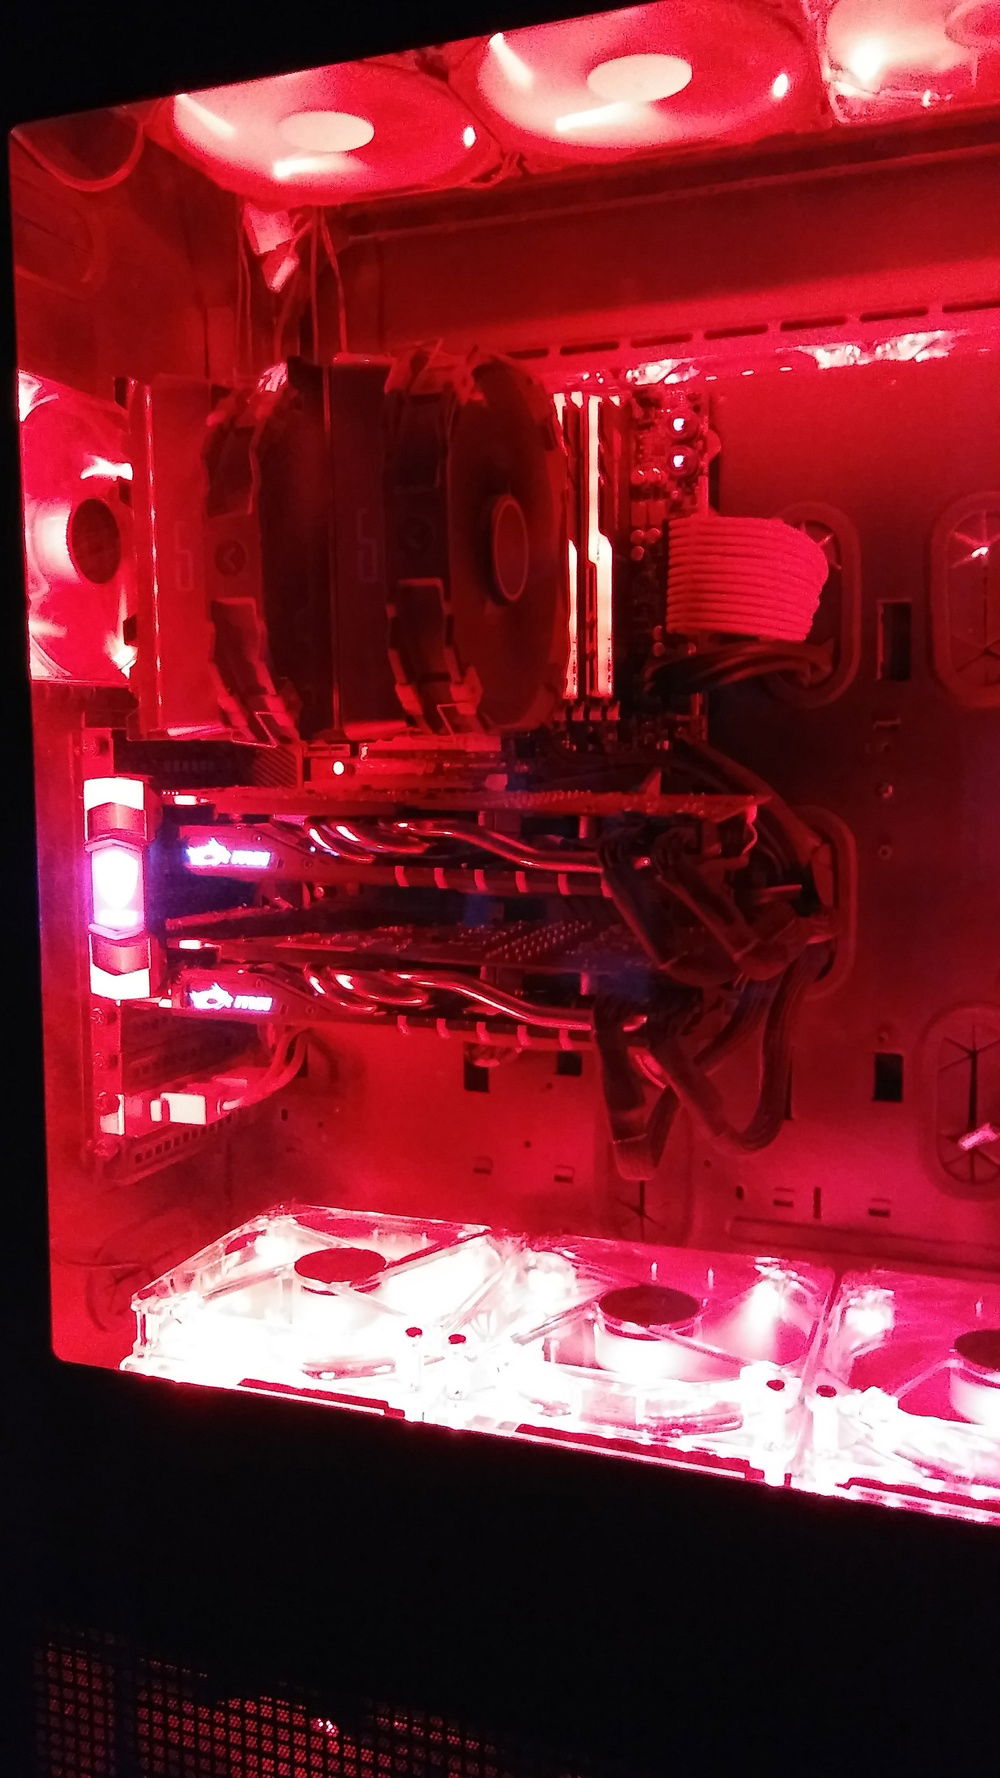
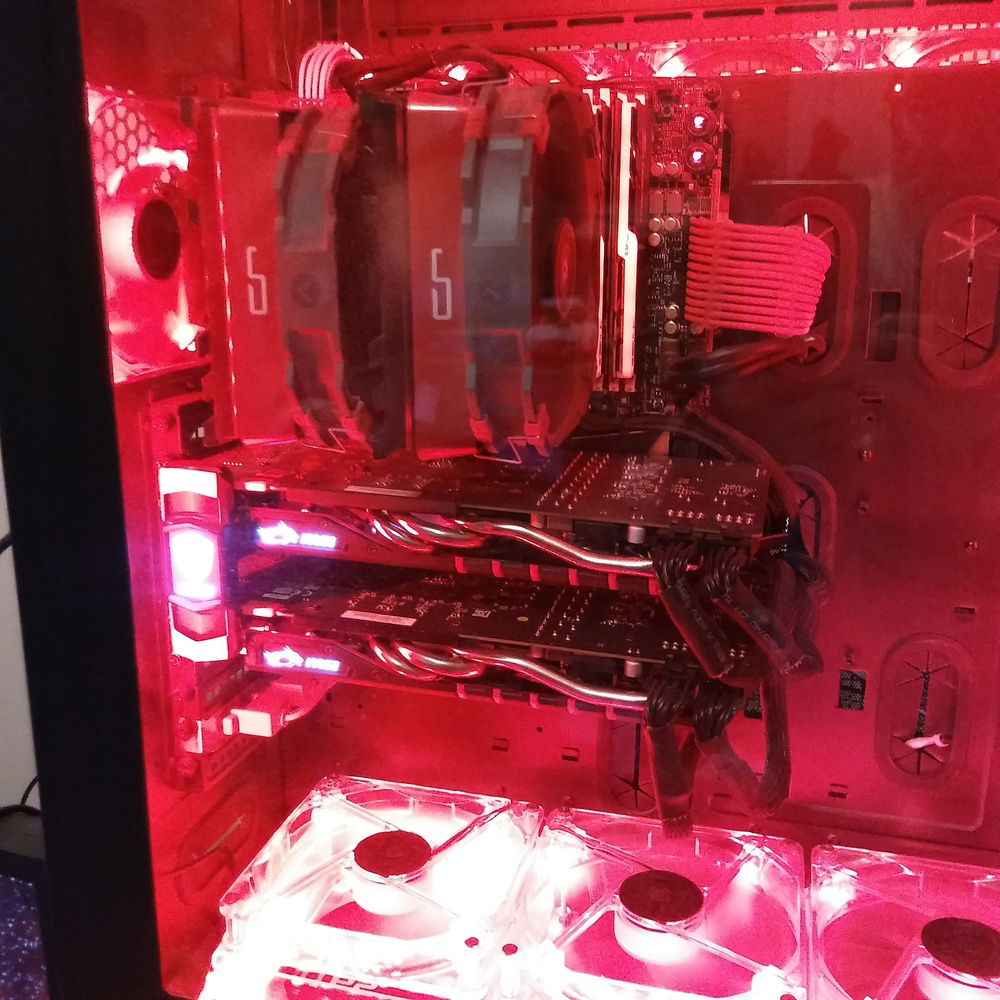
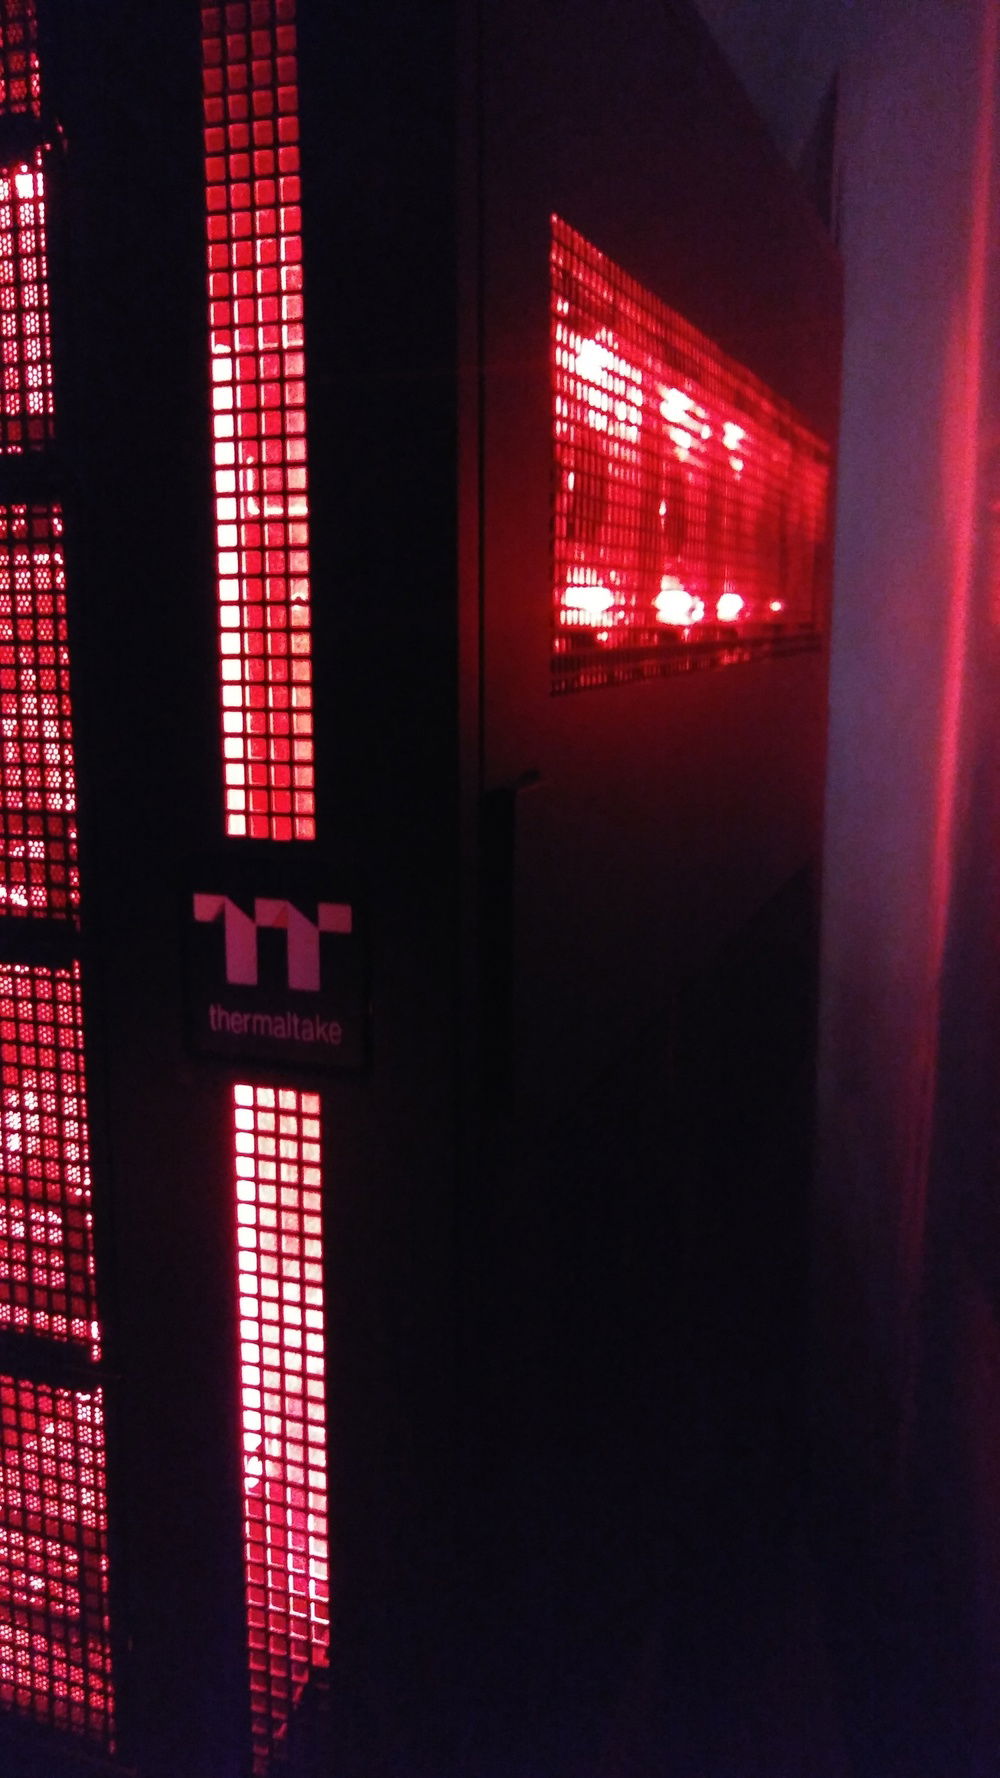
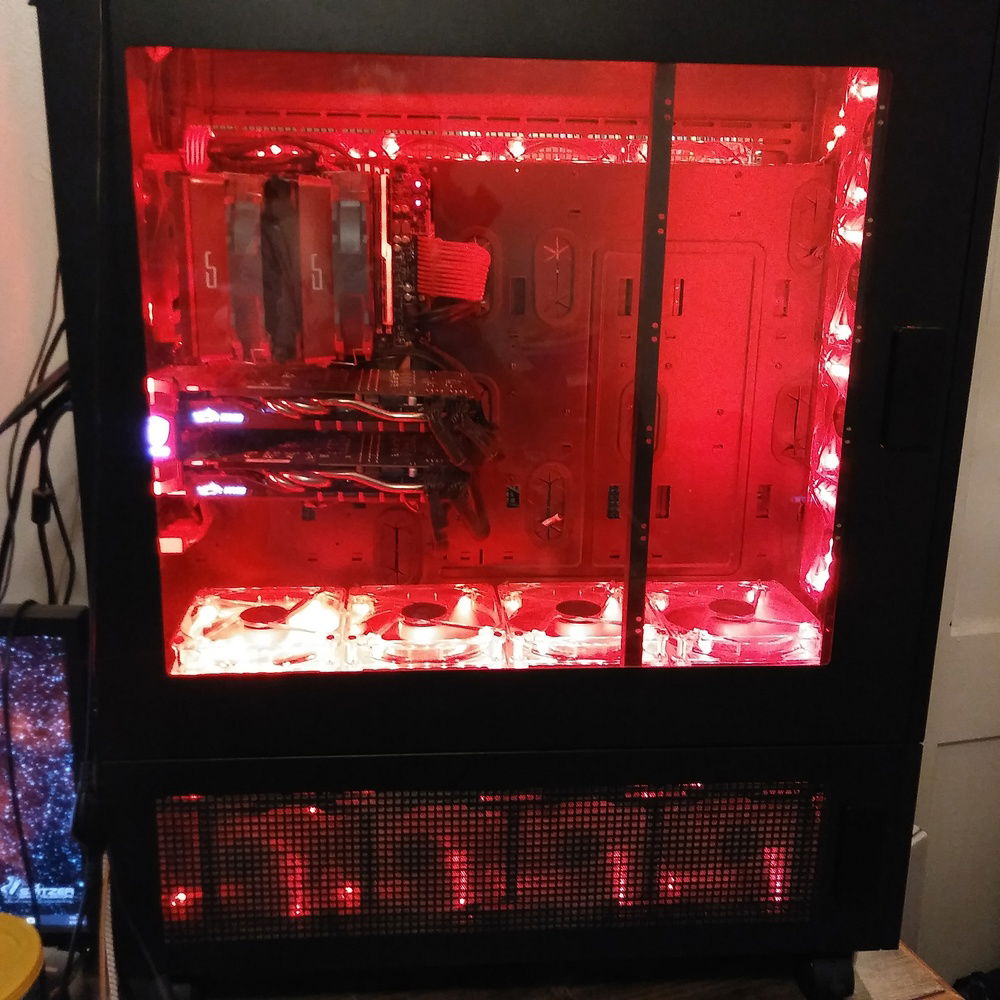
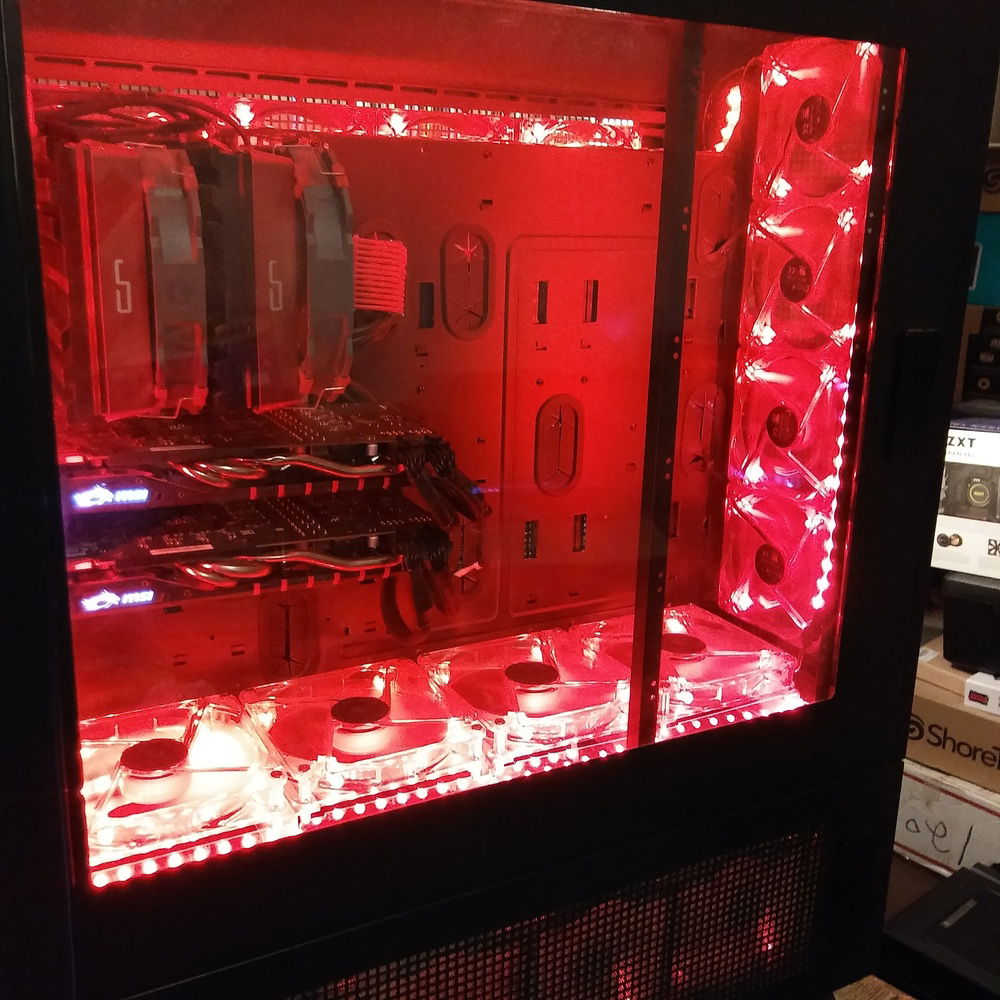
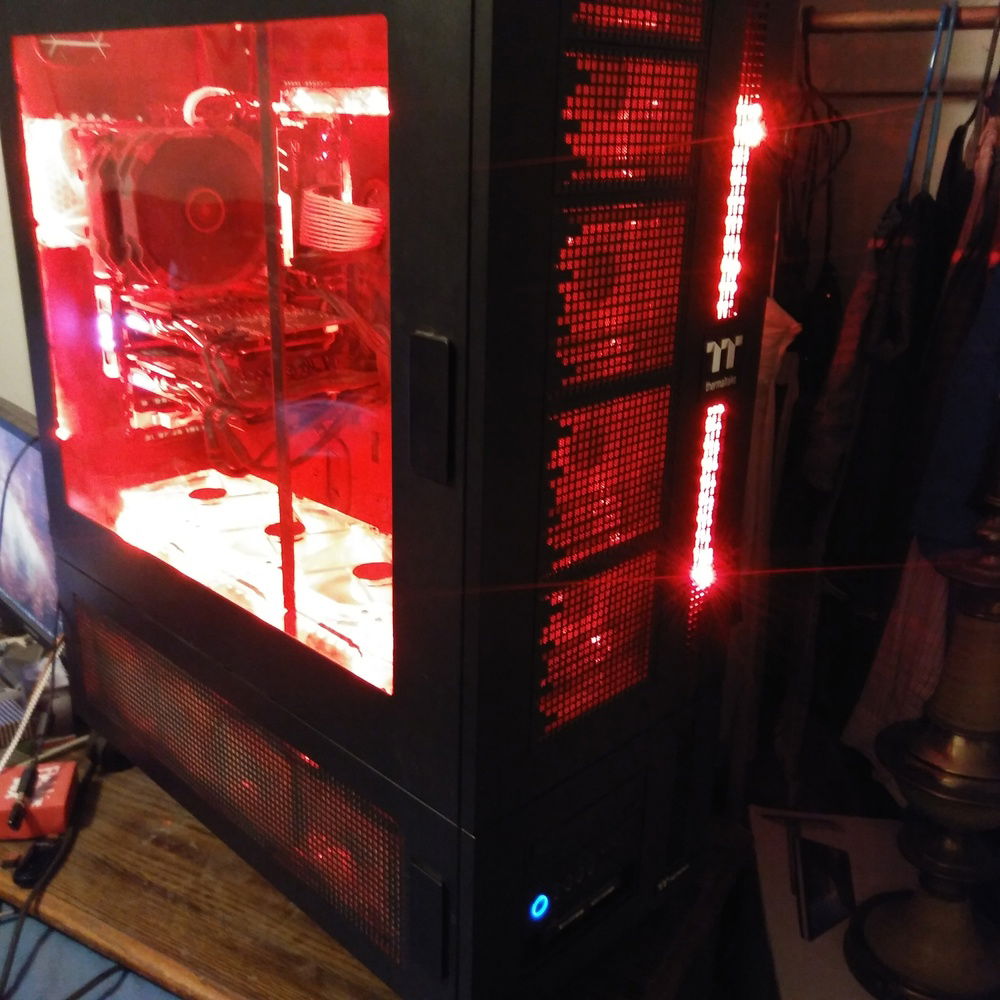
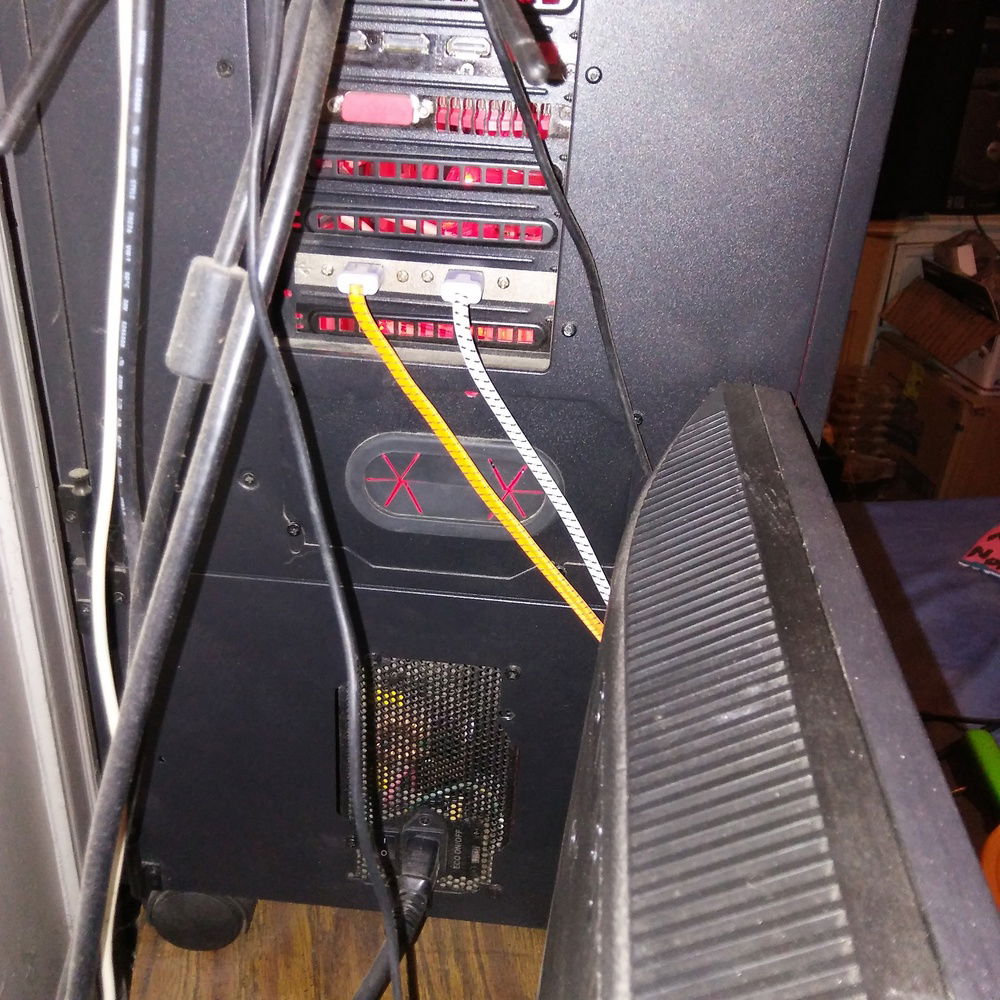
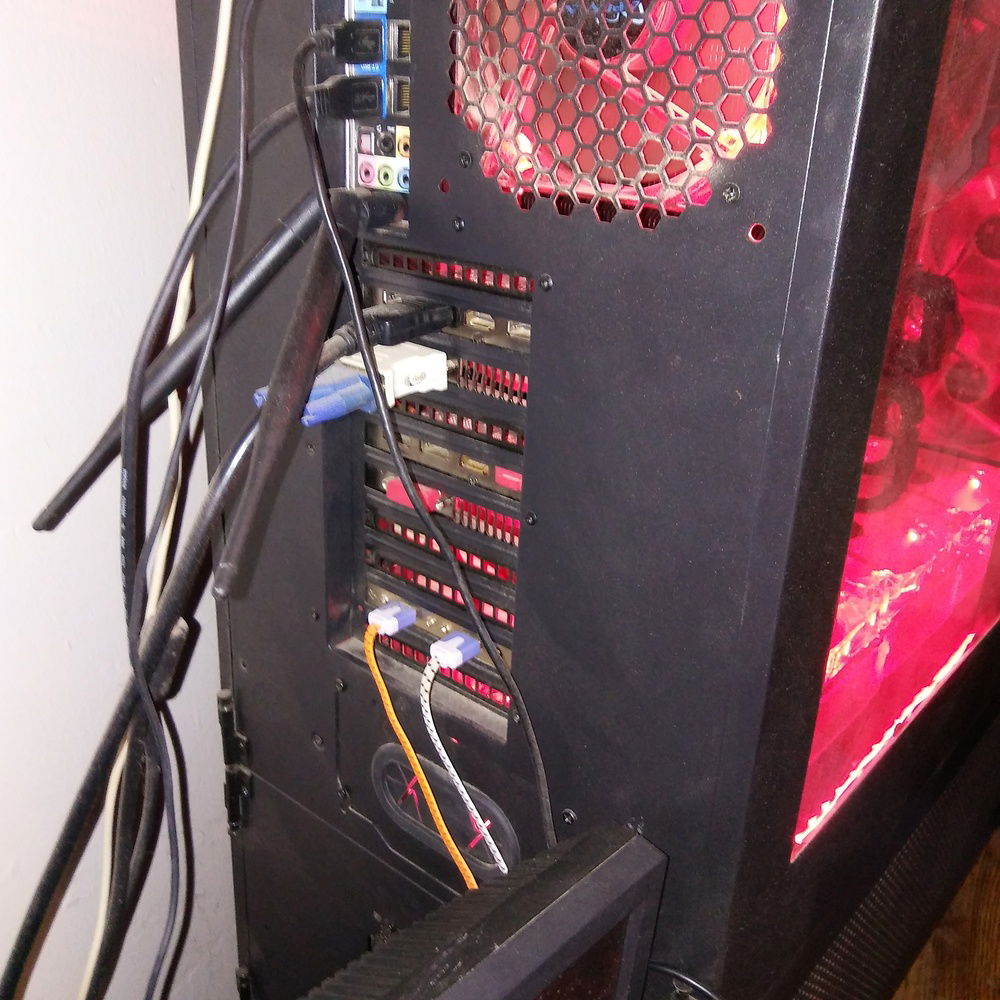
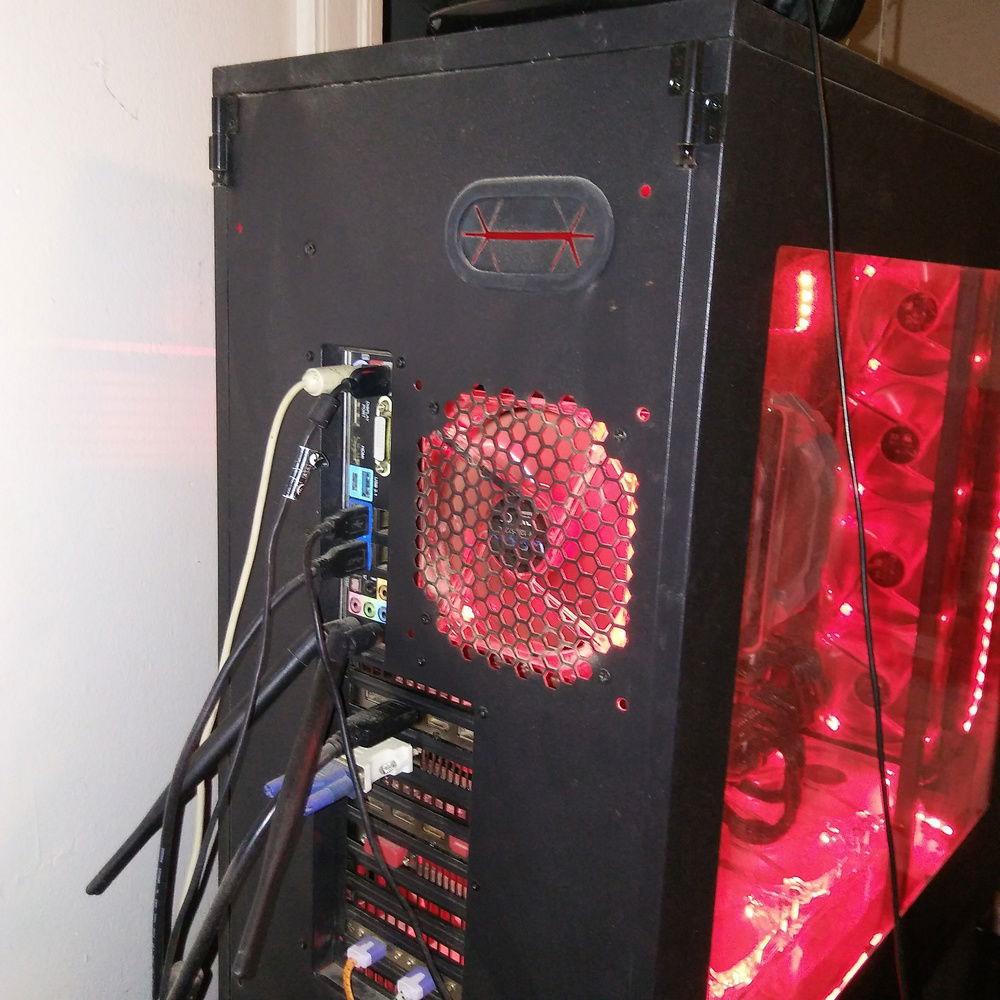
This is my highest hardware specification build at the moment. I built it back in 2016/17 to be the best I could get for what money I had. I like to have cases with lots of room for fans for maximum air flow, and in this build, I went all out, using a case normally associated with watercooling to build the most overly excessive air cooled build I could make. You may (or may not) recognize it, but it's the famous Thermaltake Core WP100. At this particular moment there are 20 fans in it, all of them placed in stock locations. There are no mods to the case, as I usually only like to build with what options the case gives me. I did however buy 4 clear "shrouds" (usually used with placing fans on radiators to eliminate "dead spots" in the fan's airflow) to raise the bottom fans above the mounting holes in the main chassis. I had to do this in order to facilitate passing cables through from the P100 to the W100, as there are not any cable pass thru channels on the back side of the motherboard tray, something I consider to be a massive oversight on Thermaltake's part in the design of this chassis. Yes, the W100 was designed to be a standalone chassis unto itself, but if you also incorporate expandability into the design, there should be appropriate cable pass through holes or grommets that do not require using what SHOULD be a place for a fan; yet, somehow, that's what the engineers of this chassis thought was a good idea. Give the people the option--either have fans, or have the ability to run cables from one part of the case to the other. Really? Oh, and that makes the cables completely visible, with no way to hide them either, yeah, another reason that was a great idea. But I digress. I do believe there was a change made on later versions of it, but don't quote me, I haven't seen one in person.
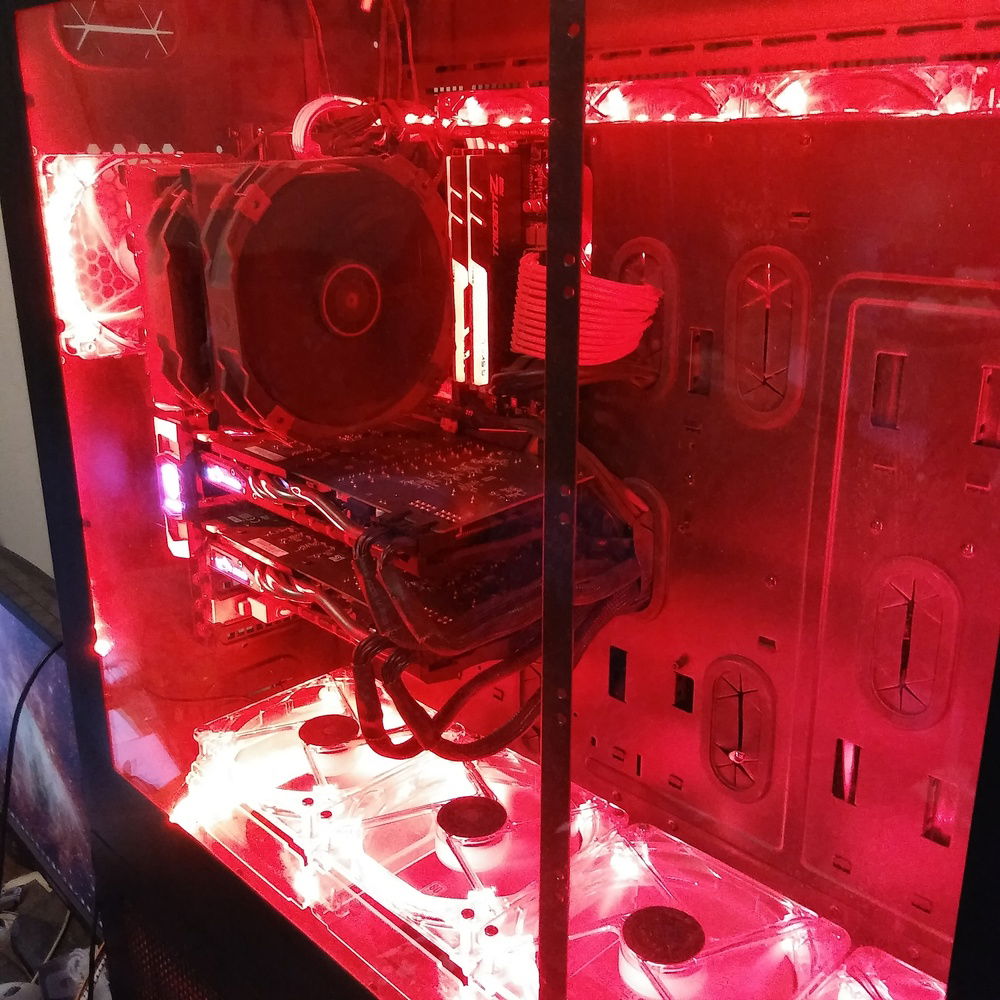
One nice side effect of having to make that "mod" however was that the fans are raised up above the bottom of the W100, to almost exactly where the acrylic window starts, instead of several inches below it, so they are so much more visible. It also effectively hides any and all cables I needed to run, since they are behind the fans, so it was a win-win all around. I guess sometimes design flaws can lead to better looking results, as it leads to the builder having to get "creative".
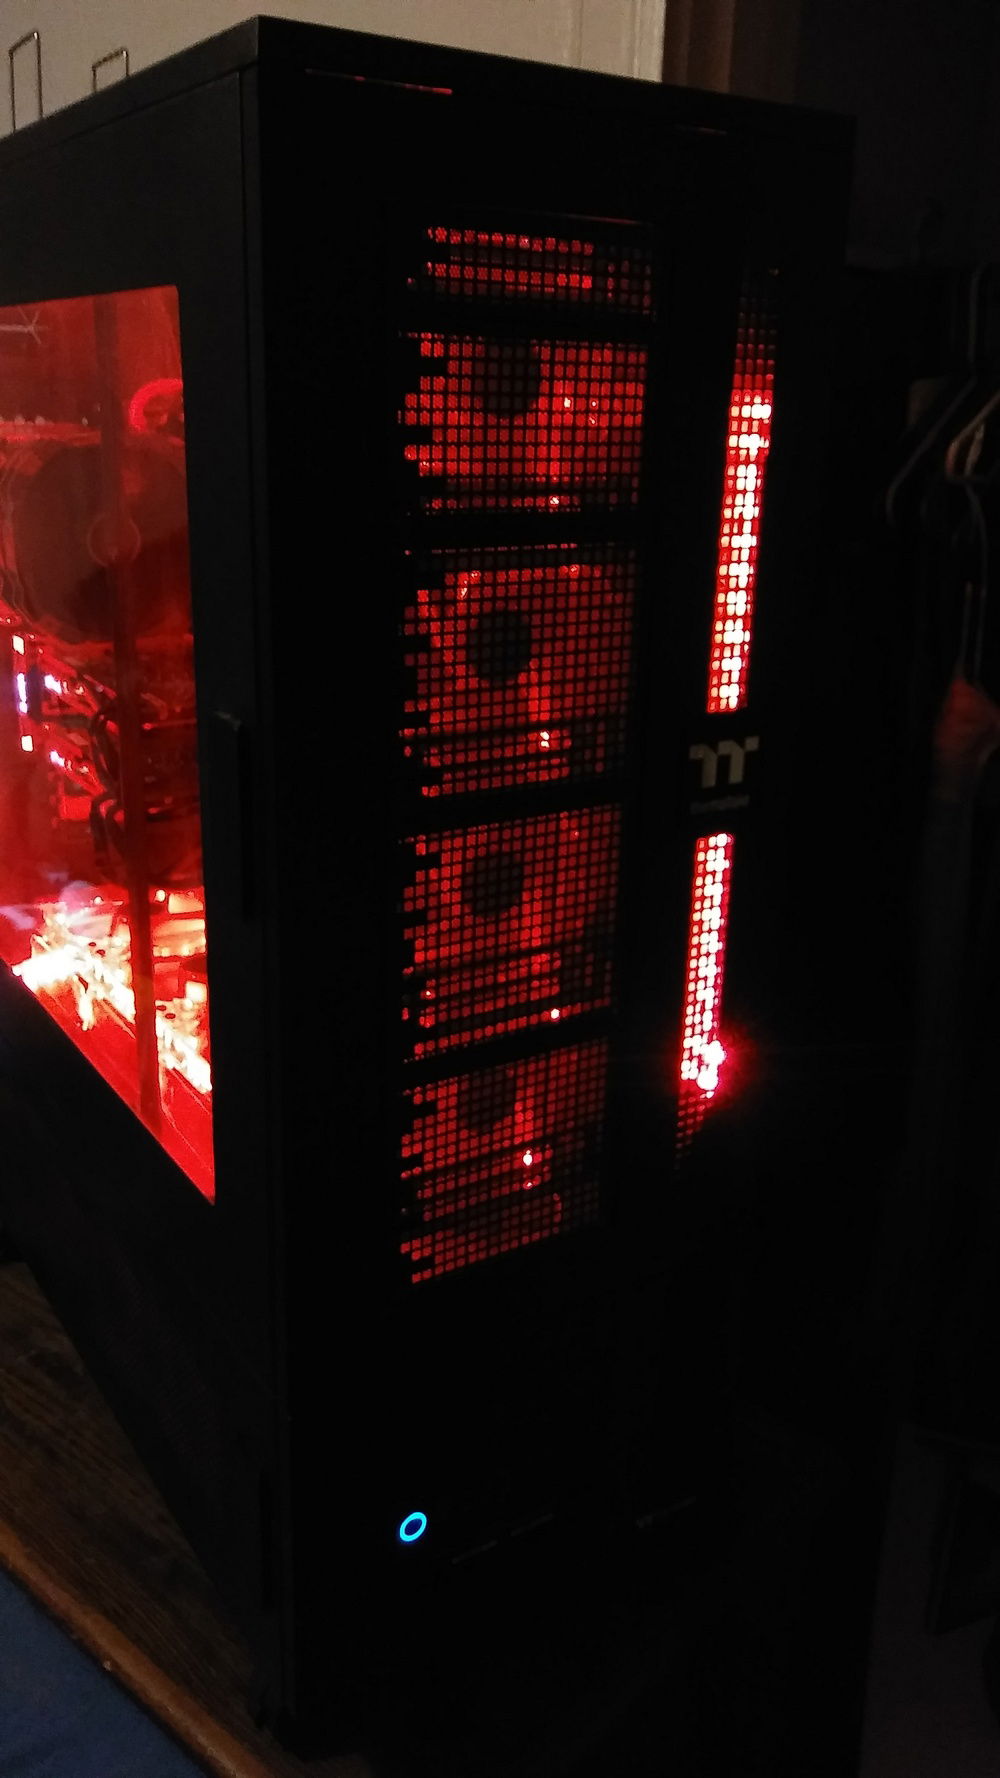
Anyway, I call this thing the "Red Giant", because the case is so large, and there are so many red LED lights, it glows like a red giant star!
I used a basic Cablemod cable extension kit in red for the 24 pin and EPS power cable, and while I should have probably used it on the GPU's too, there were only enough cables in the kit for one GPU, so I used the stock black cables from the PSU to maintain uniformity. In addition to there being red LED fans (all 20 of them), there are five 12" LED strips and two 24" strips to light the interior, and also the right side of the front of the case. Originally, I had 9 more fans in it that were white, for additional illumination, but I found that in addition to making this insane thing a dust magnet, they actually were a detriment to the proper air flow in the case, so I took them out, so all that's left is the red. Believe it or not, having too many fans does make the airflow WORSE rather than better, a lesson I learned building this and testing different configurations. It would take too long to explain, but with the crazy amount of fan mounting options in this case, with some experimentation, you will find that just because you CAN mount a fan, it may not be the best idea to do it, at least if you want to keep the dust to a minimum and your temps in the right place. Who knew? (lol) Seems simple, intake at the bottom and front, exhaust out of the top and back (and by back I mean the back side of the motherboard tray, not the "back" of the case where there is a single fan). And, I have not even mentioned that you can mount fans in the very bottom of the P100, on mounts that are identical to the ones on the bottom of the W100. It is entirely possible to install 32 fans in this case (the W100 and P100 combo), and, if you are using radiators with push/pull configs, that number could almost double. Having both the P100 and W100 also gives you 2 options for mounting the power supply. I chose to put it in the P100, hidden, at the bottom. Add yet more P100's, either on top or underneath the W100, and even more possibilities open up. There's an incredible amount of options for mounting storage drives as well.
Anyway, yes, I know it's ridiculous, crazy even, to use a watercooling case for a strictly air cooled build, but, here it is!
Color(s): Black Red
RGB Lighting? Yes
Theme: Color
Cooling: Air Cooling
Size: ATX
Type: General Build
Contests
This build participated in 1 contest.
| Rank | Contest | Date |
|---|---|---|
| #2034 | The builds.gg 10K Challenge | ended |
Hardware
CPU
$ 124.71
Motherboard
$ 188.00
Memory
Memory
$ 264.99
Graphics
Graphics
Storage
$ 43.51
Storage
$ 42.99
Western Digital - WD Blue Desktop (WD10EZEX)
Form Factor: 3.5 Inch
Interface: SATA 6 Gb/s
Capacity: 1 TB
Storage
PSU
$ 288.02
Case
$ 149.99
Case
$ 349.99
Cooling
$ 44.99
CableMod
Approved by:
