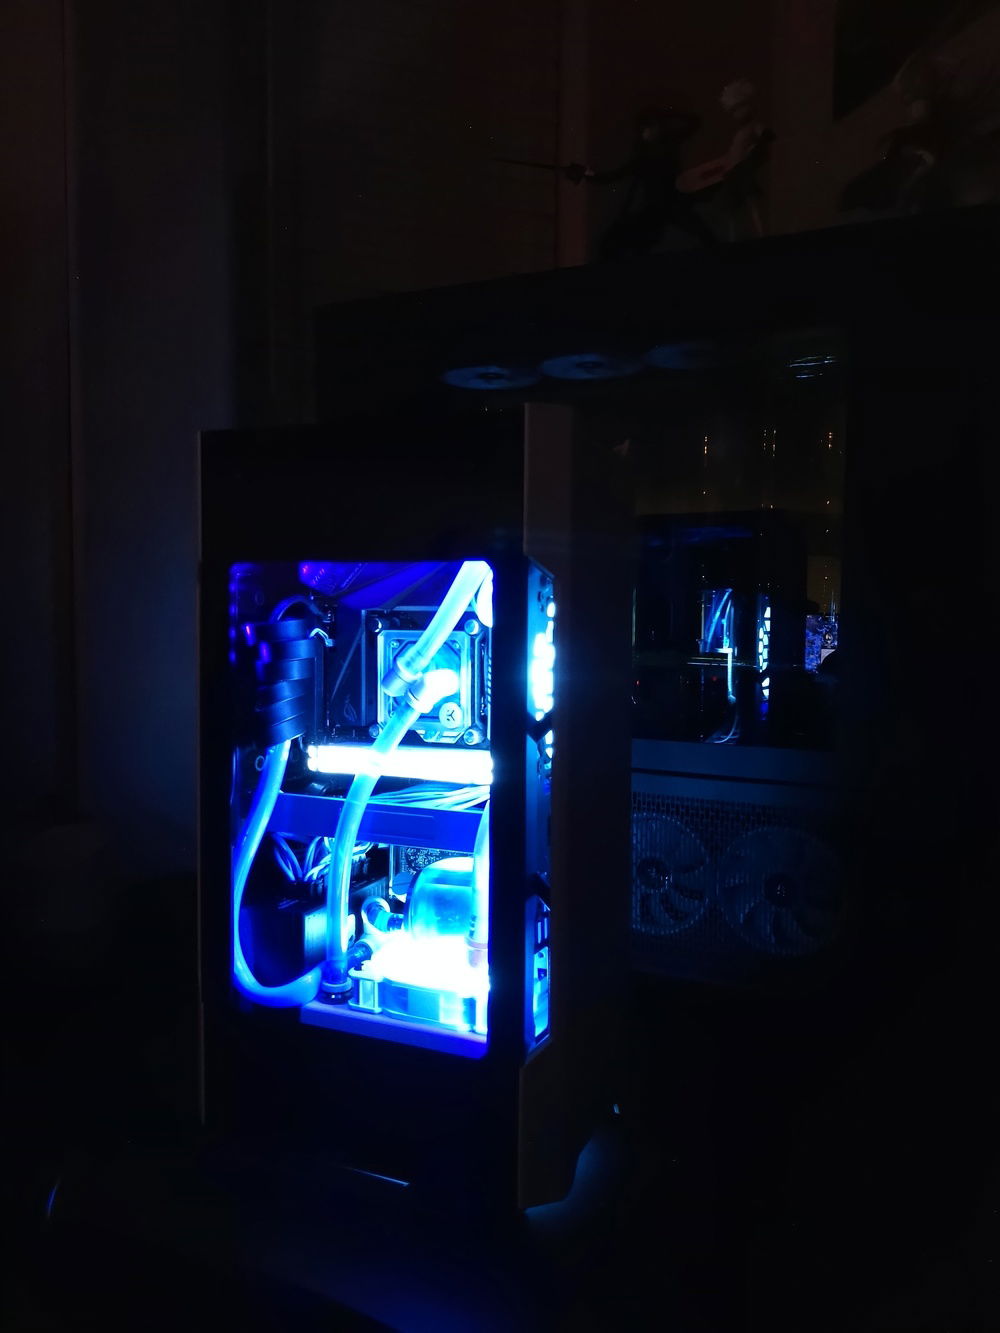
Killua (God Speed) Mini ITX Build
I present my VR/living room PC!
I have had this PC for about a year now and totally forgot to make a new build page for this soooo sorry for the delay on that!
Establish the Theme!
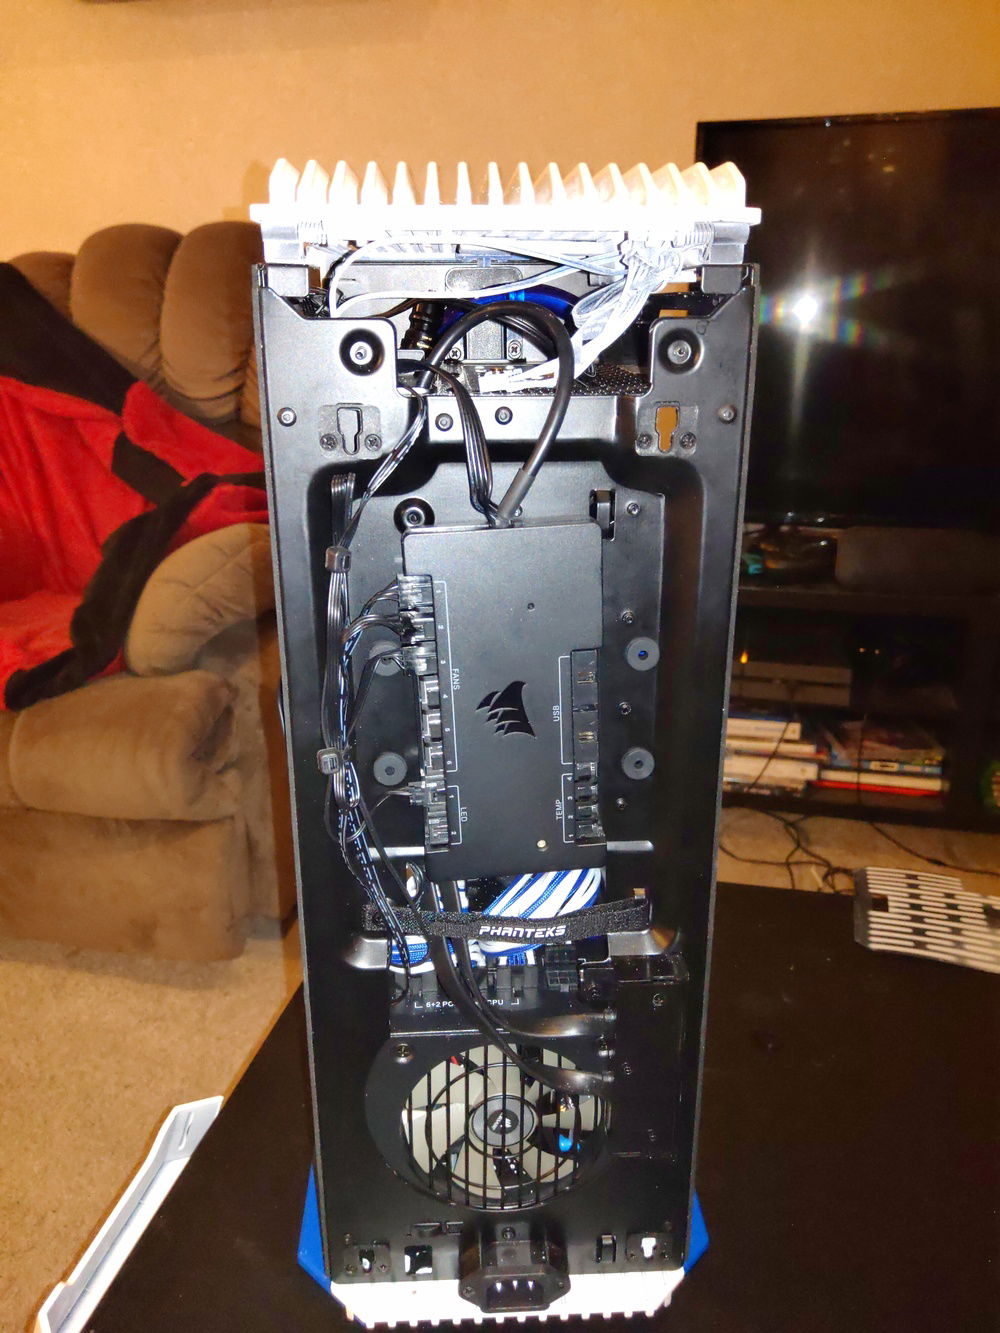
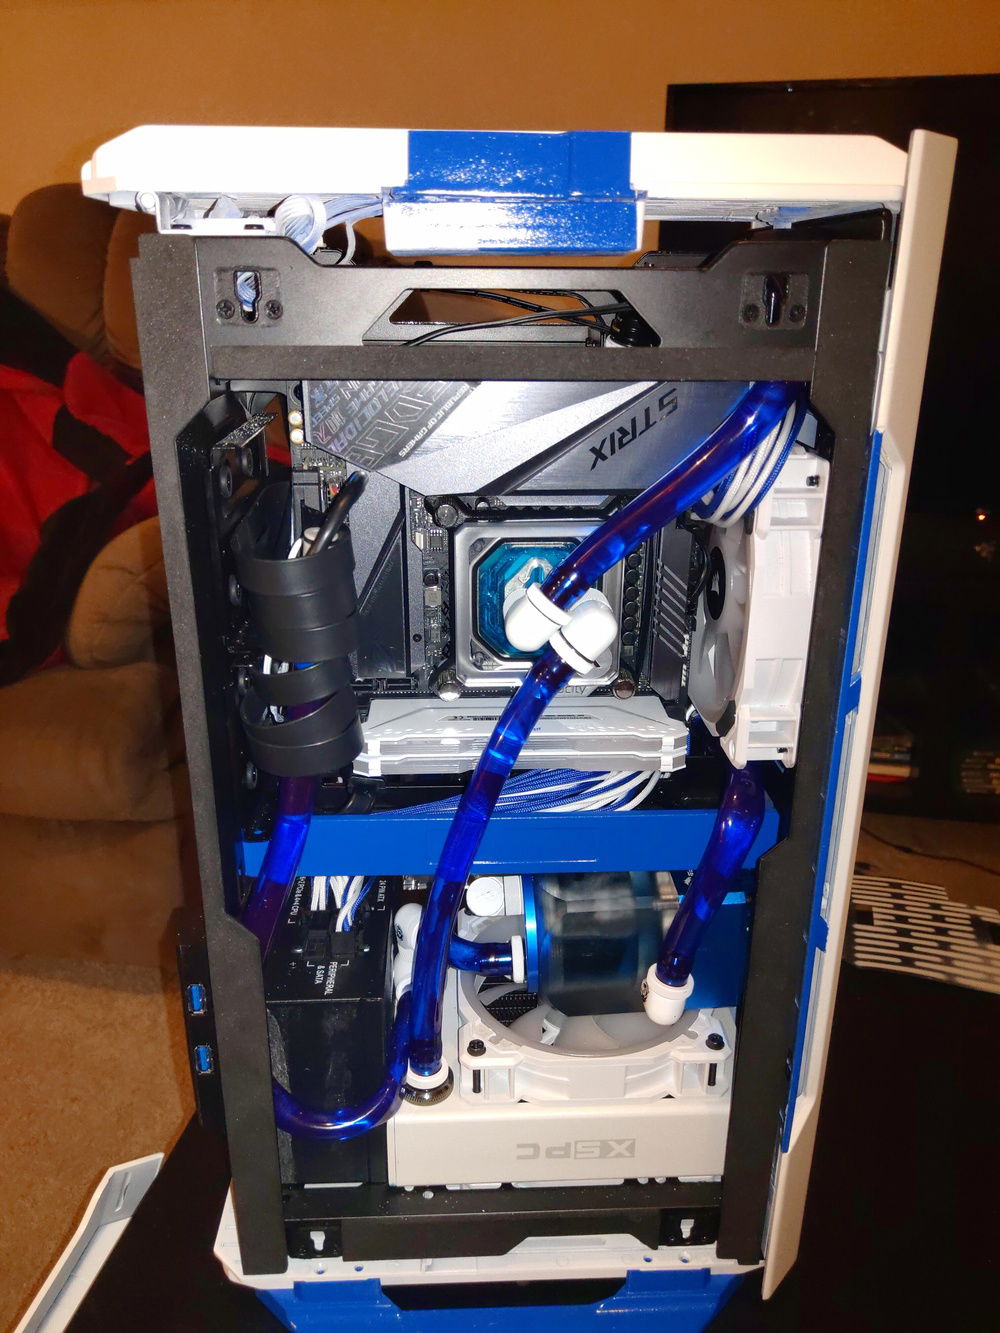
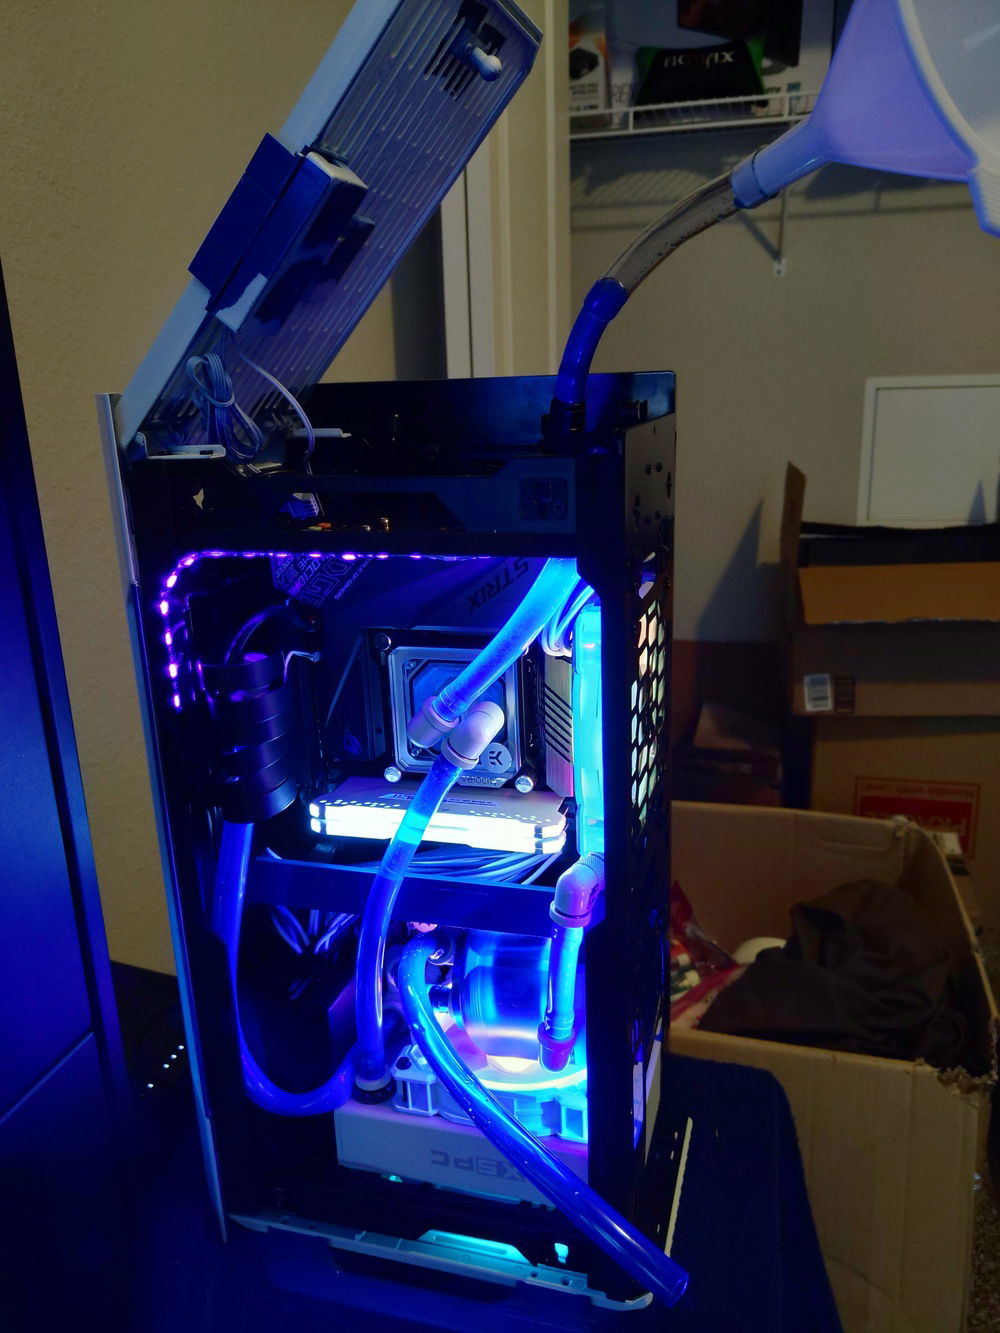
This build was inspired by my favorite anime character Killua Zoldyck: small, powerful and fast! I knew this was going to be small form factor build and that it would be custom water cooled. I fell in love with the look and style of the Evolv Shift case and thought it would be a fun challenge to build in, and holy cow was it.
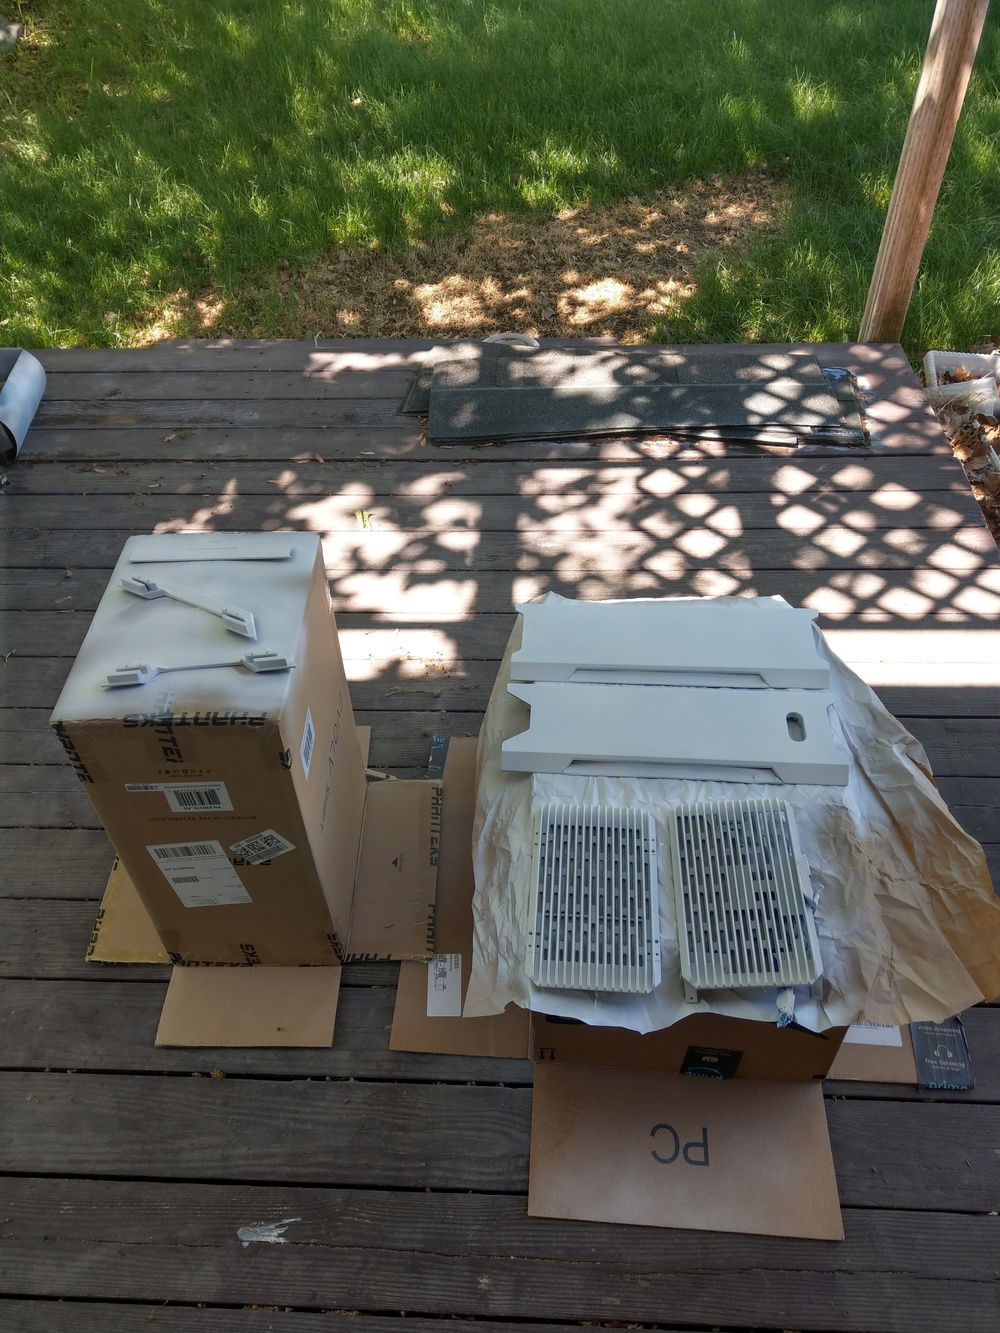
First things first was to paint the case so it matched the white and blue theme of Killua. This was my first time painting a case before and I defaulted to spray paint since I had no painting equipment. It took lots of masking, sanding and many many coats to get a "good" finish on it by spray paint standards.
Parts Parts Parts
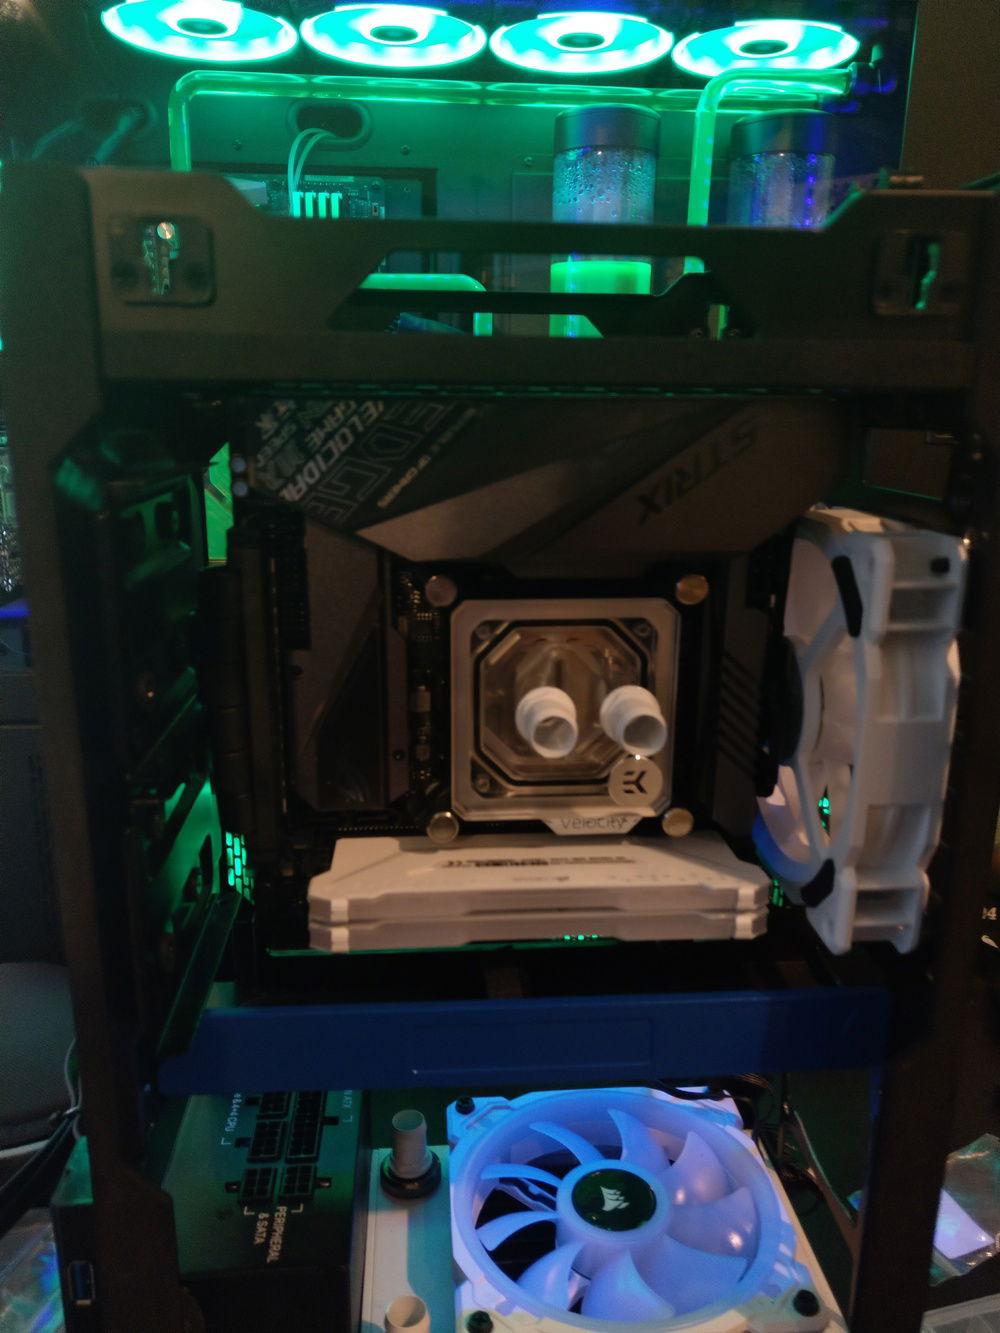
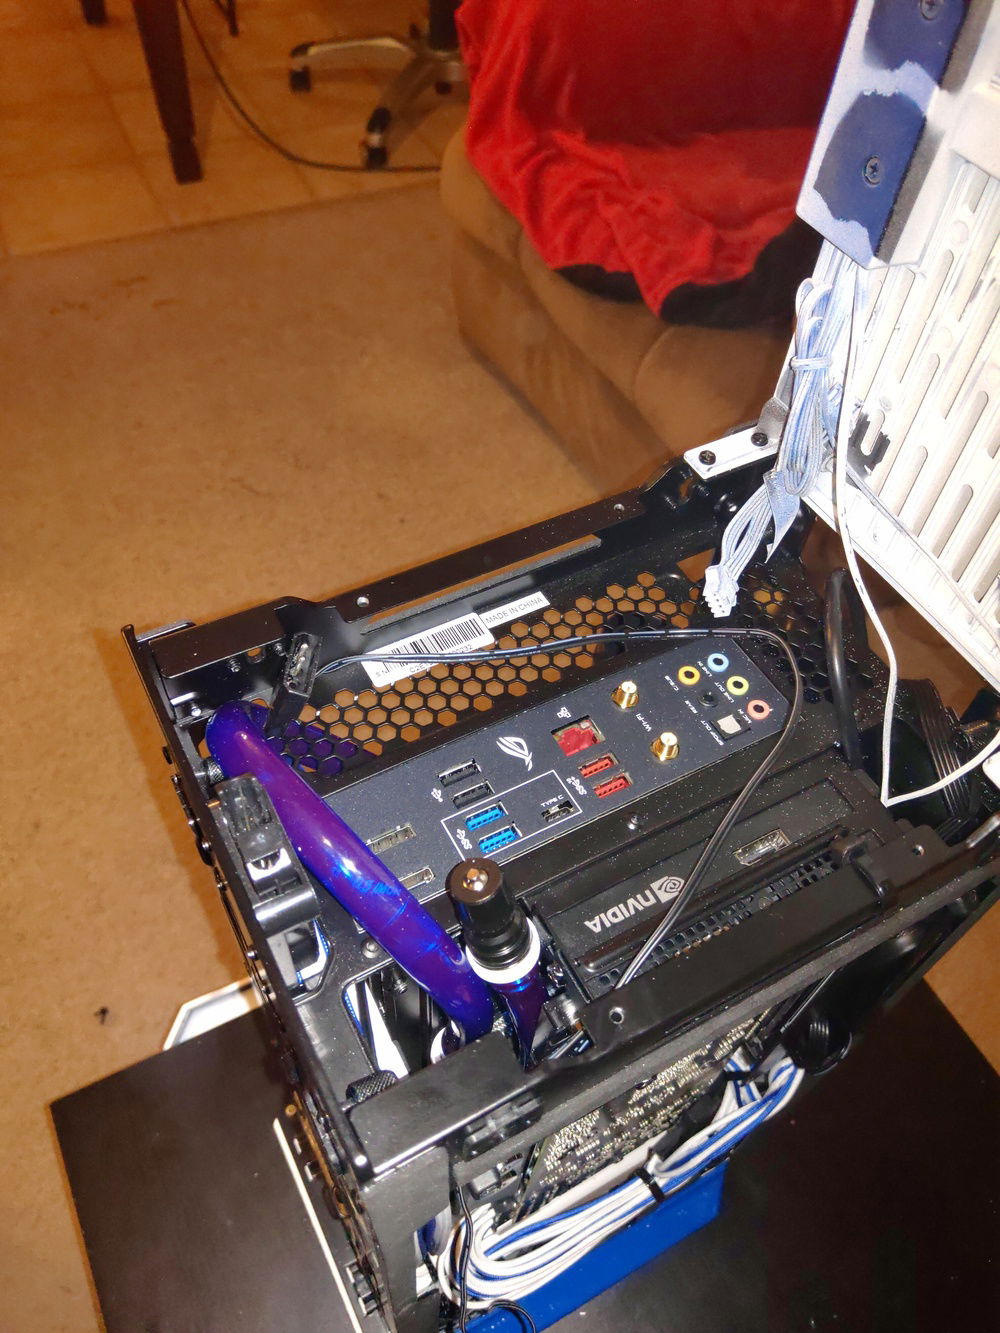
Finding the right parts was the next and most challenging part. The RAM, CPU, GPU, PSU and motherboard were the easy parts. I went with the 9700K for the clock speeds since this was a VR rig and I didn't need core count. I also didn't want too big of a CPU in there since I knew my cooling headroom was limited. This is also why I went with a 2080 Super and not a 2080TI. The 2080S was more than enough to run my Valve Index at a consistently high frame rate and I wanted to limit how much heat was being produced.
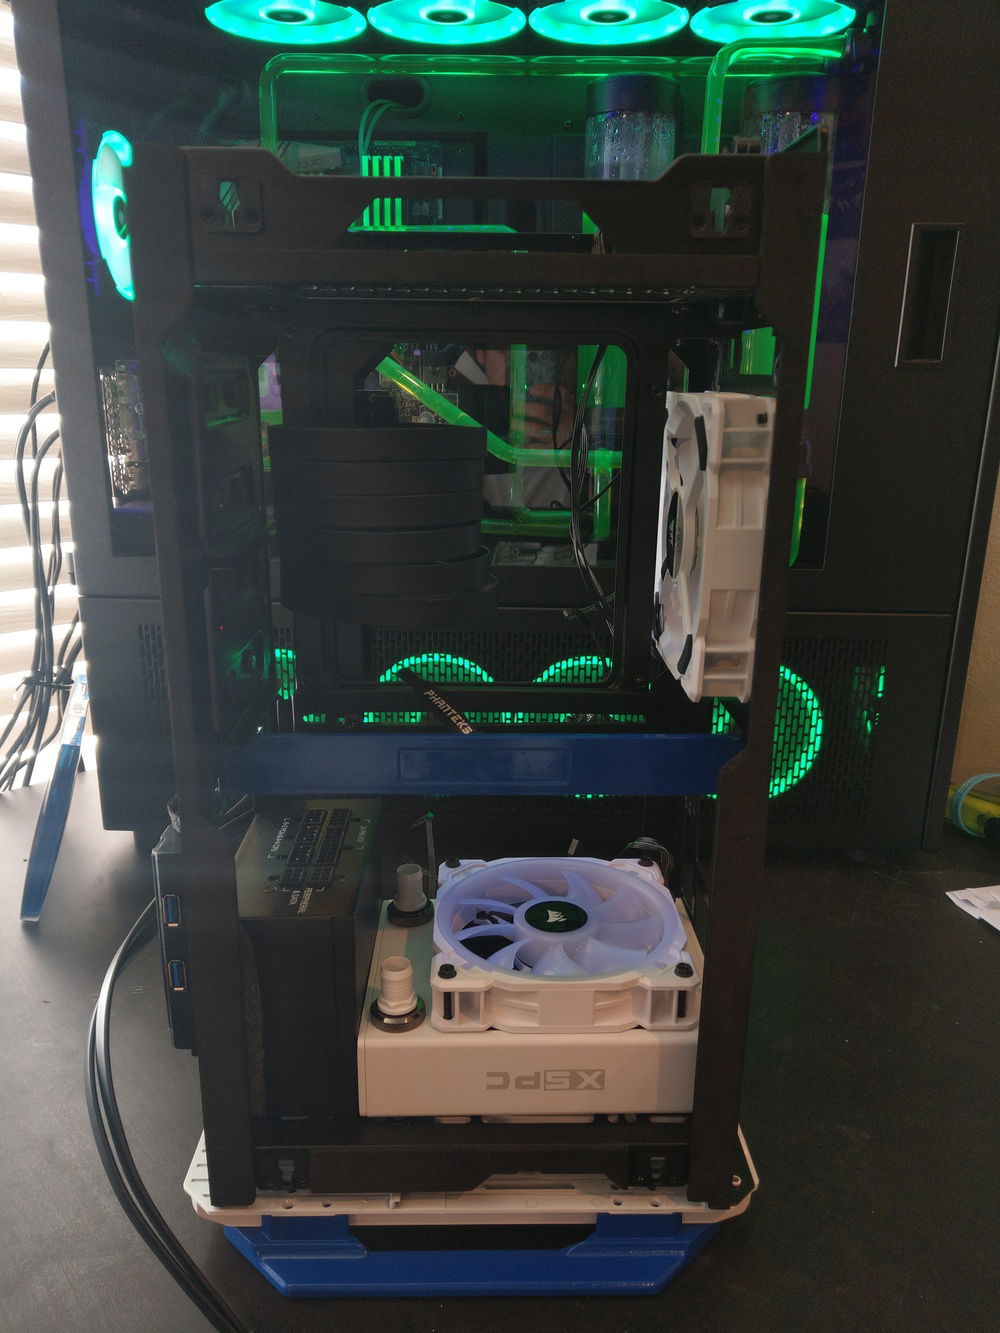
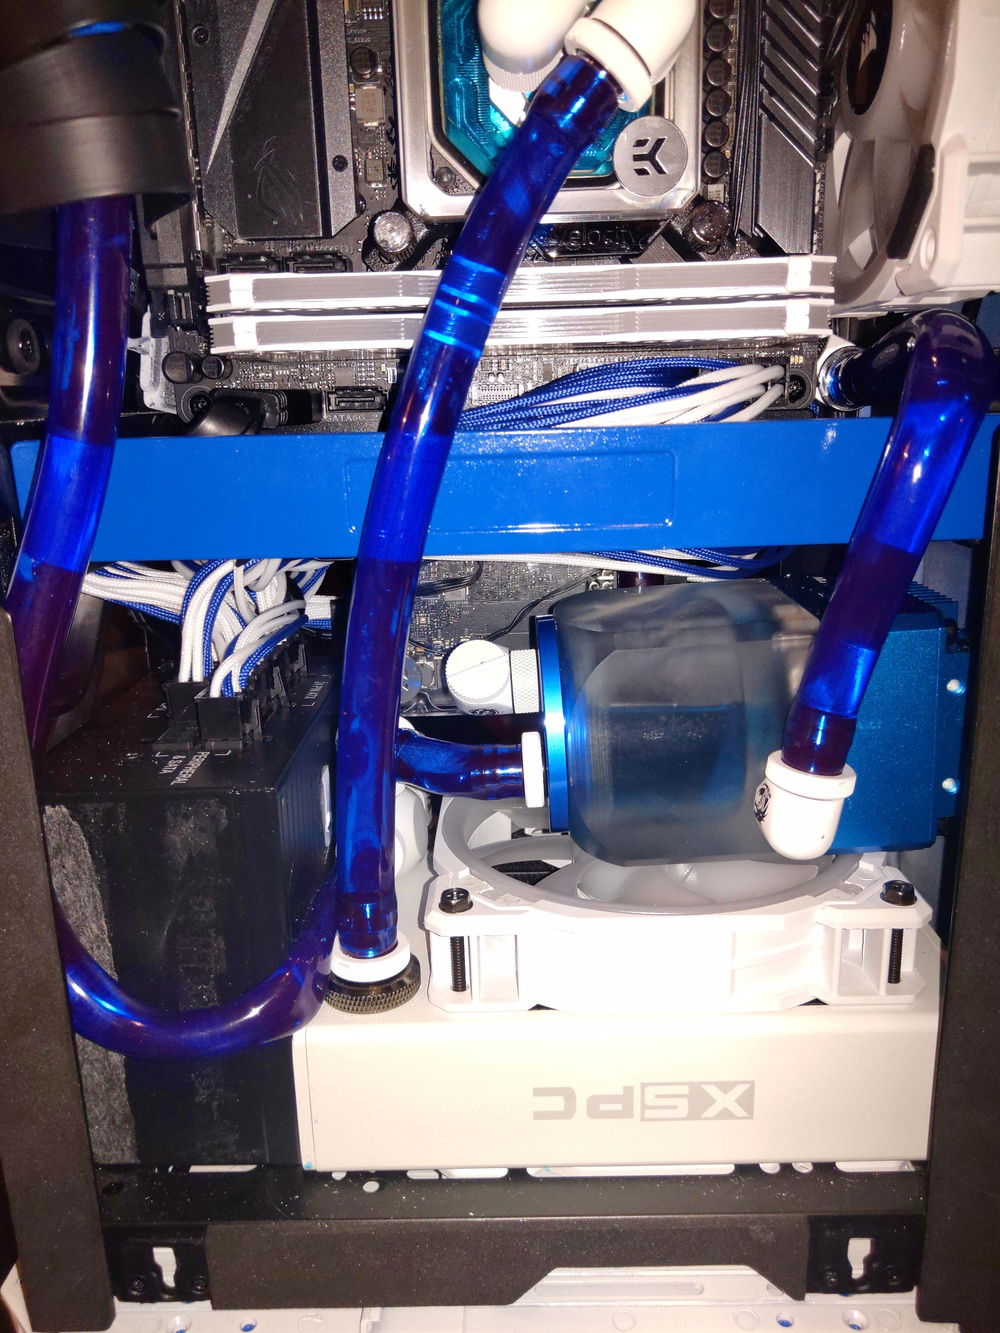
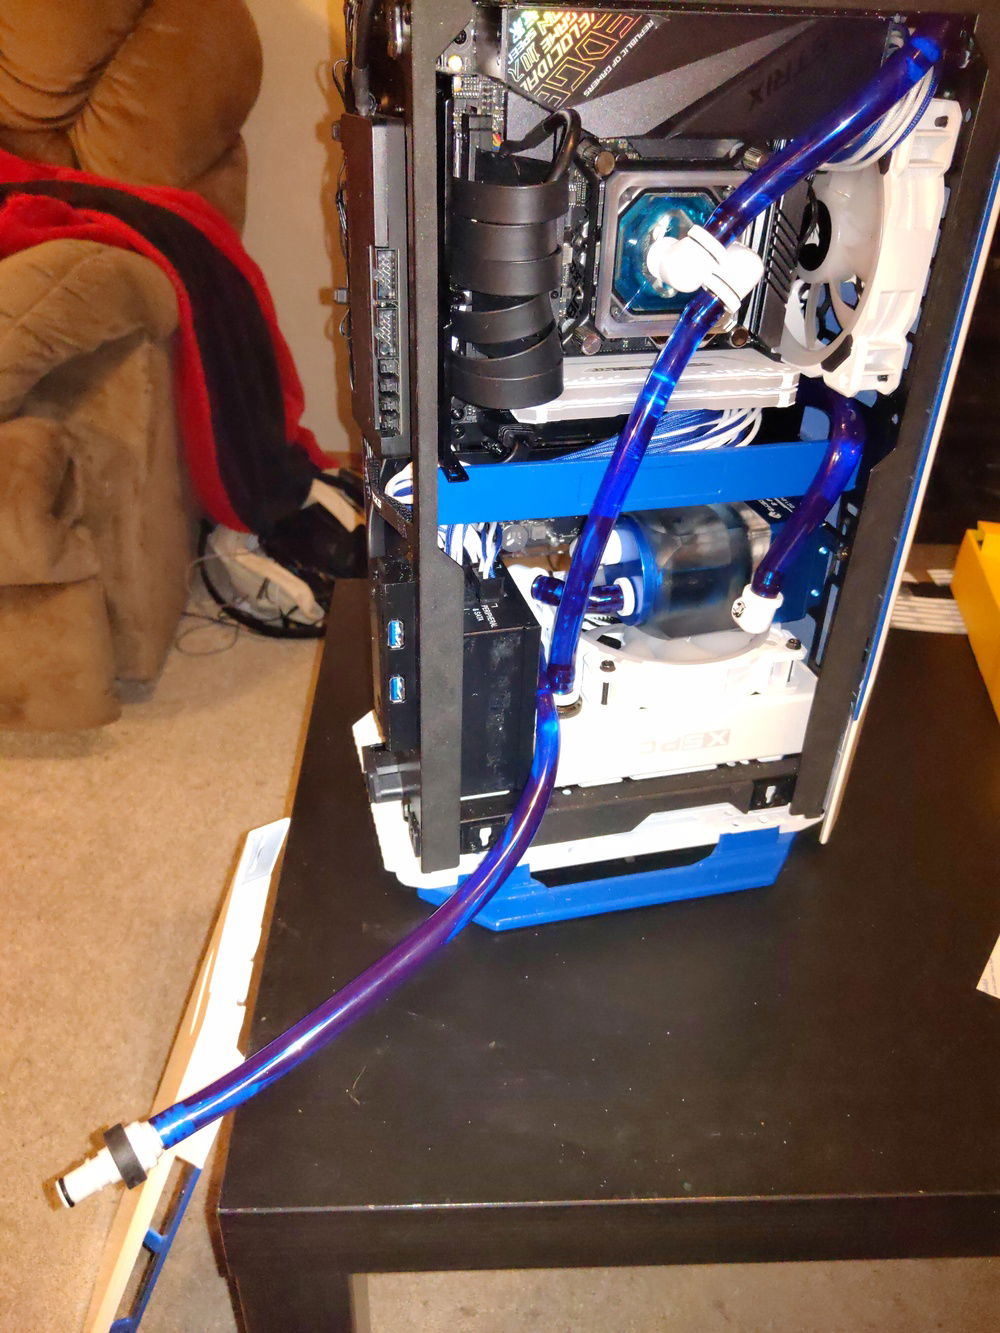
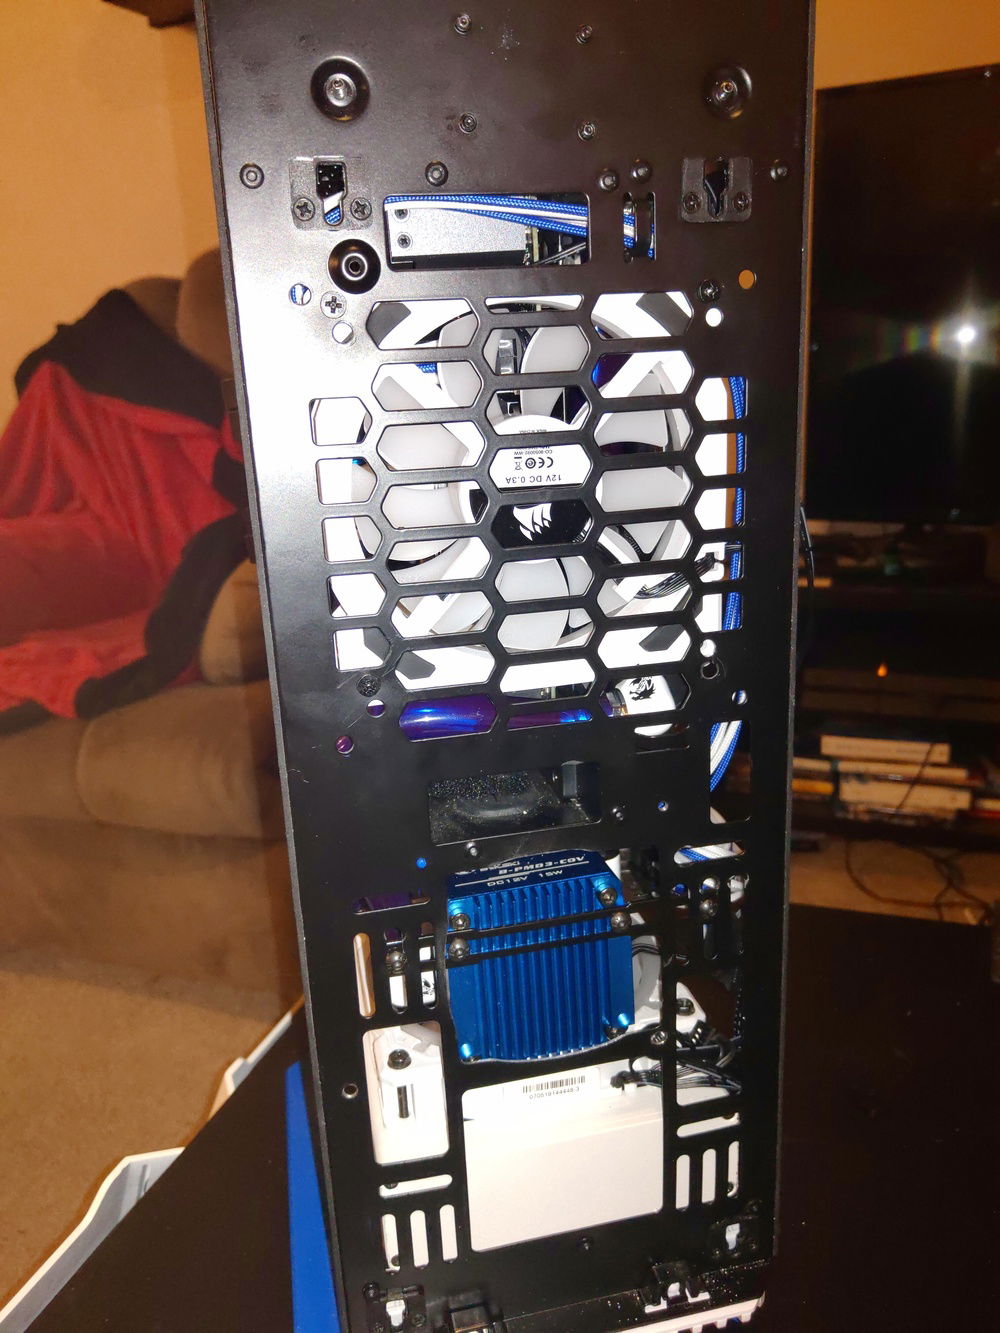
The fans were pretty much a no brainer. I absolutely love the look of the Corsair LL RGB series fans (as you may have noticed I used a lot in my first build) and since they made white ones they were the perfect match. The first radiator I tried was a 120mm white XPSC rad, however, after initial testing, it was not thick enough to support how much heat was being generated. I later swapped this out for a much thicker 120mm radiator but I cannot remember the brand and I cannot view my order history on PerformancePCs for some reason.
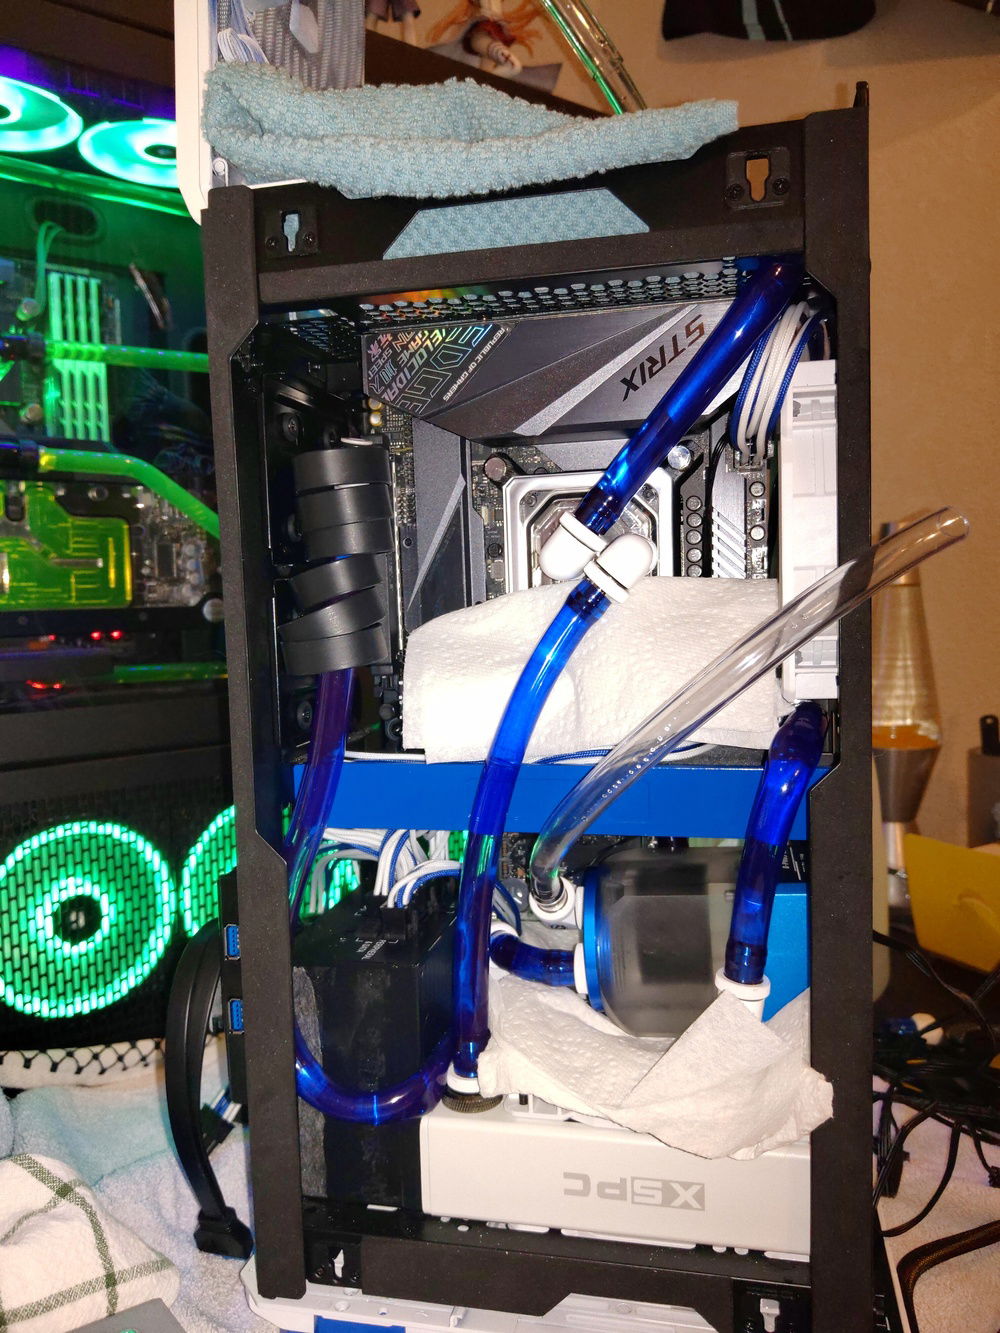
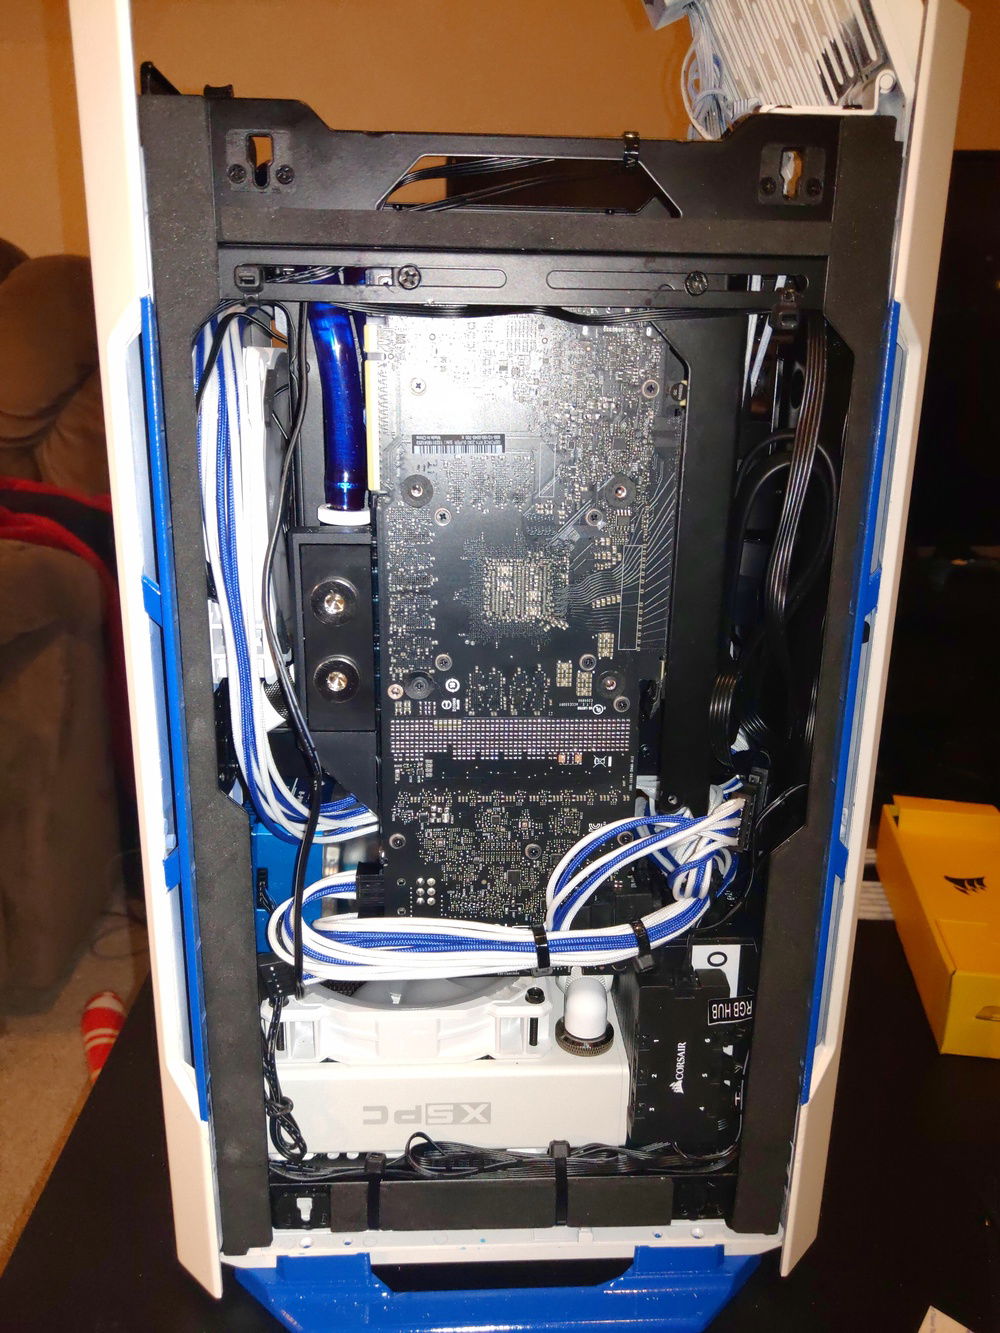
By FAR the most difficult thing to find was a pump/reservoir combo that would fit and look good. I went through about 4 different kinds before finally finding the perfect one. Each had a different problem that varied from hole placement, to mounting hole positions to blocking too much airflow. The Bykski Mini DDC Pump Reservoir Combo w/ Armor - Blue was the perfect size, right color and had holes in all the right places!
One thing to note: when I do play VR on this system, I do have to remove the front glass panel or else it does get too hot. This is mainly due to there not being an exhaust fan at the top I think. I did face the front fan backwards so it acts as an exhaust fan but try as it might, it just cant get the hot air our fast enough. When I use it for non-VR games or to stream shows to the TV, the panel can stay on and temps stay down no problem.
I also plan on getting a vinyl sticker made of Killua to put on the left 1/3 of the front glass panel. This will serve 2 purposes. First it will hide the ugliness of the pci extension cable, PSU and some of the auxiliary tubing. Second, it will add a bit of extra pop to the exterior and really drive home the theme. I am still working on finding the right image and getting it scaled properly so it doesn't look out of place.
Overall I am extremely happy with how this turned out! It is small and powerful and looks almost like an art piece in the living room. I turn the fans down to quiet mode when streaming shows and movies since not much heat is being generated and you don't even notice it which is a plus. I had fun tackling each little problem as they arose as it is almost impossible to anticipate them all when working in a case of this size. Hope you all like this and maybe it will inspire some of your future builds!
Color(s): Blue White
RGB Lighting? Yes
Theme: Anime
Cooling: Custom Liquid Cooling
Size: Mini-ITX
Type: General Build
Hardware
CPU
$ 243.30
Motherboard
$ 298.02
Memory
$ 456.00
Case
$ 109.99
Case Fan
$ 434.97
Cooling
Cooling
$ 212.41
Cooling
$ 70.00
Accessories
$ 74.29
Approved by:

