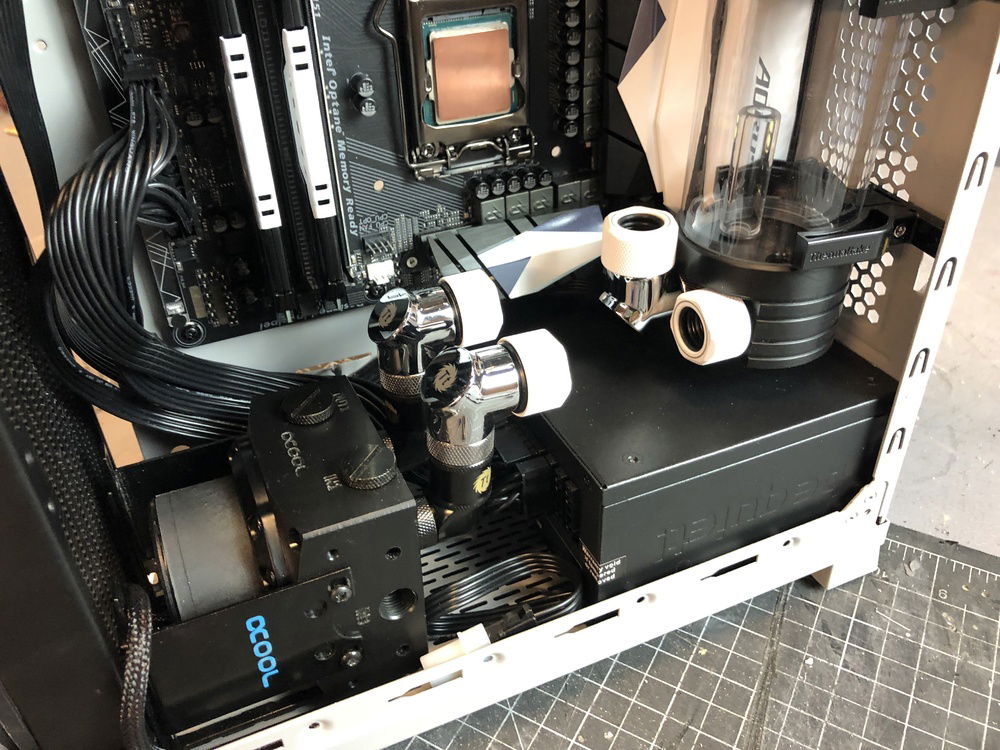
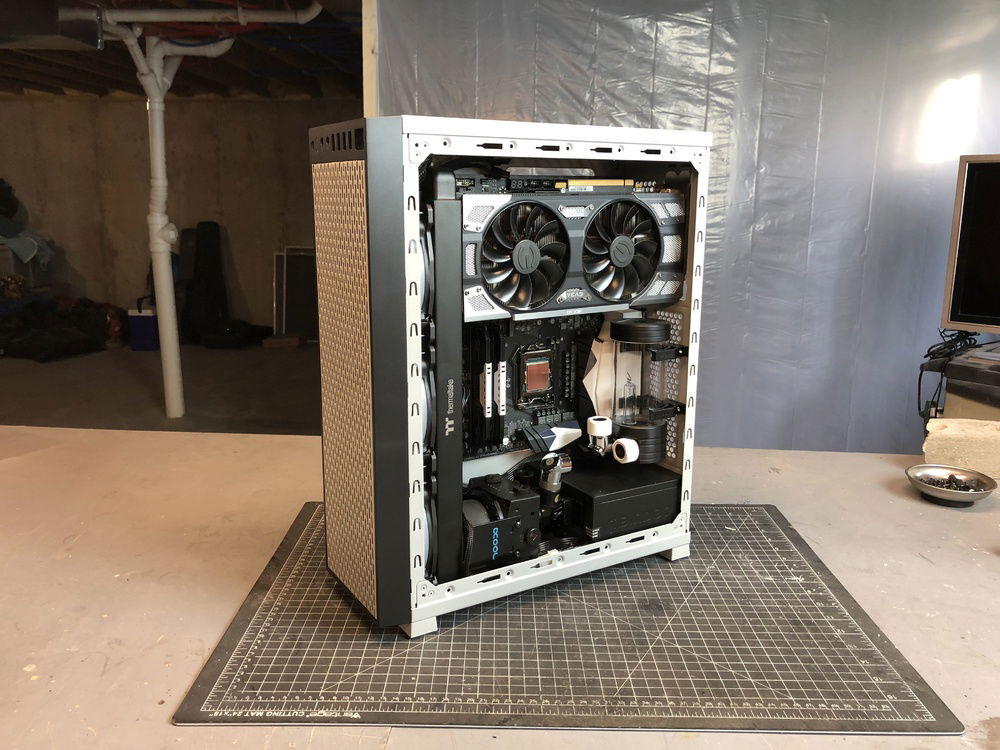
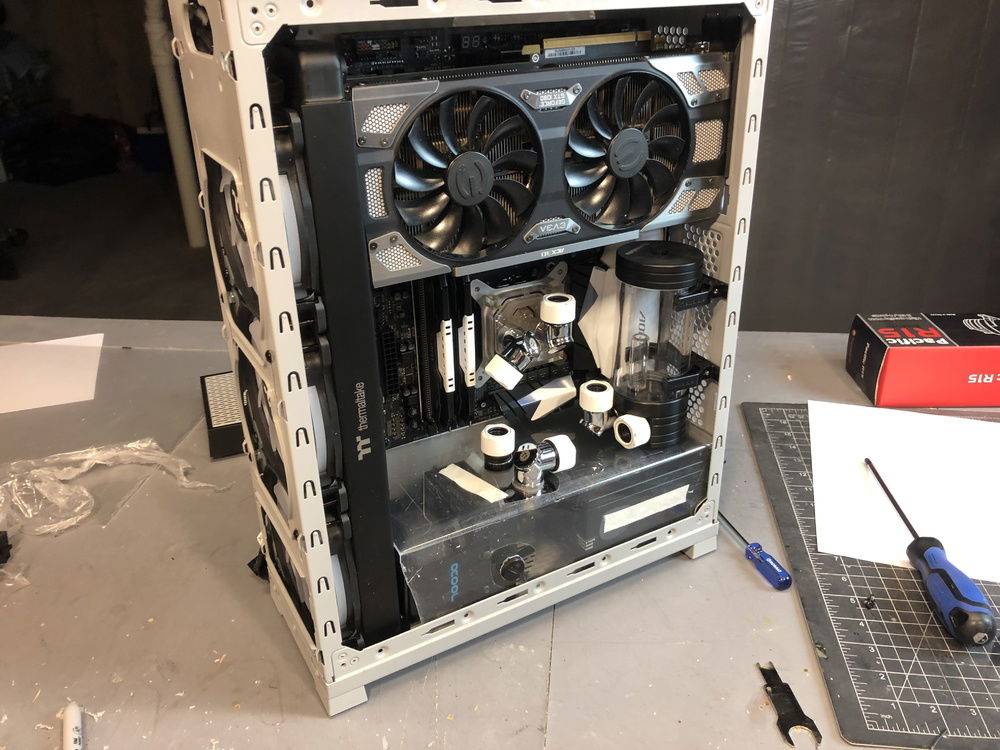
As you can see there is very little room to work with.
Here is a look at how much stuff I need to fit in here.
Japanese Themed Watercooled PC By Chris Designs (2019)
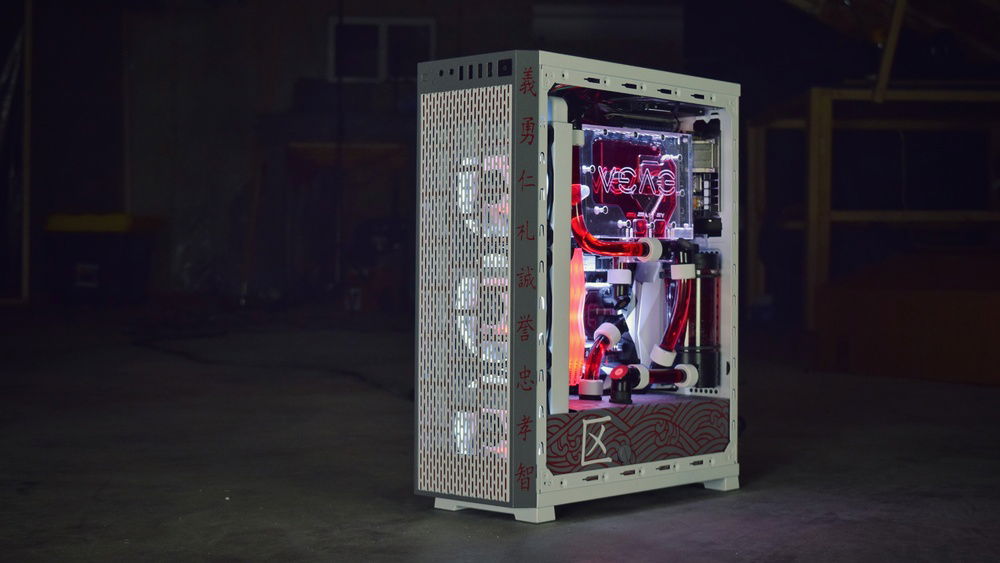
This build began when I reached out to Thermaltake to create the most compact atx watercooled build I could. I saw their Core G3 case and knew that was the one since the case is just large enough to fit atx components without even having a back side to put cables. I went on to pick out all the watercooling components and in the end they all worked out with only millimeters of space to spare. In the end the build looked a lot less cluttered than I thought it would which adds to the clean aesthetic of the project. Thanks to all the sponsors that made this possible and for letting me create this one of a kind compact build!
Color(s): Black Red White
RGB Lighting? Yes
Theme: Country / Nation
Cooling: Custom Liquid Cooling
Size: ATX
Type: General Build
Build Updates
Planning Out The Build
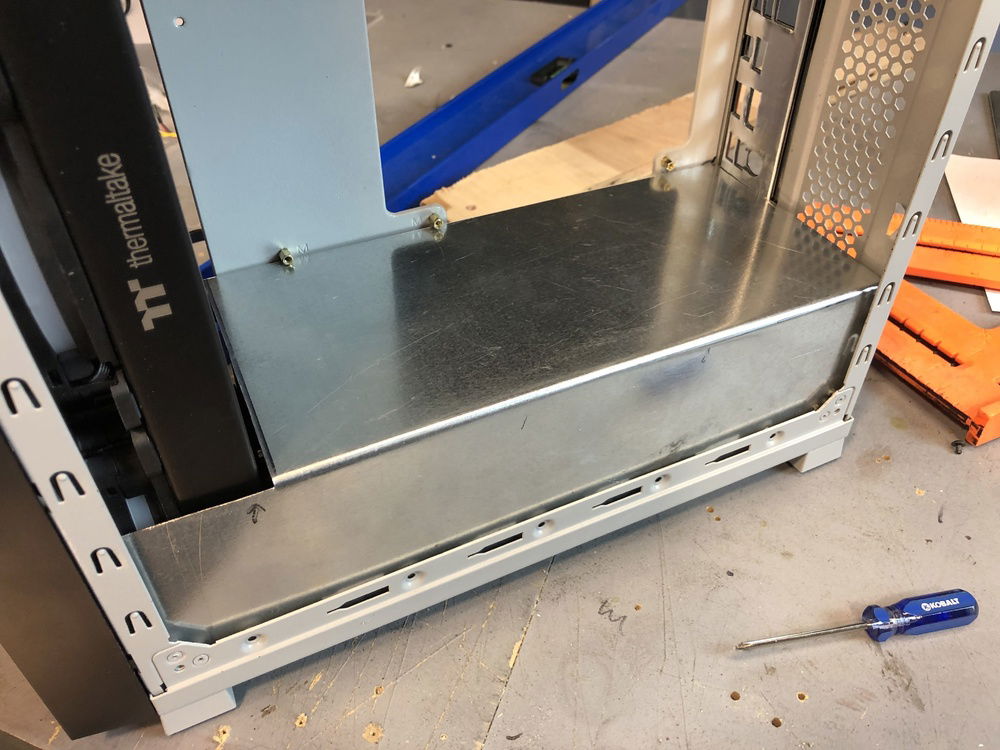
Getting all the hardware I wanted to fit in this VERY compact Thermaltake Core G3 is no easy task. I had to find out where the components can go in a way that still allowed me to add a shroud in the basement to hide most of the cables and the pump.
Here is a look at how much stuff I need to fit in here.
As you can see there is very little room to work with.
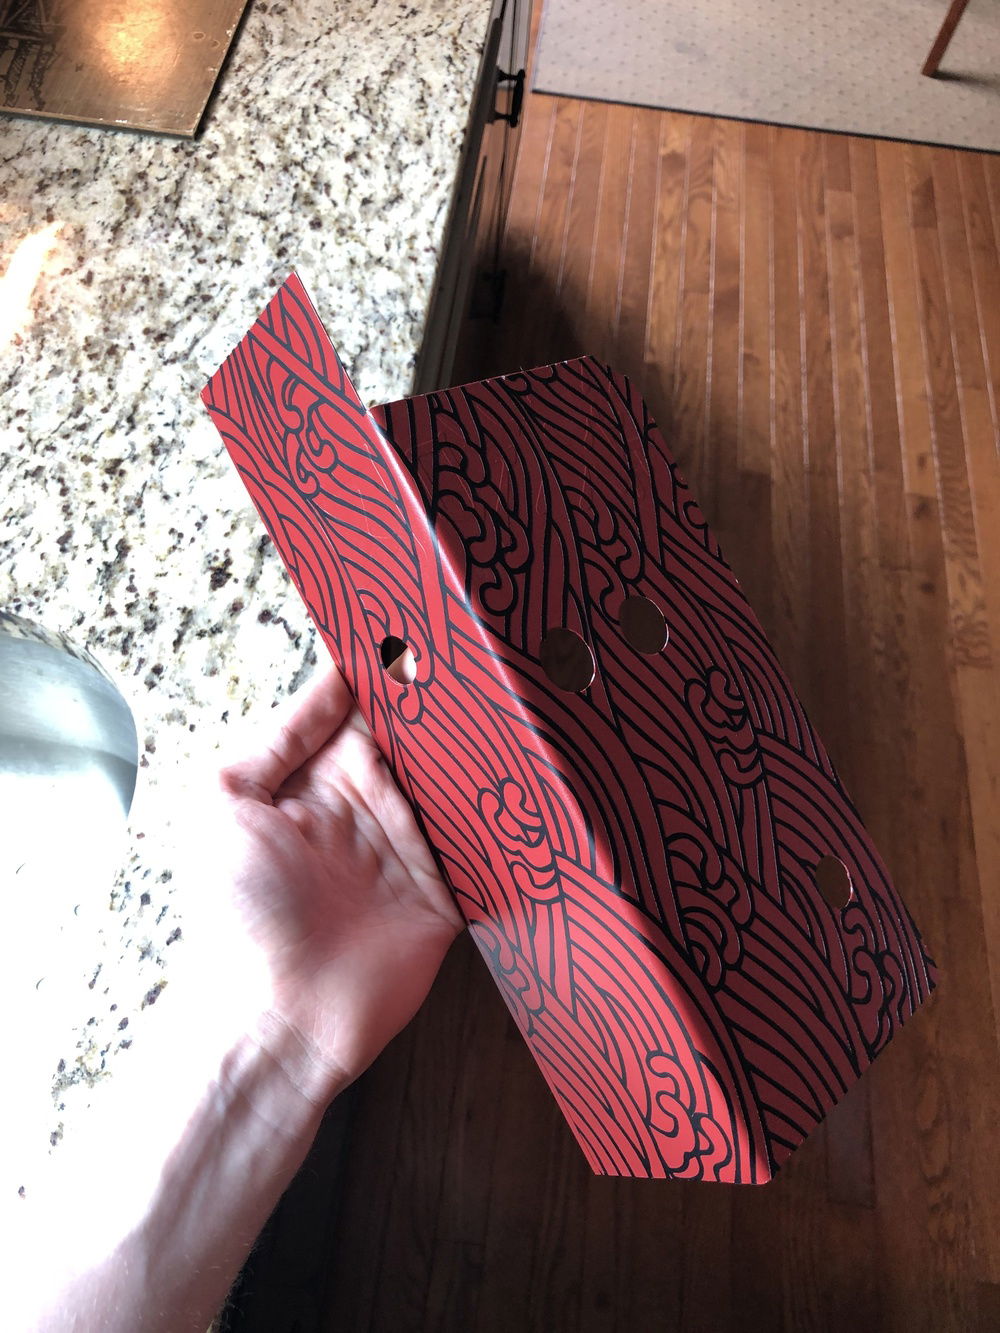
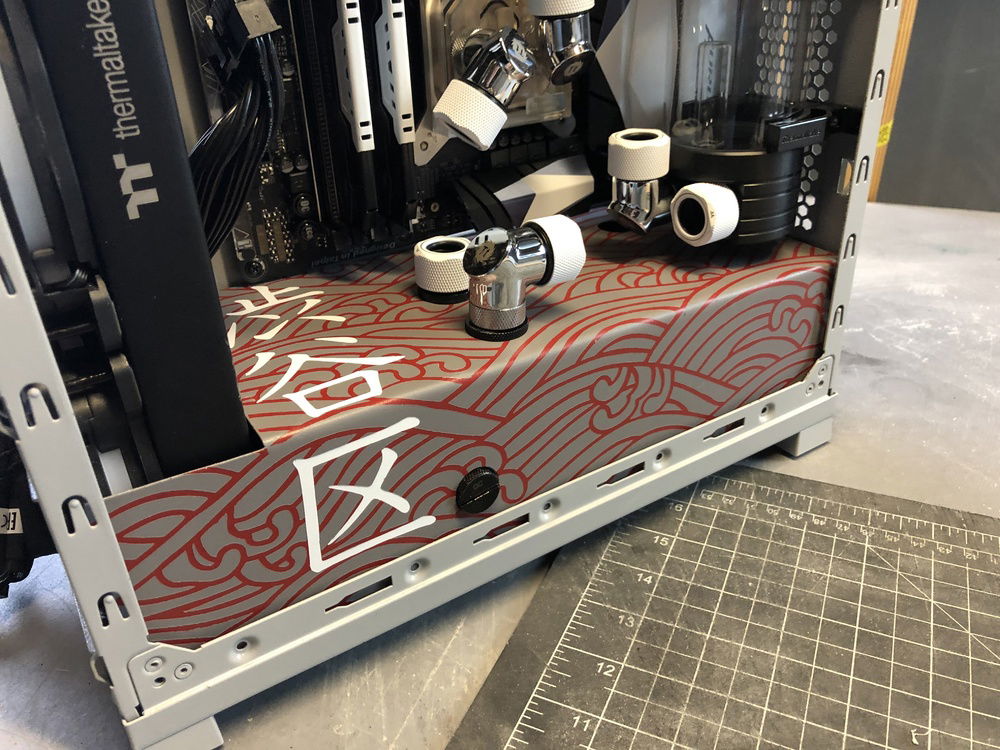
Making The Shroud
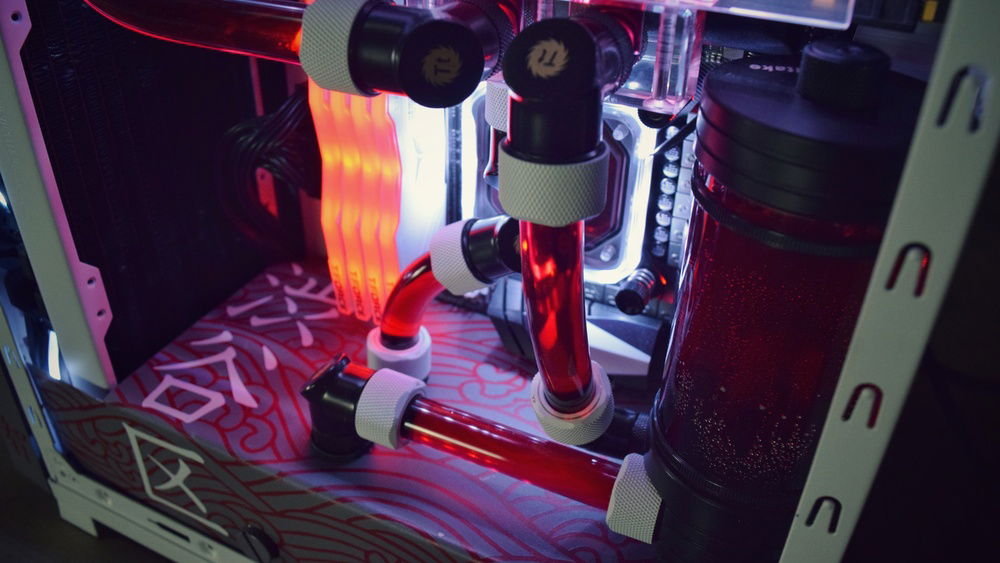
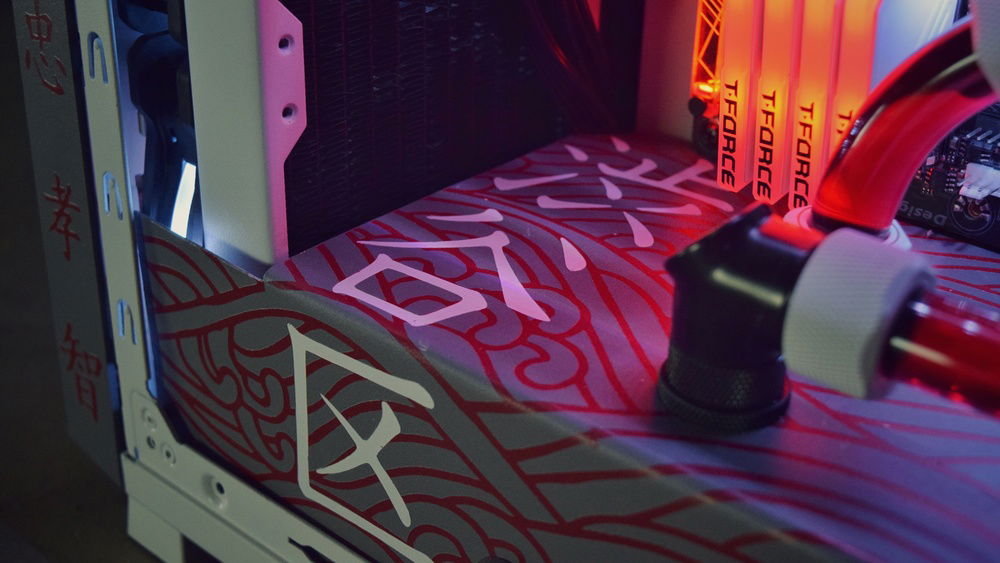
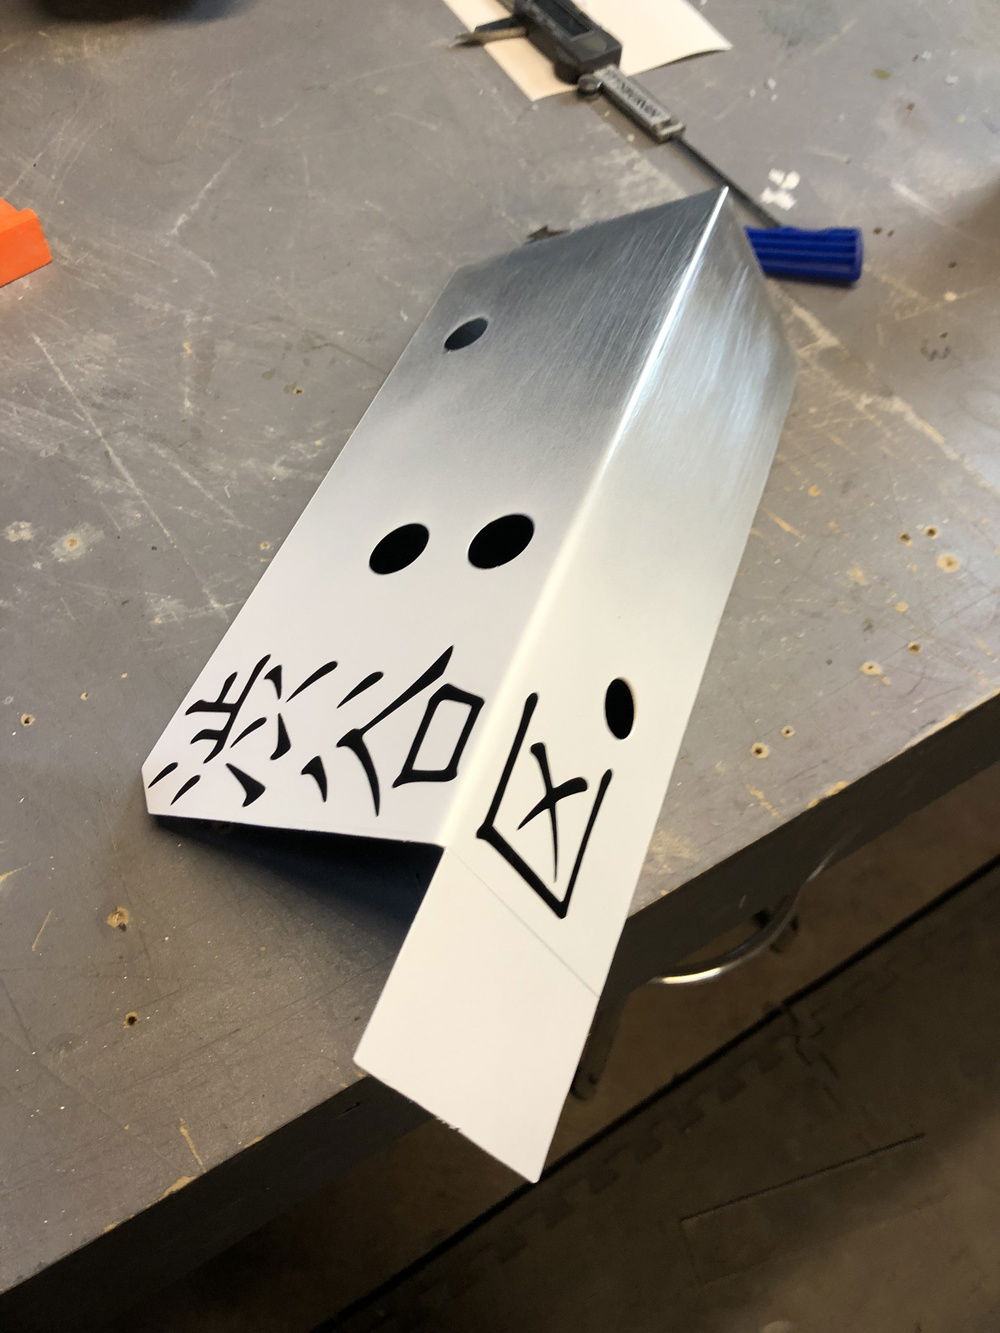
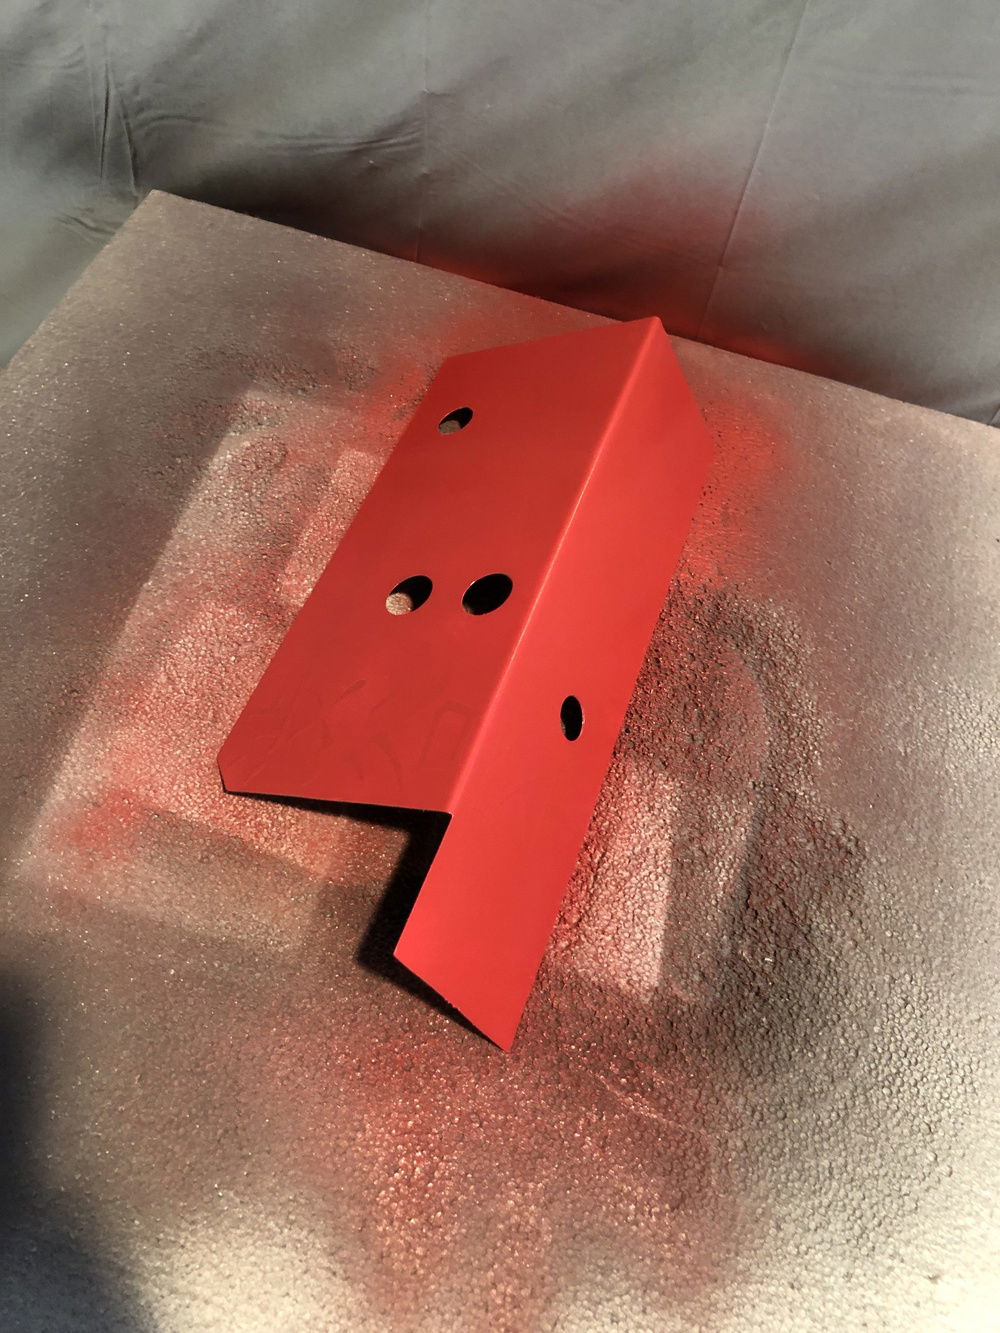
In order to hide the components in the bottom I had to make a shroud. This took a couple versions with the first prototype being made from acrylic so that I can see if something like this is even possible. Once that was made I went on to make the final version out of a sheet of Aluminum.
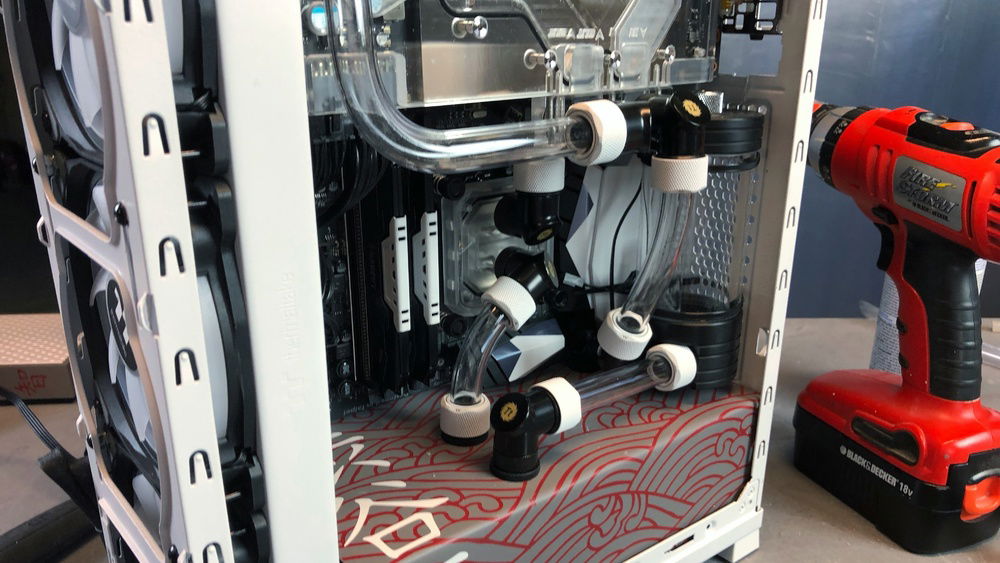
Designing The Loop
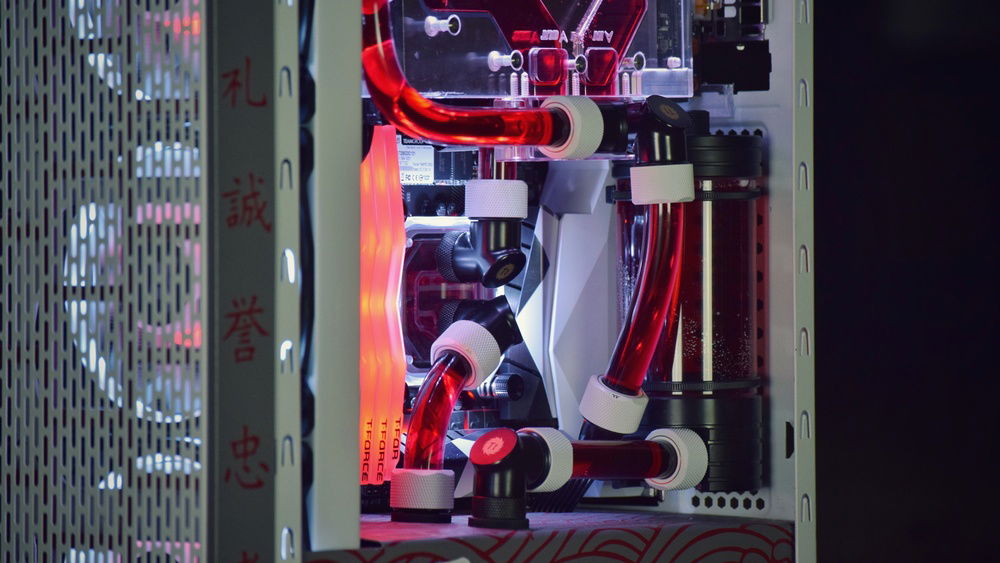
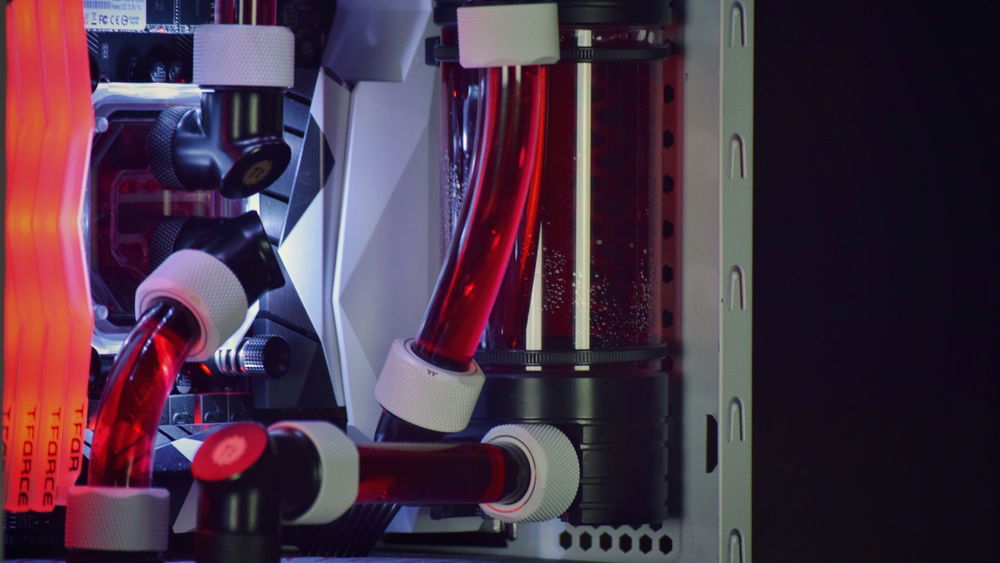
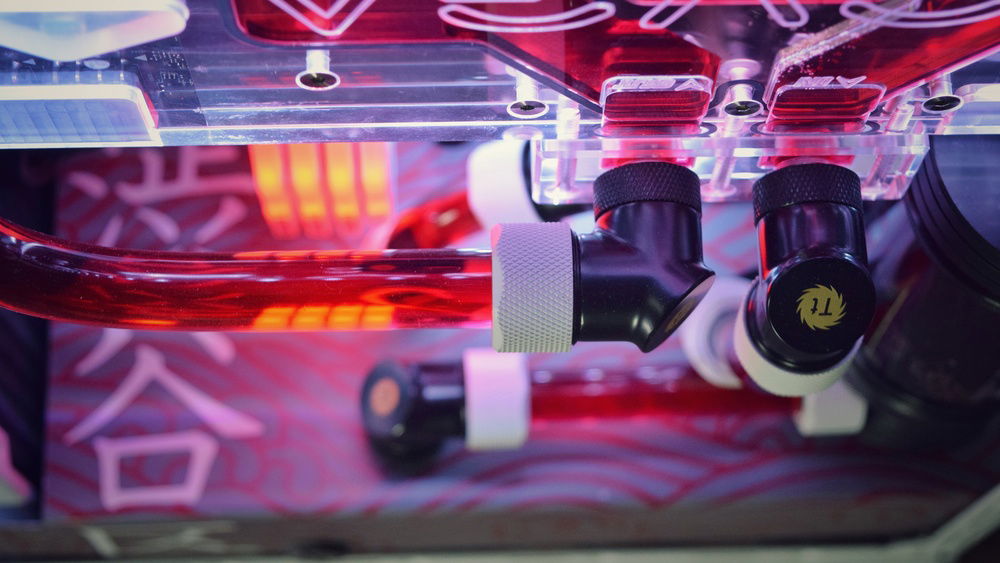
Next was the biggest challenge of the build, figuring out how to route the tubes. With all the pass throughs in place I was very limited on where the tubes can go and some creativity had to go into routing tubes in the tighter areas of the build.
Finishing Touches
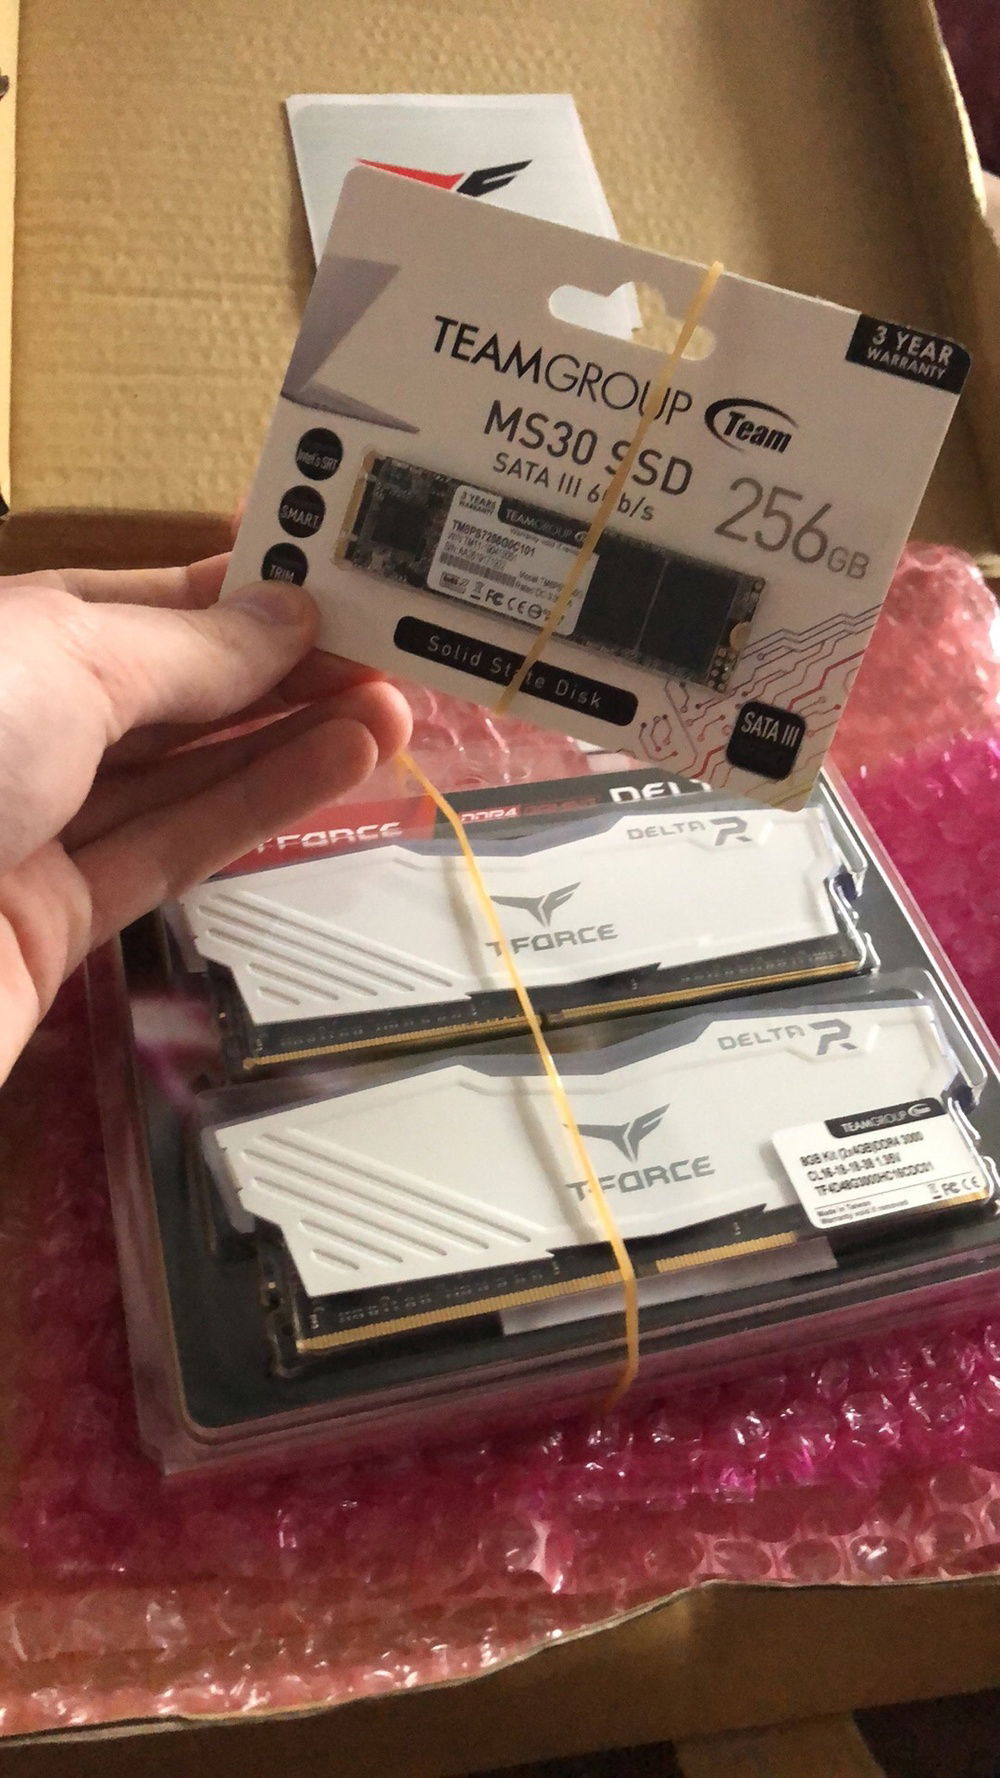
Next up where the small details like managing the cables, leak testing the build and adding some sweet TeamGroup products they send out for this build. At this point I am very happy with how the build looks.
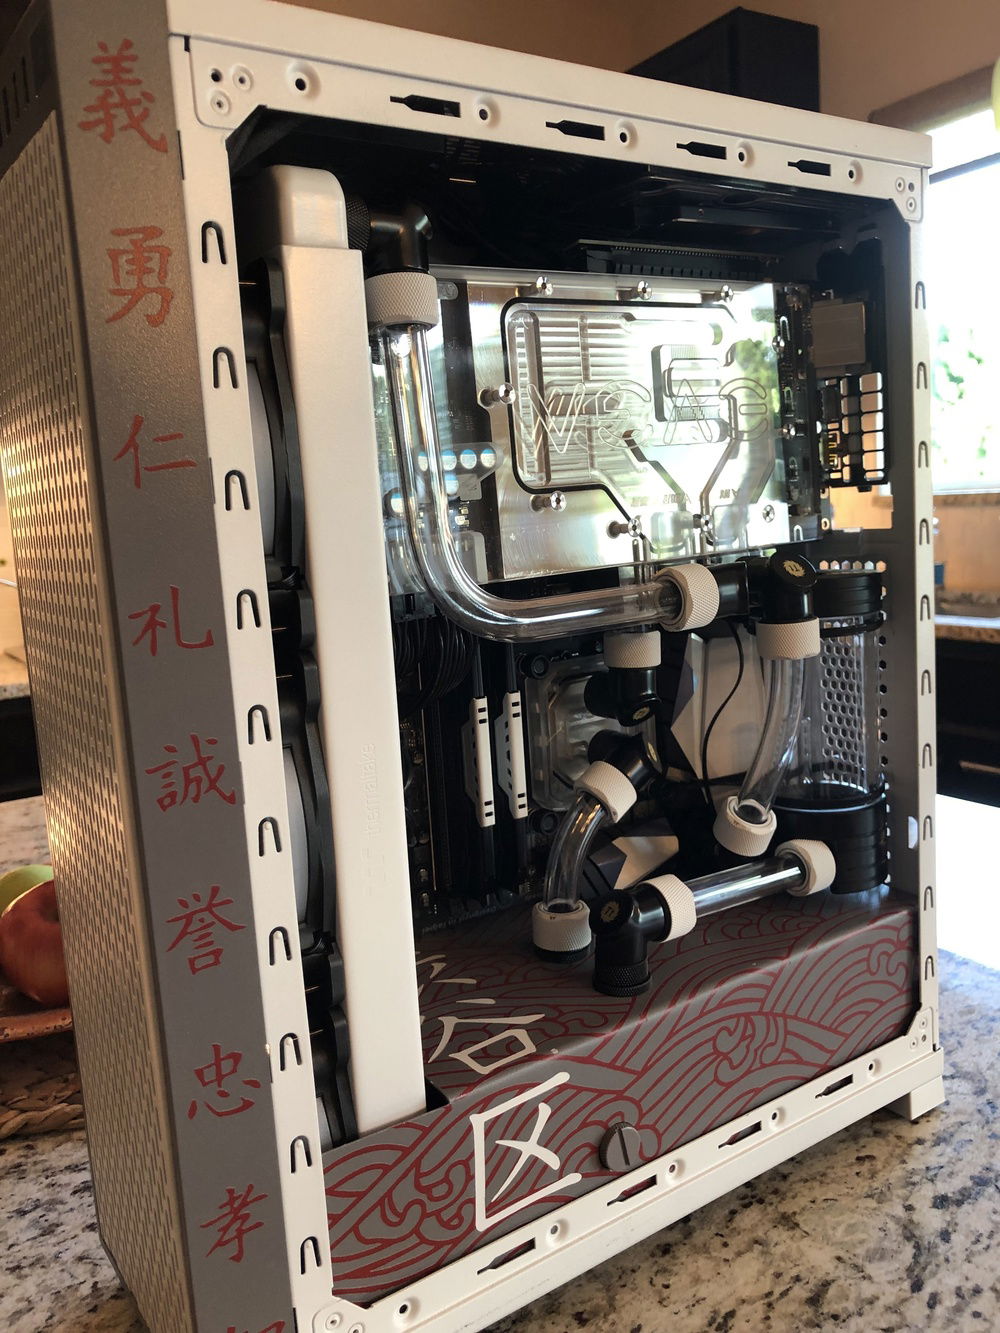
Completed Build
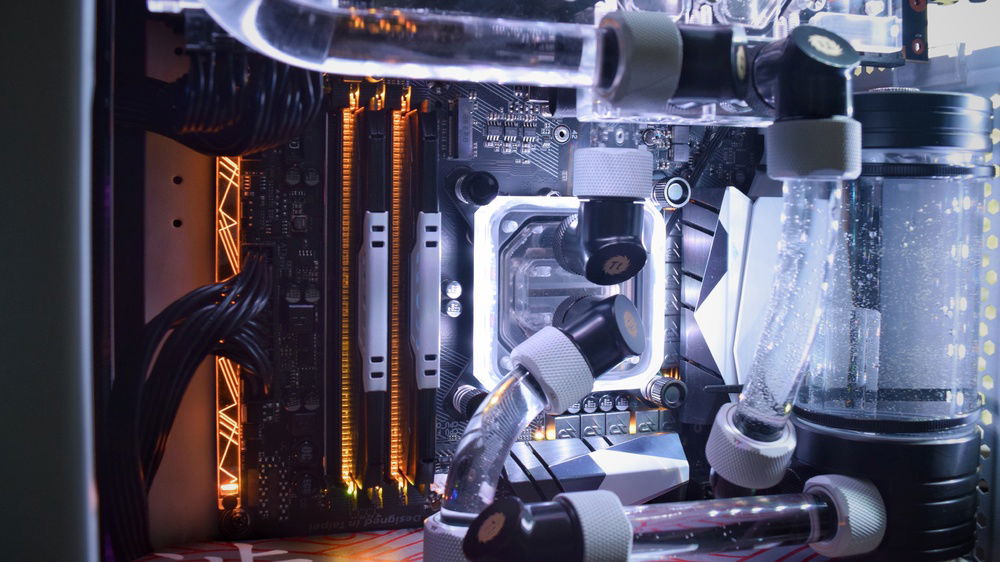
The build is now complete! Its hard to explain the challenges of the build since most of it gets covered by other components. For most of this build process I was working with mere millimeters to get parts like the reservoir to fit under the gpu.