Rey's Speeder
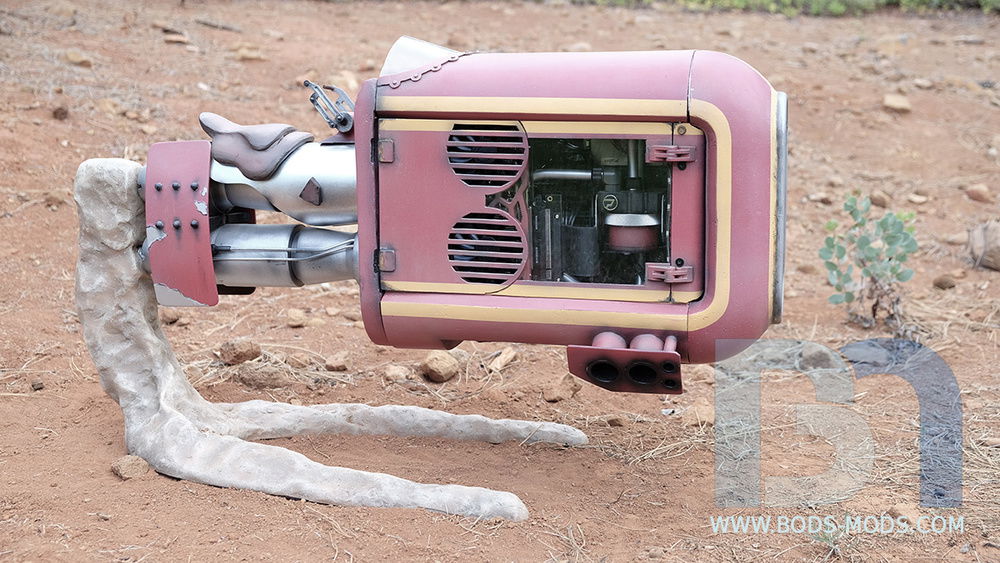
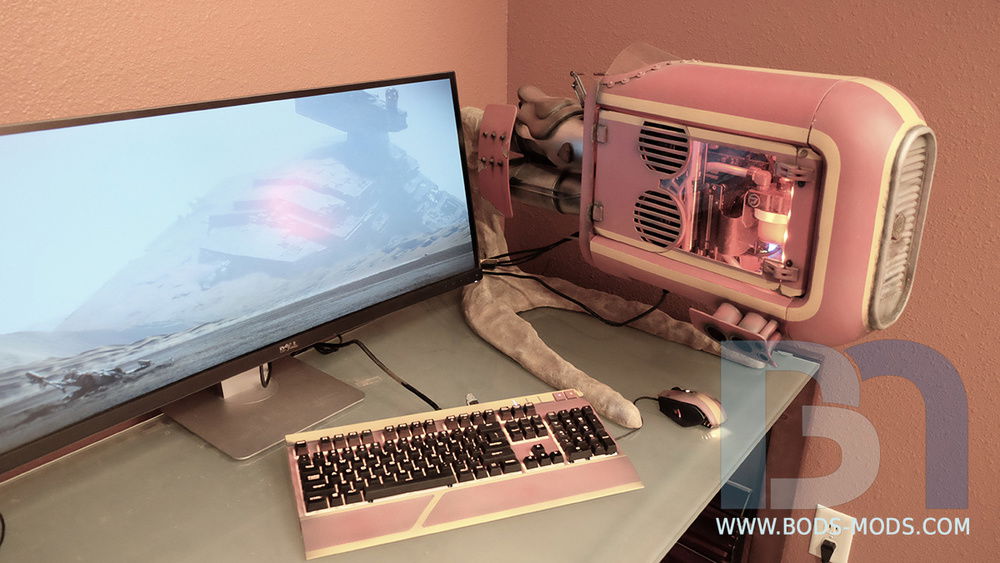
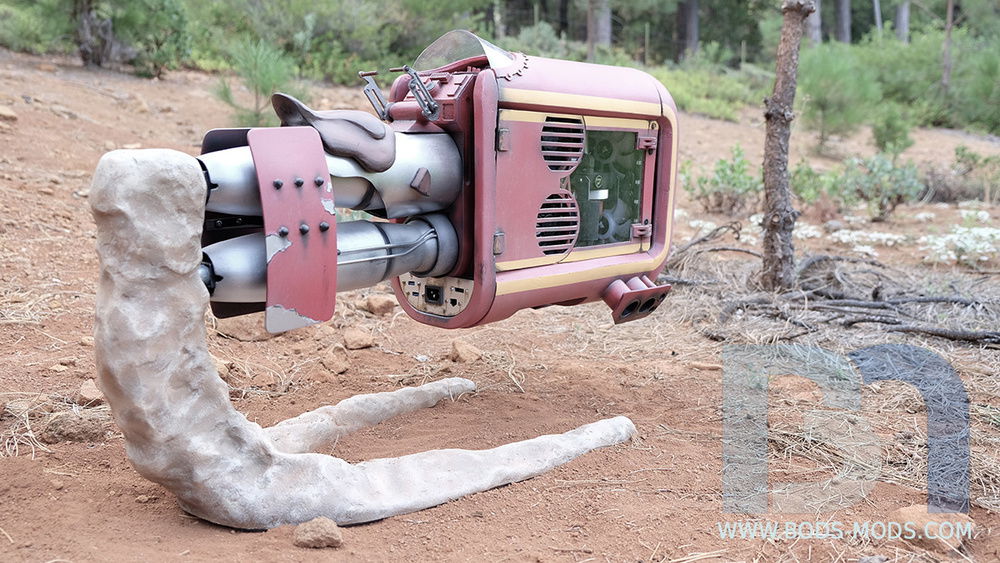
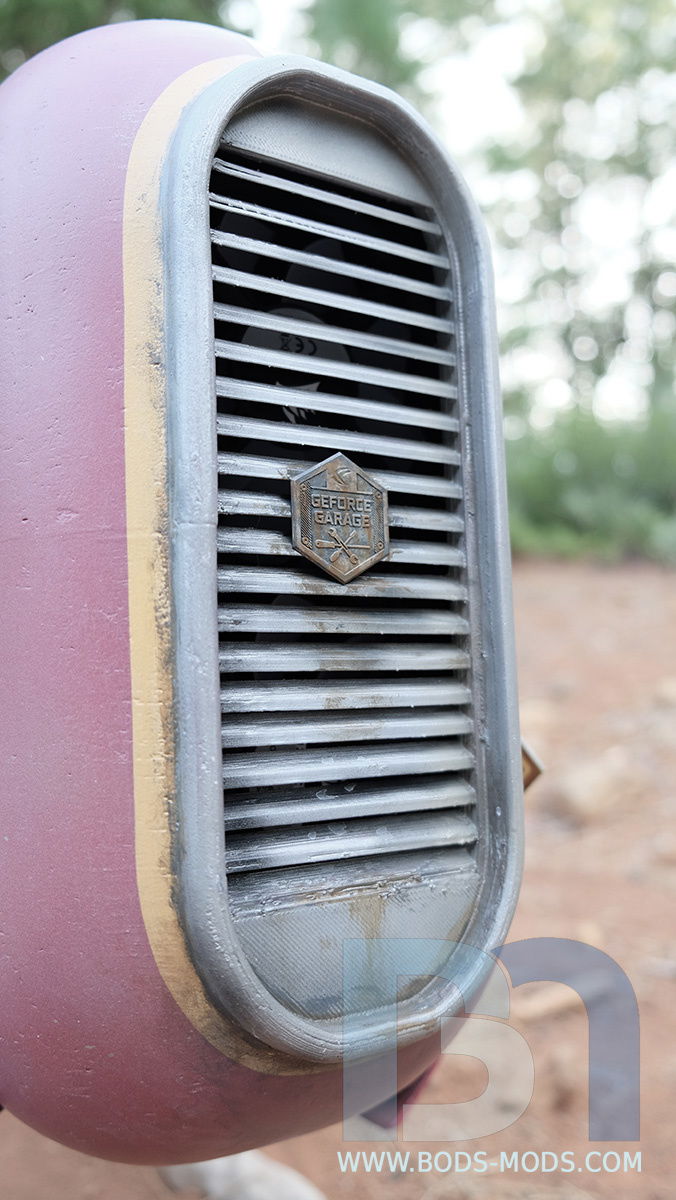
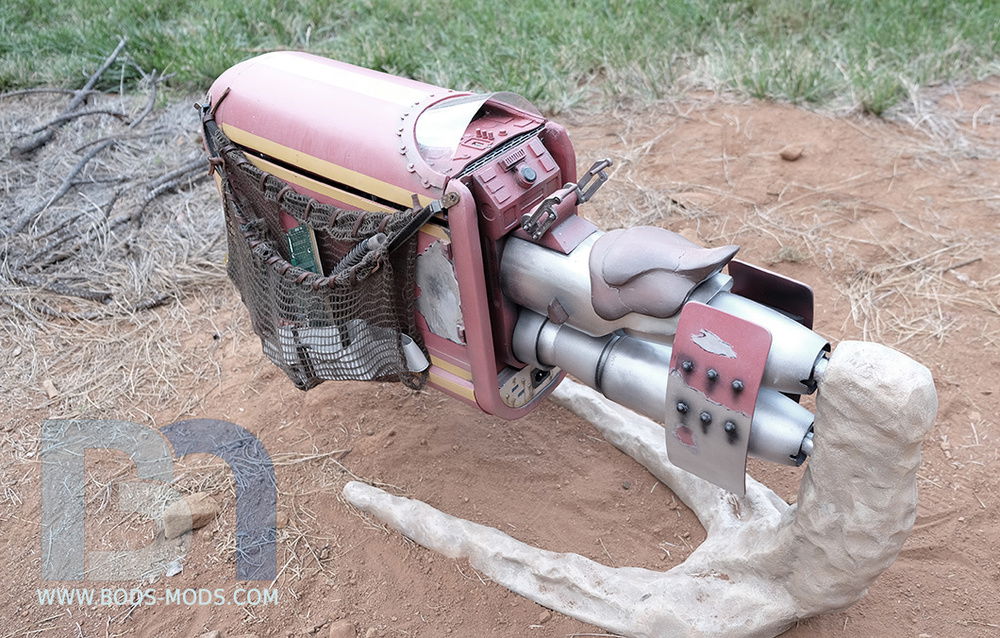
This is a replica of the speeder bike that Rey used in the movie “Star Wars: The Force Awakens” and is my main gaming rig at home. The idea originally came to me during a family trip to Disneyland in 2015. “Star Wars -The Force Awakens” had just come out, so there were numerous props on display in the theme park. That’s where I happened upon the life-size replica of Rey’s Speeder. I took a bunch of reference photos, but never had time to do the build until a couple years later. I was actually surprised that nobody had done a speeder bike mod yet, considering its size and shape just screamed case mod.
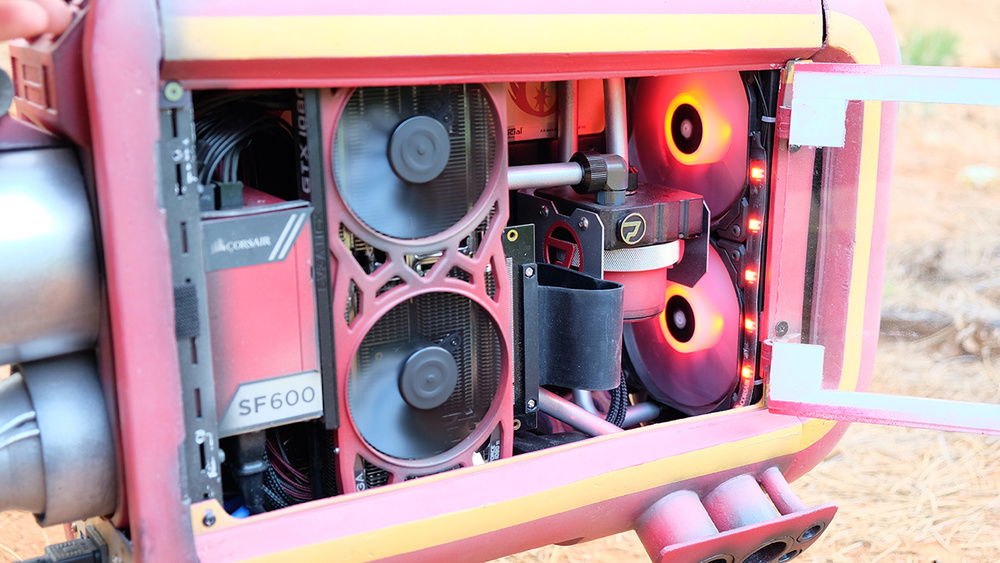
Before starting on this project, I knew I wanted to 3D print as much of the case as possible. So I spent a lot of time building a virtual speeder, scaling it to house all the PC components inside. I found the 3D printer most helpful when I had to revise my reservoir mounts to accommodate the graphics card. It was so easy to go back into Sketchup, make an adjustment to the mounts, and simply print them out again. My fitment issue was resolved in just a few hours.
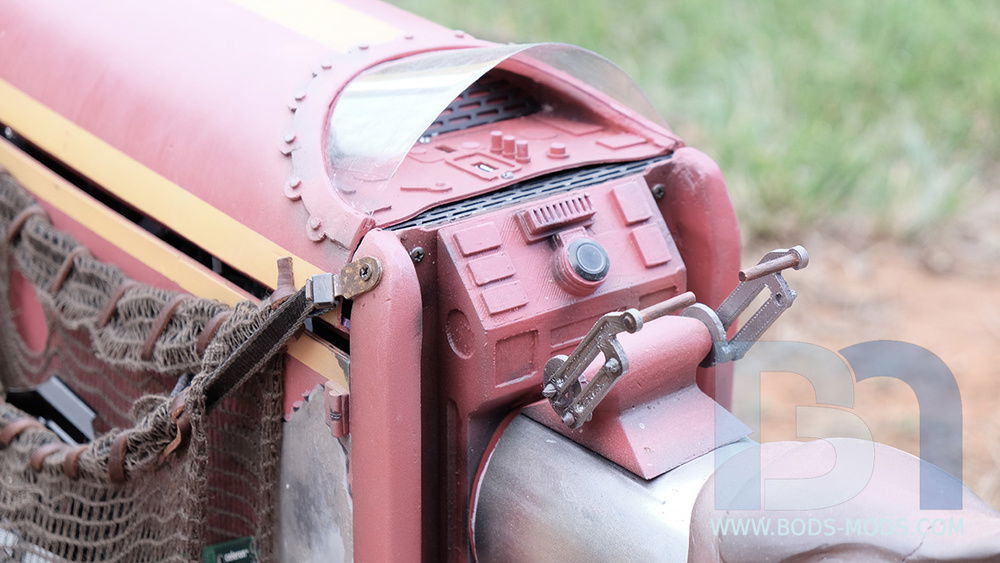
Almost all outer pieces were 3D printed, save for a few found items and the saddle, which was modeled in foam and sculpting clay. As much as I wanted to 3D print everything on this build, I had to go with what took the least amount of time due to the looming deadline. It was just quicker to form the saddle from a piece of foam insulation and cover that with sculpting clay.
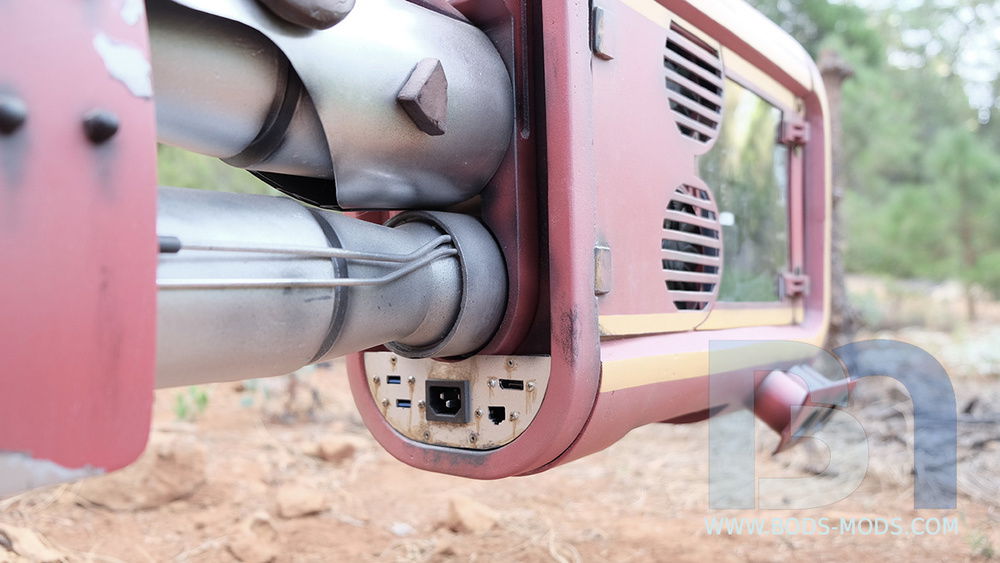
One of the found items I used was a 4” diameter dryer vent that I cut down for the jet engine’s heat shield.
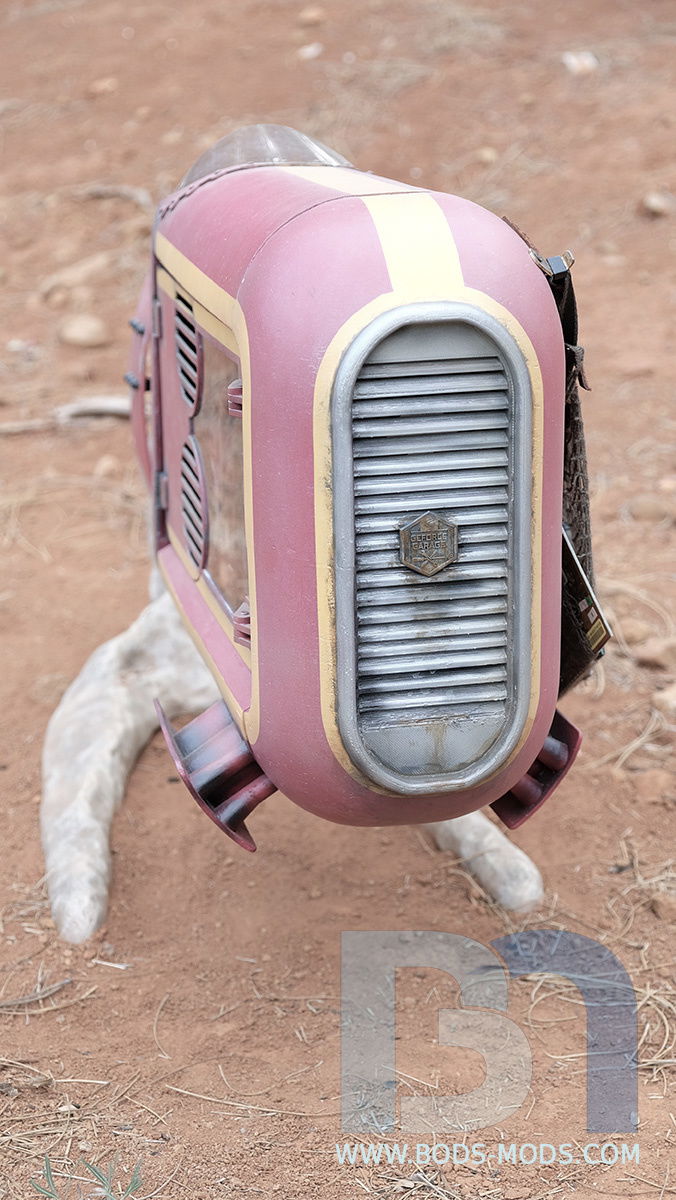
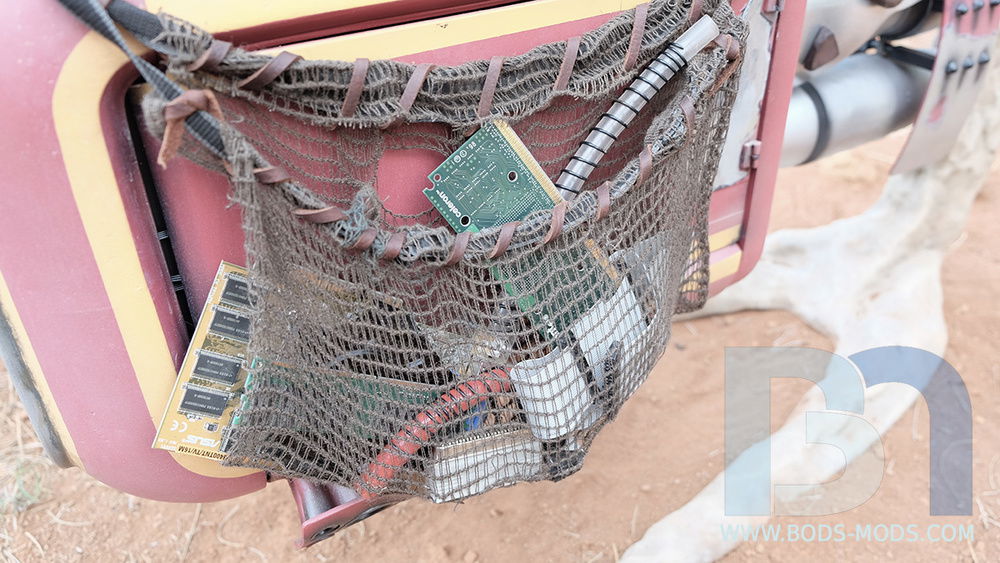
I try to do as much research on my subject matter as possible, and apply that knowledge to the build. In reading about the back story on how Rey built her speeder from salvaged starship parts, I wanted to take that same attitude towards this build. So whenever possible, I incorporated things from my own bone pile of old PC cases, such as the cut-down motherboard tray from an old Cooler Master case. Other brackets, chassis panels, and mesh were utilized as well. One of the most popular features on the case was the salvage bag on the side of the speeder, where I added old PC components like a TNT2 video card, used liquid cooling lines, an IDE cable, and an old Celeron processor slot 1 card. When I was at PDXLAN, people checking out the case had fun discovering all the old treasures!
Another element of the actual speeder that I wanted to convey in my build was the fact that it is a hover craft. It uses devices called “Repulserlifts” that enable the vehicle to hover above ground. Making something hover in real life is quite the challenge, since I can’t just skip down to the local hardware store and purchase a repulserlift off the shelf. I had considered strong magnets, but there aren’t any currently available that can support anything over 20lbs. So I had to settle for the next best thing... tried and true engineering! I devised a special cantilevered and weighted stand (I call it the Rebel Base ???? ) that would support the entire thing from just one end. That way, there’s nothing directly under the speeder holding it up, giving the illusion that its hovering. Then to mask the fact that it’s just a base and further enhance the appearance, I covered it all with a natural rock texture.
Lastly, I think the thing that really sells a mod, and this theme in particular, is the paint job. Prepping 3D printed parts for paint can be an arduous process, due to the layer-by-layer method in which they are produced. So first I had to smooth the surface of the part by filling in all the layer lines with an epoxy putty.
After priming and painting, I applied extensive weathering and aging effects to make the Speeder Bike look worn and faded from the baking sun. I was excited to finally get the opportunity to break out my airbrush and dirty up a perfectly good paint job. (I have to admit this gave me way too much satisfaction!) …Anyway, to round out the theme I always like to paint the peripherals to match, so the Corsair keyboard and mouse got the same weathering treatment.
Color(s): Red
RGB Lighting? Yes
Theme: Sci-Fi
Cooling: Custom Liquid Cooling
Size: Mini-ITX
Type: General Build
Contests
This build participated in 3 contests.
| Rank | Contest | Date |
|---|---|---|
| #14 | Build of the Month - August 2021 | ended |
| #12 | SFFPC meets builds.gg Contest | ended |
| #5 | Build of the Month - November 2020 | ended |
Hardware
CPU
$ 179.99
Motherboard
$ 388.77
Memory
Graphics
$ 365.00
Cooling
Cooling
Cooling
Cooling
Keyboard
$ 140.00
Mouse
$ 48.69
Approved by:
