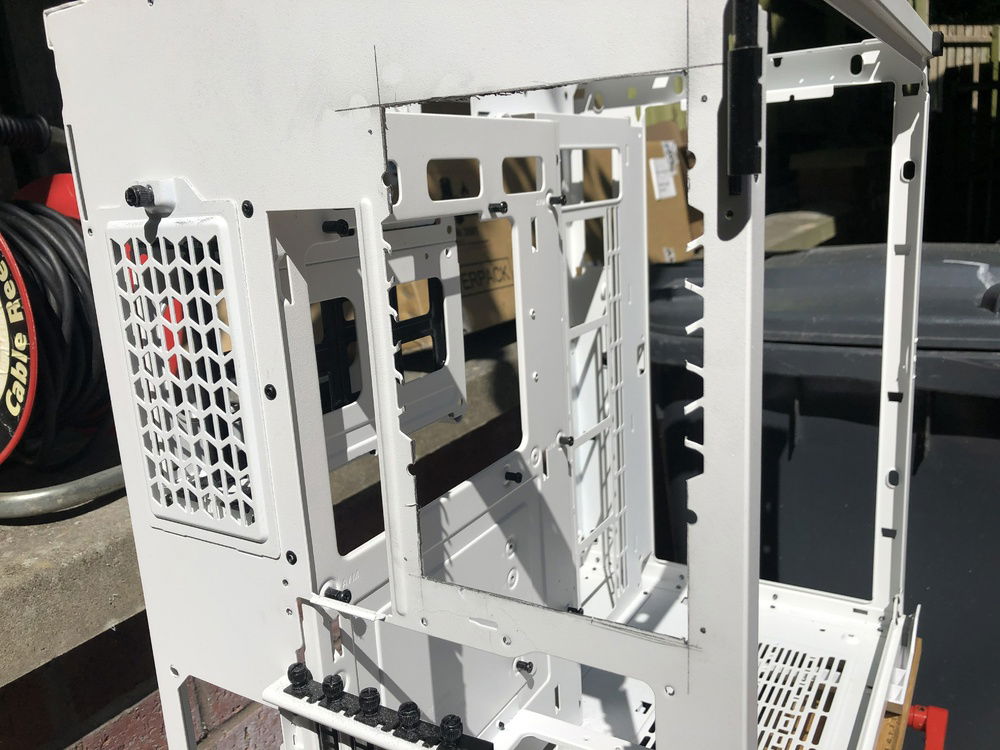
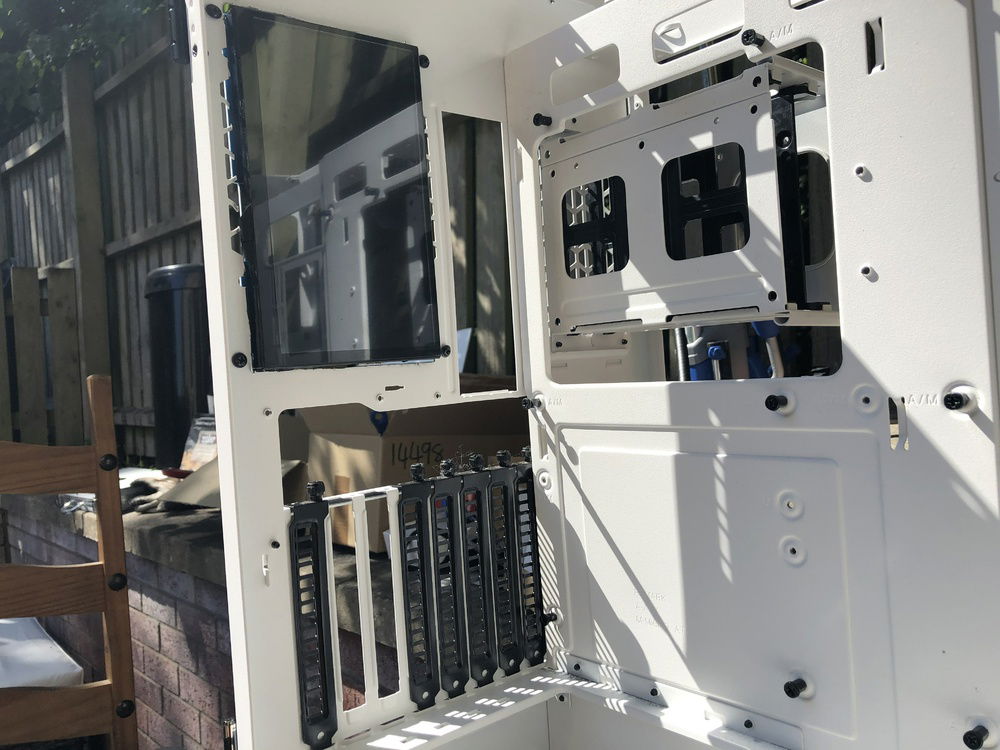
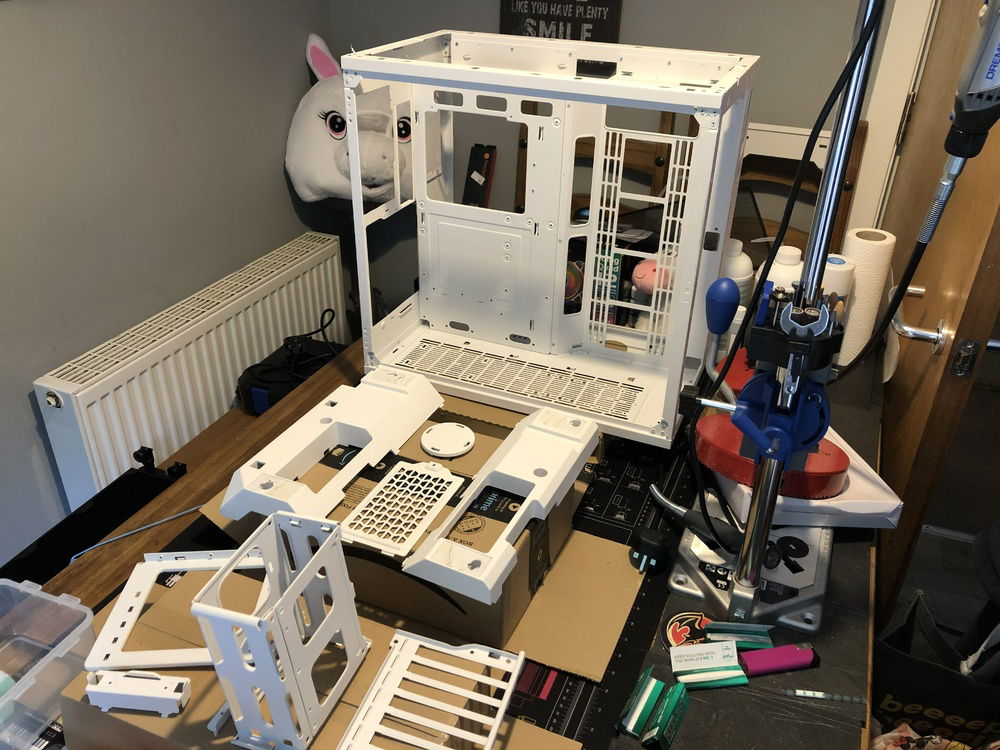
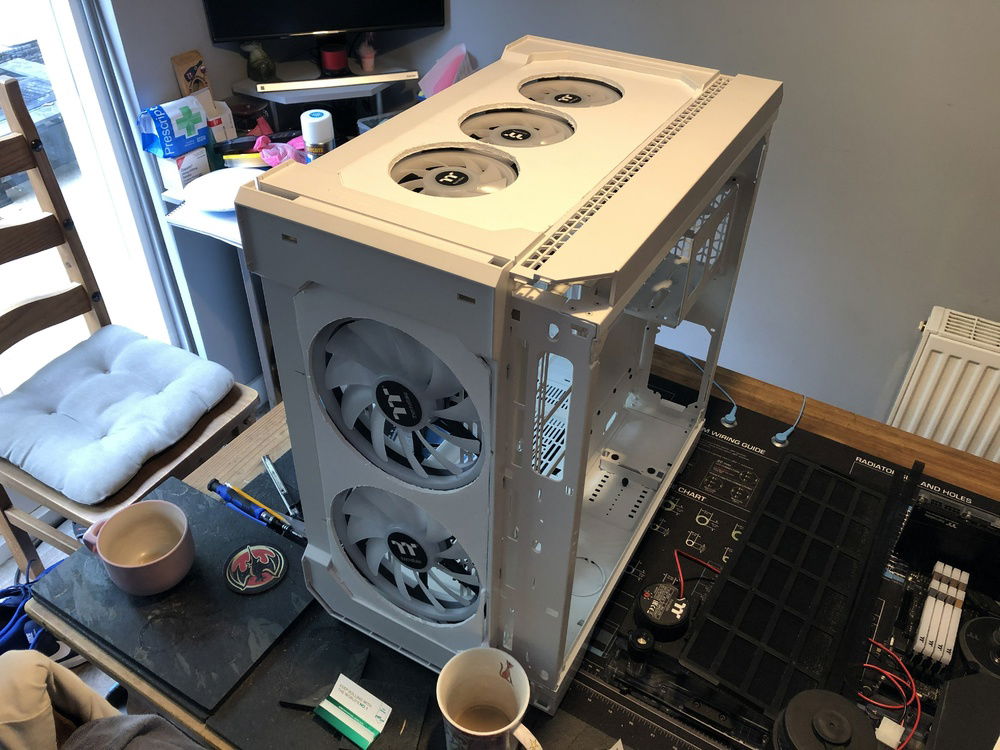
Ooft, it has been over a month since I posted an update here. I realise that whilst I had posted some images, I completely forgot to write up as well.
So let us get caught up to speed!
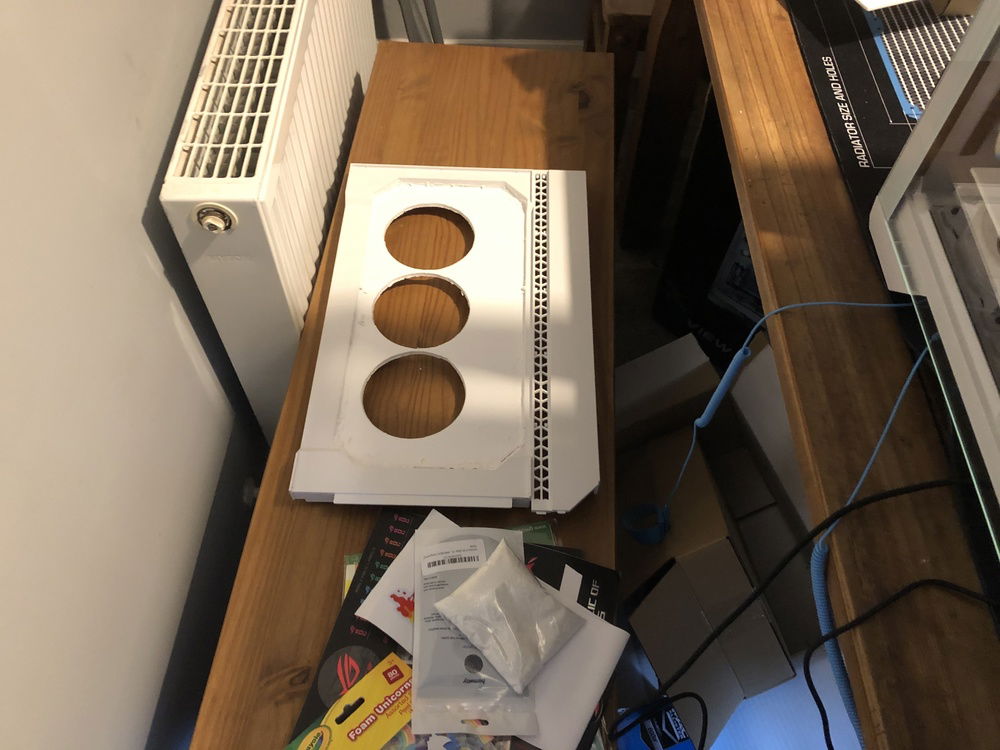
I went into this whole contest with solely a 'theoretical' understanding of how I could use the acrylic. In my head the plan was to create a cleaner version of the View 51 Snow. Now this isn't to say that the case doesn't already look great stock, as it certainly does; but we all know how factory paint jobs can be, especially when dealing with multiple materials.
I'm now getting to the stage where I will start to see whether these ideas actually work or not!
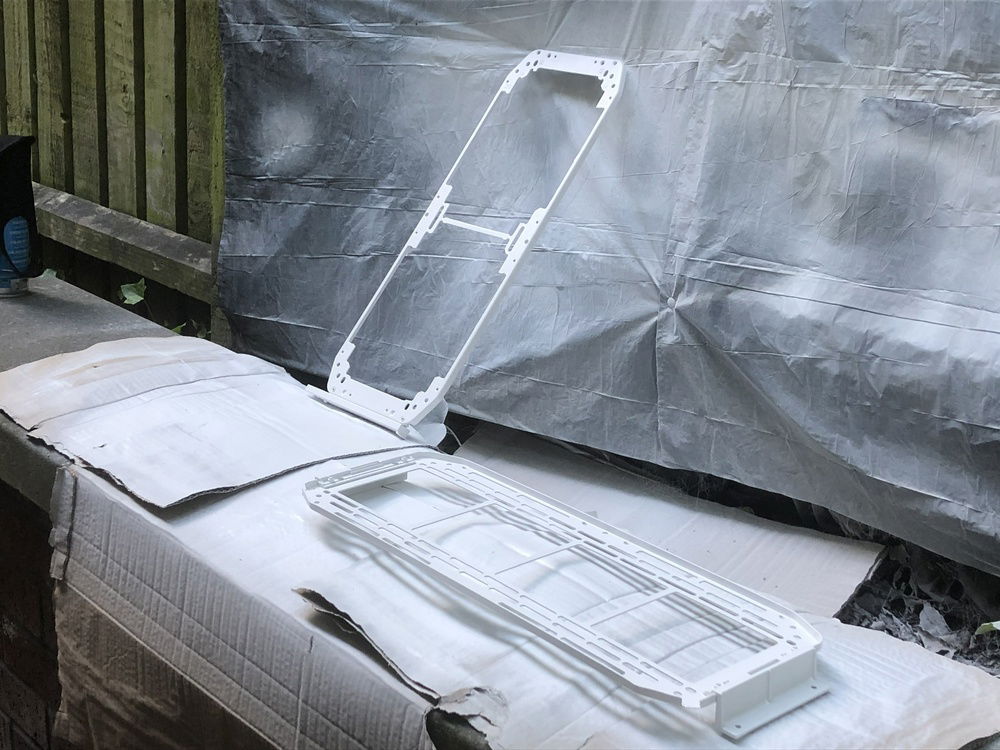
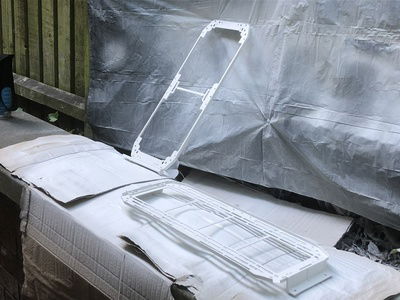
So catching up from the last time I checked in, once all those things above had been painted and lacquered, it was time to start putting some pieces back together.
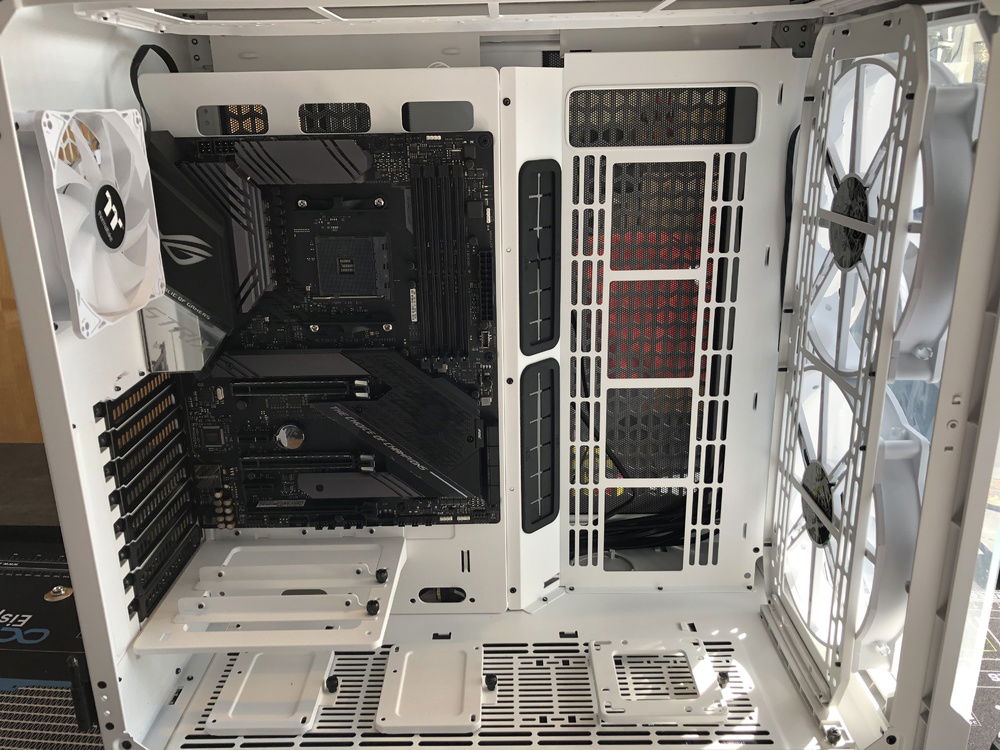
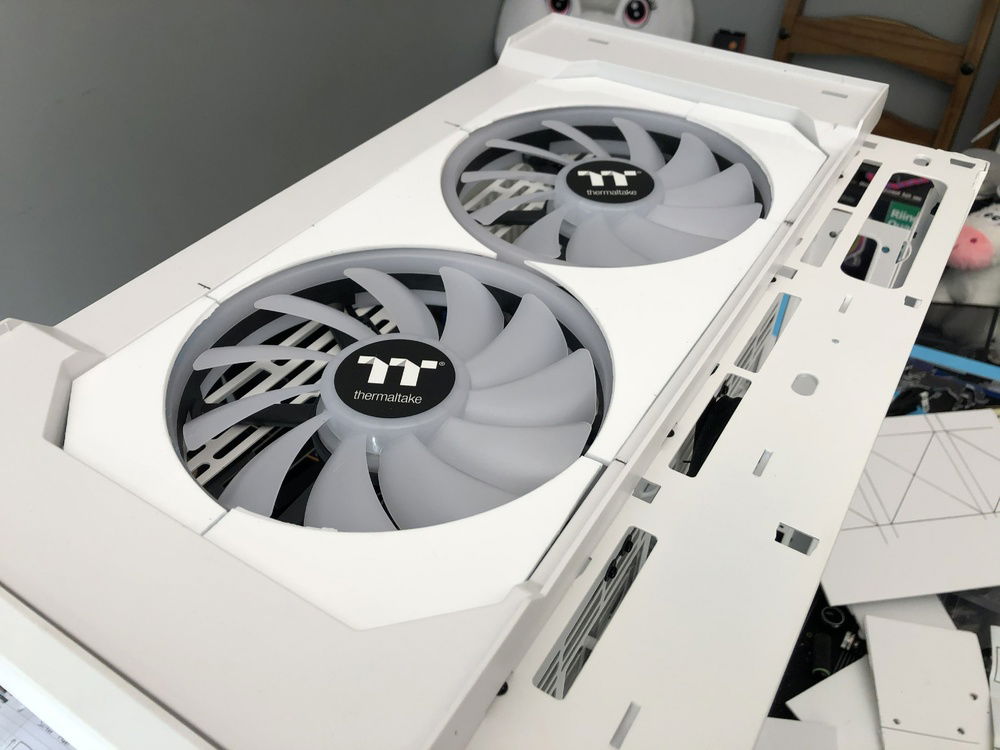
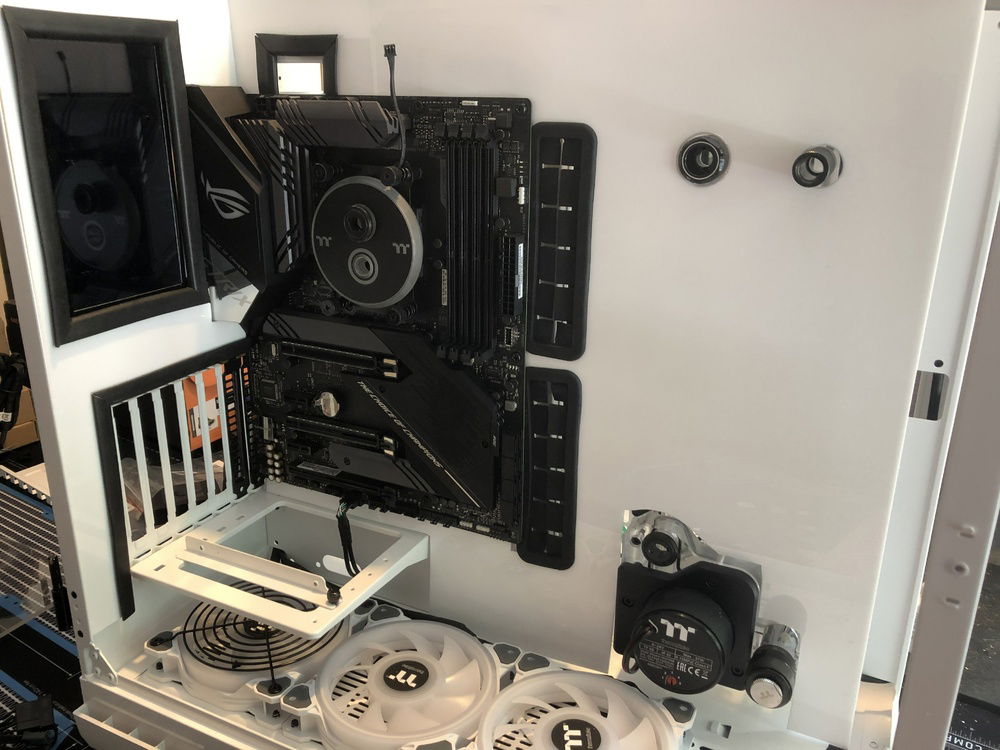
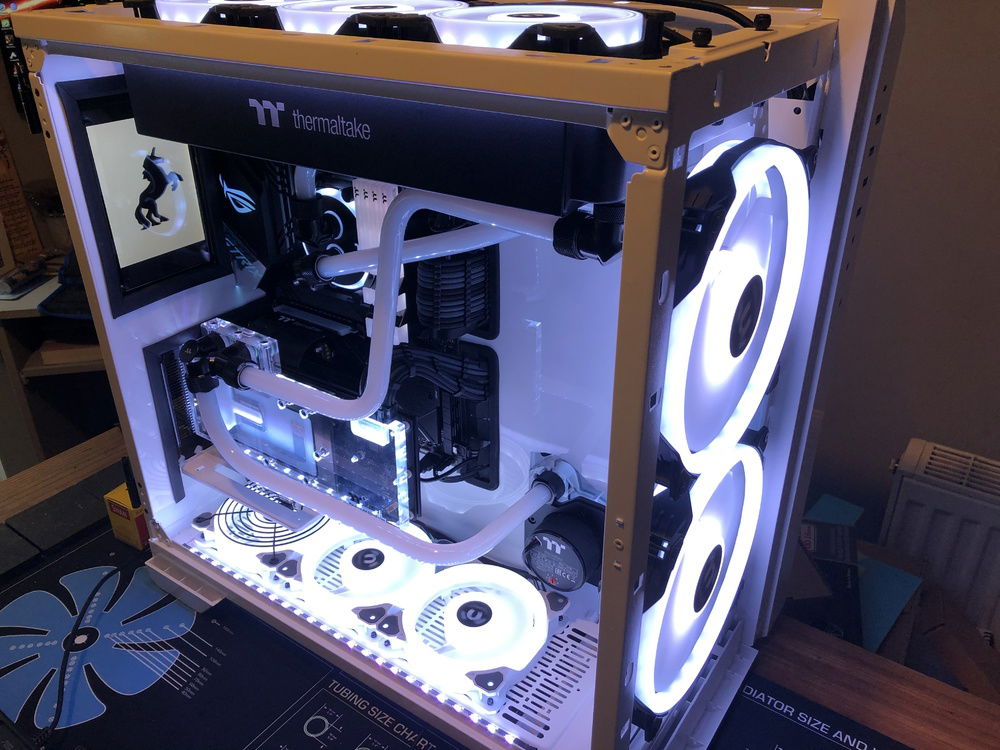
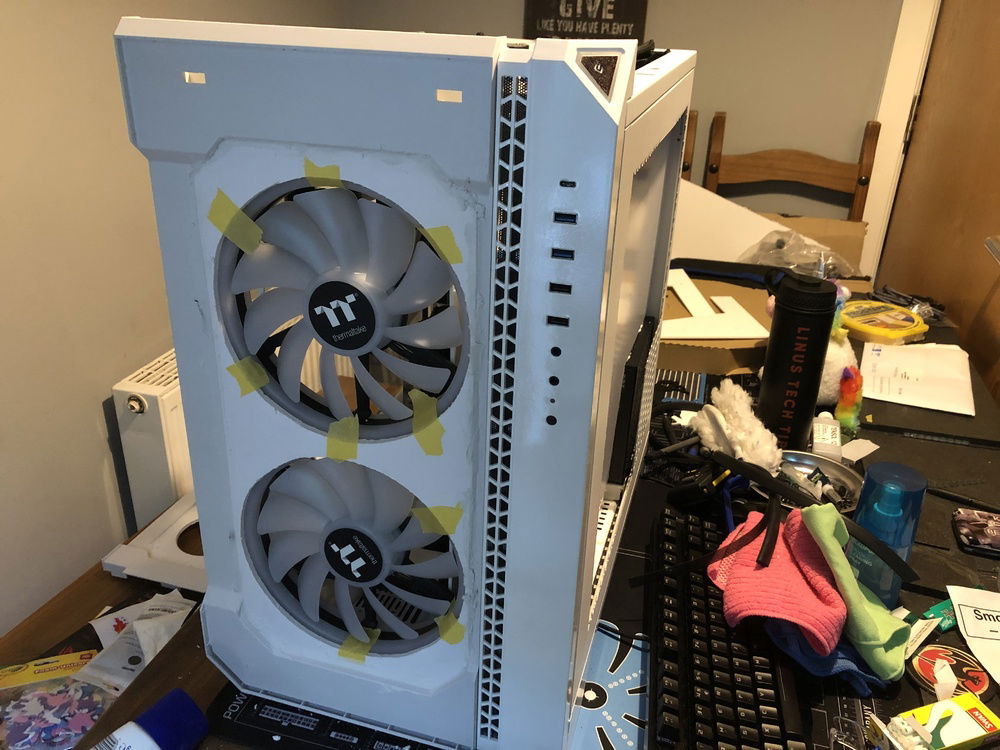
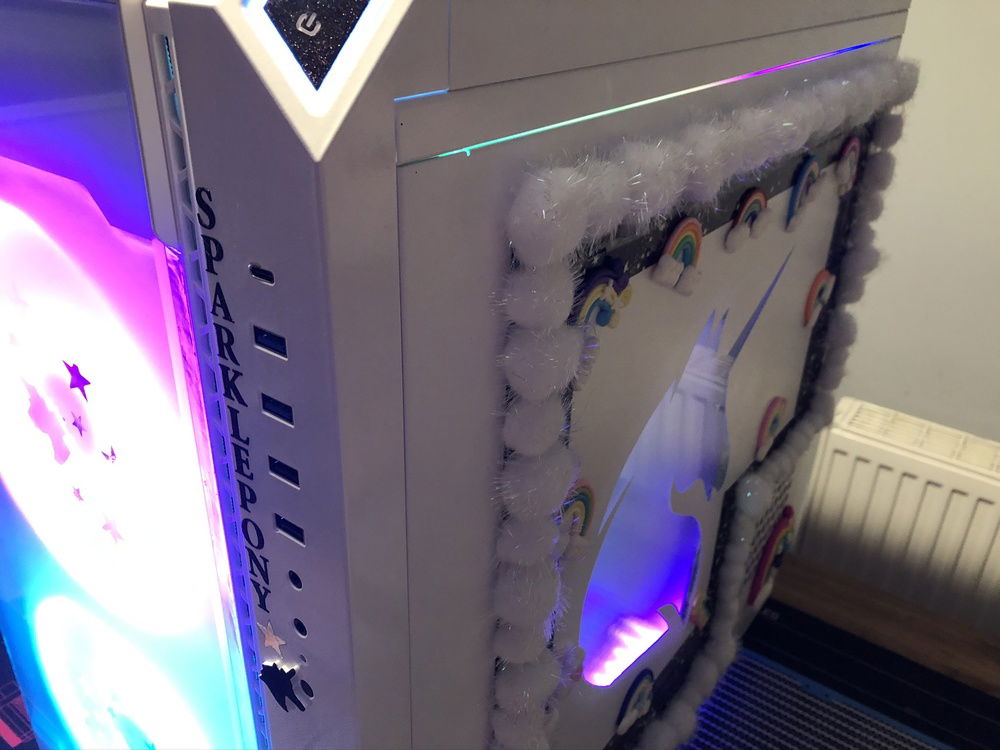
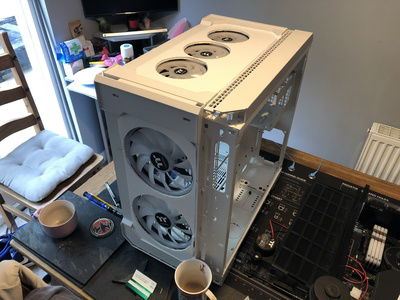
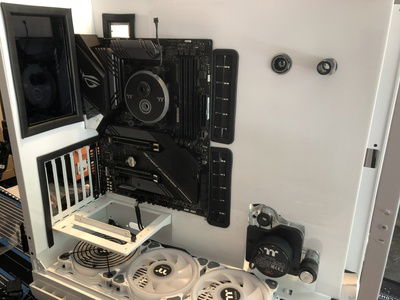
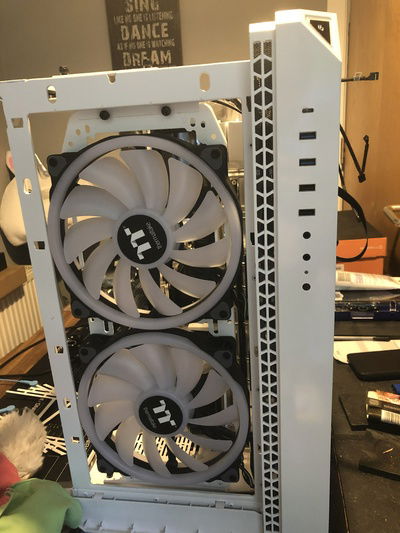
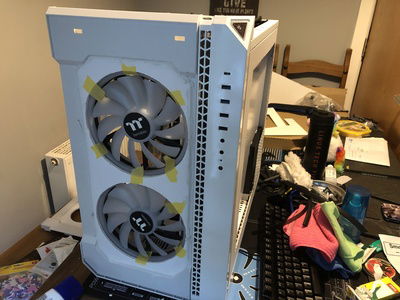
First up was the small front panel where the power switch and USB ports etc. reside, as well as getting the 200mm Riing Trios in:
I had removed as much of the fan bracket as I was comfortable with, as I still wanted it to successfully hold these monsters in place. Whilst not perfect, it definitely makes things less busy behind the fans. Some other minor things were making the Power Button and Reset Switch black, just to give it a little bit of pop.
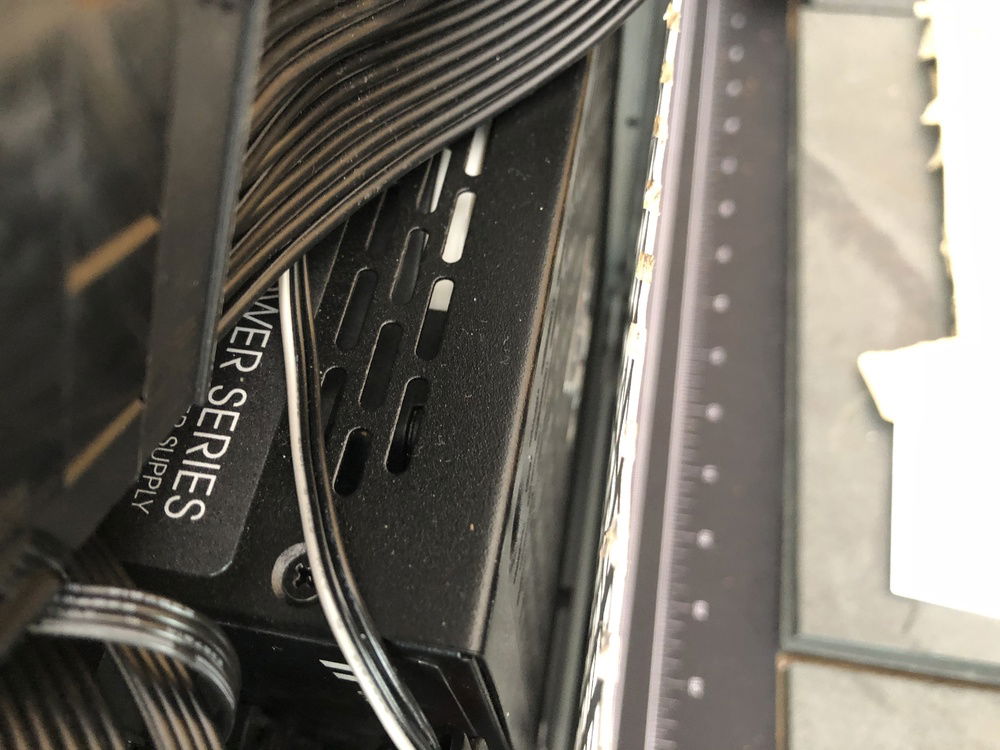
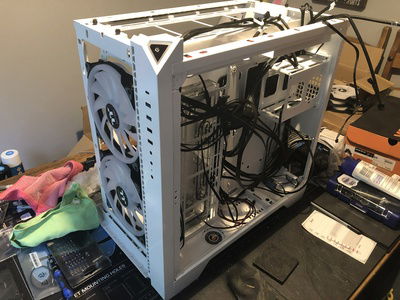
Another reason for starting to get things like the fans and front panel in was to get started on cable management, as that would eventually be a slight pain. At least at this stage there were barely any cables:
It's a shame that the above shot doesn't show how glossy that front panel is, but I suppose that's what happens when you just take candid photos rather than lighting them properly and whatnot. Admittedly when I'm working on a PC I just want to get stuck into it, so pausing to take a pic is something I constantly have to remind myself to do!
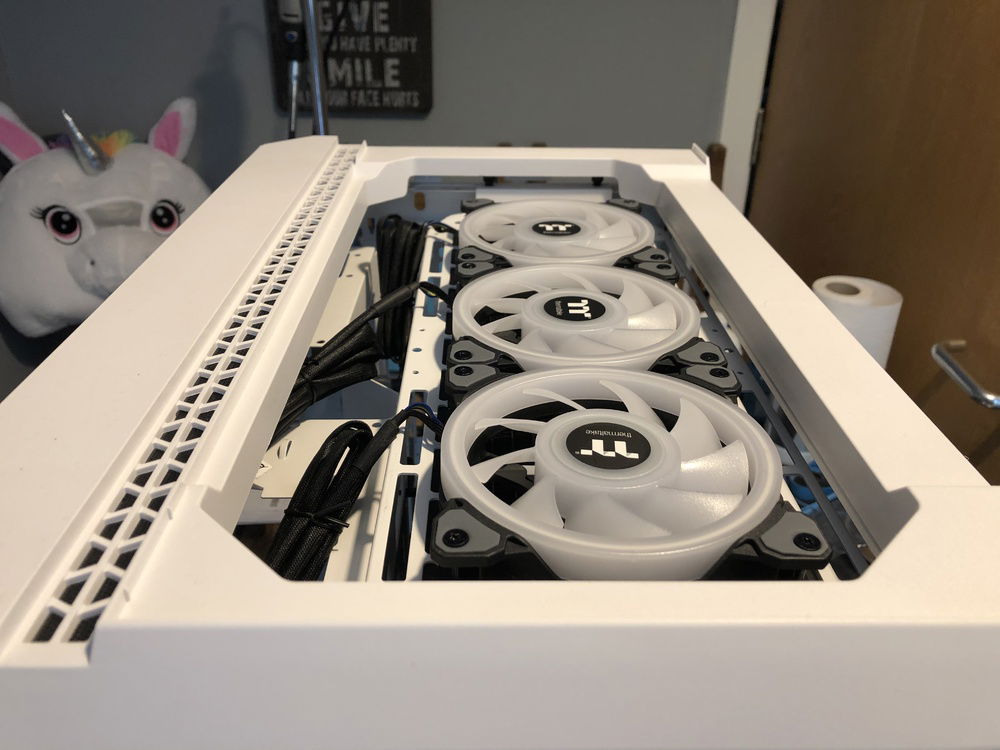
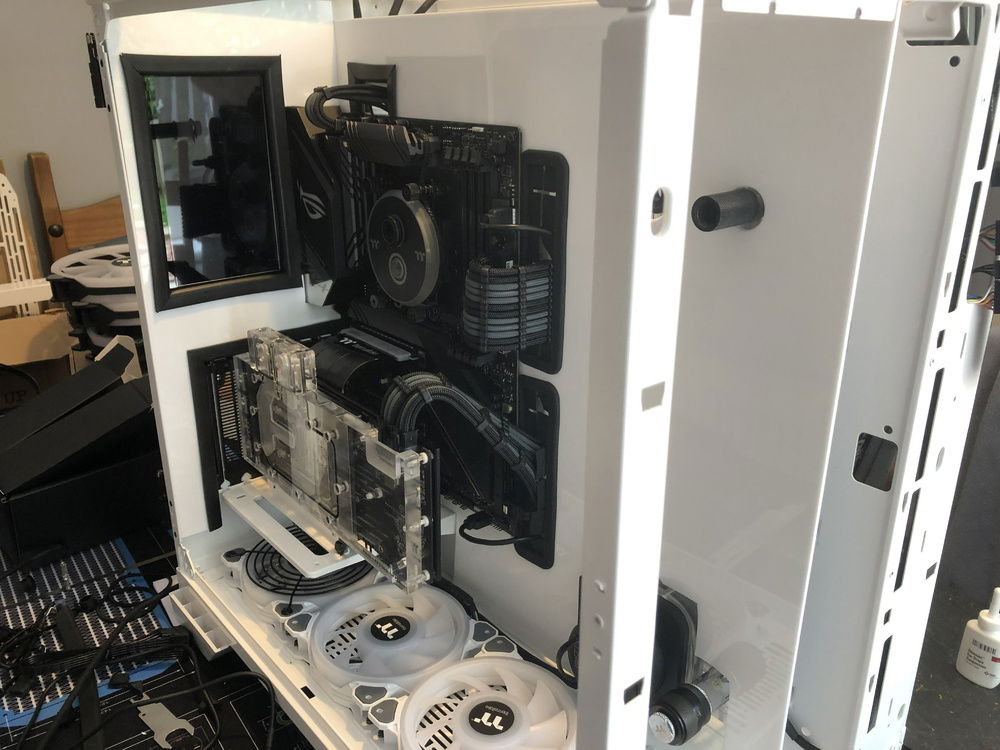
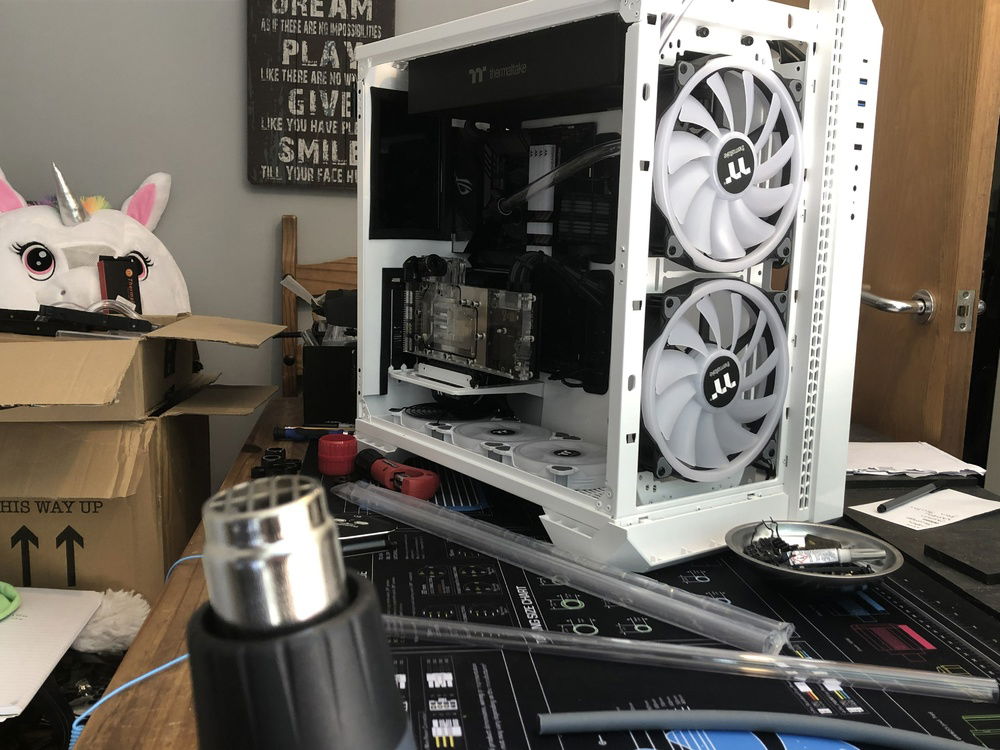
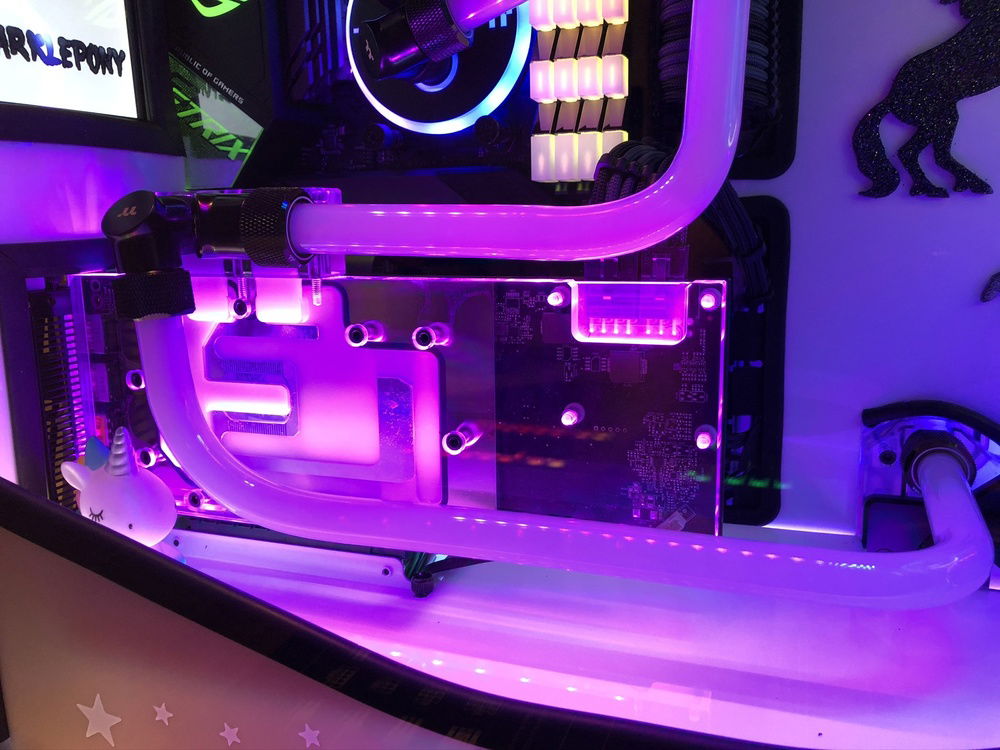
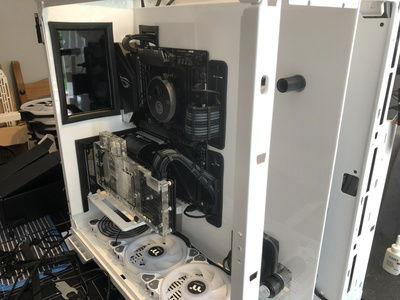
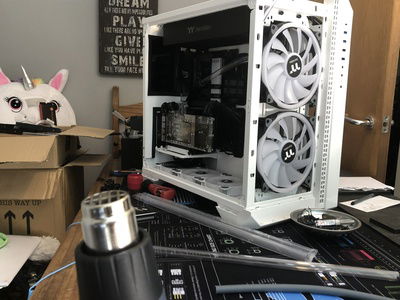
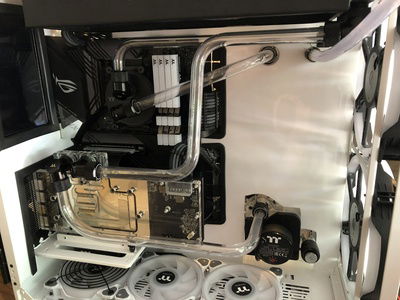
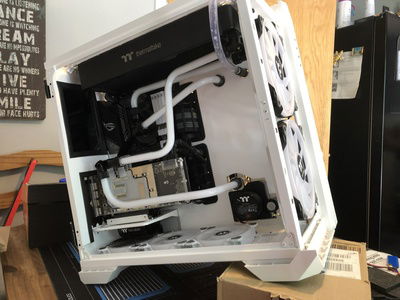
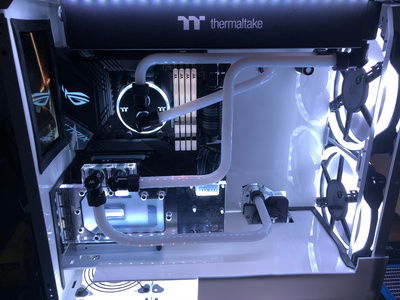
I then put the thicc boi back in as well as the 3 Riing Quads up top, and it was time to make some new bends:
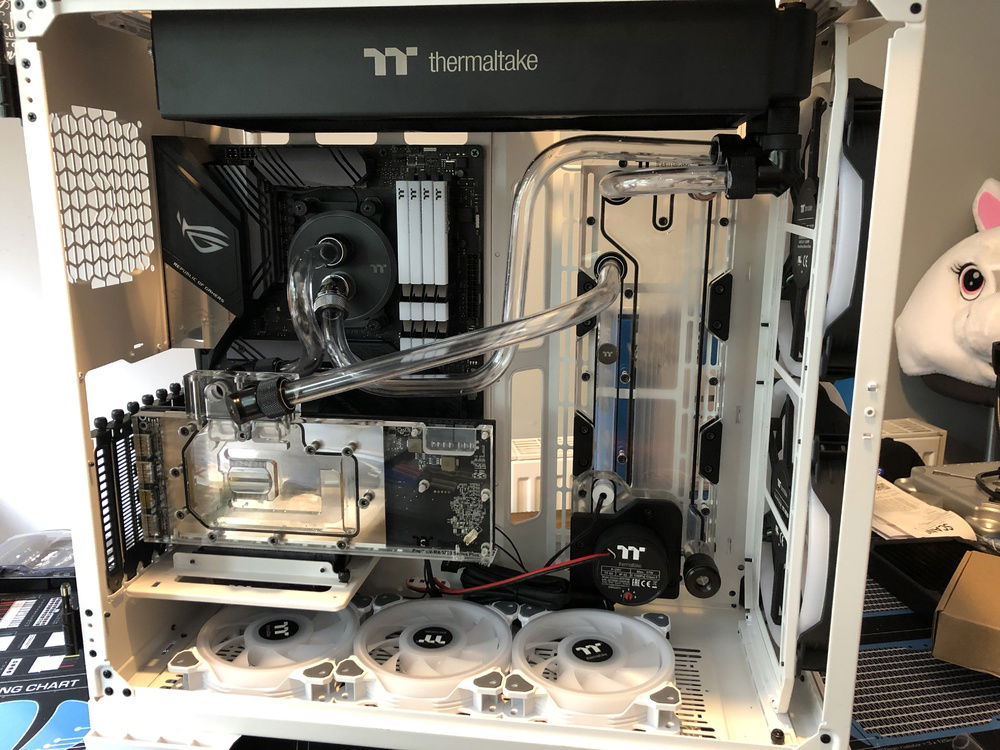
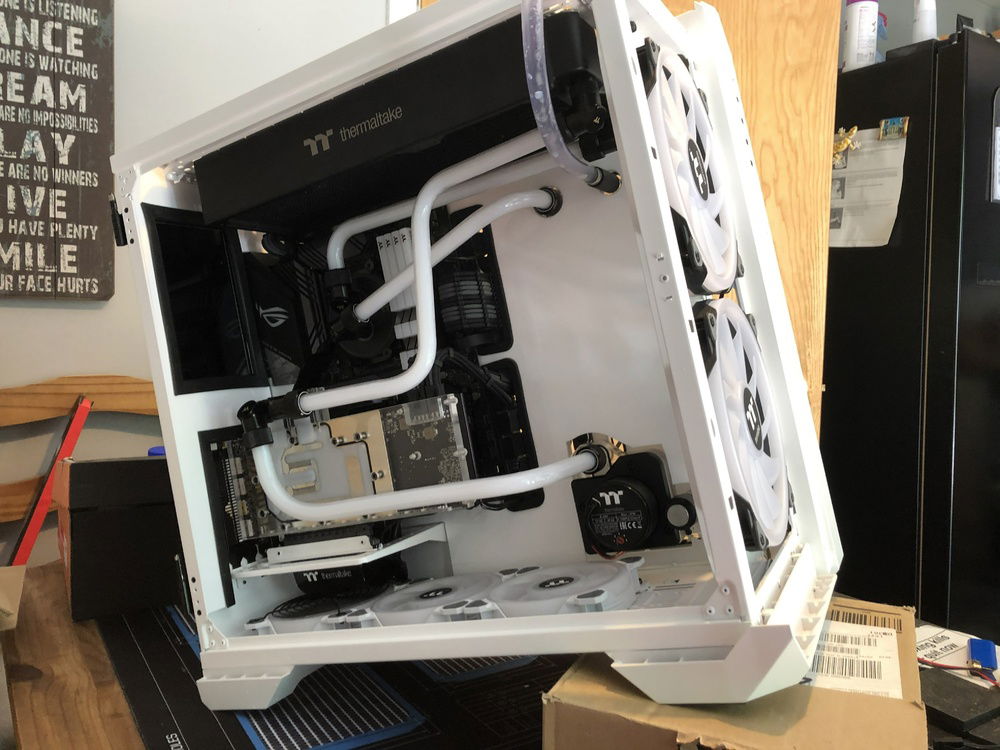
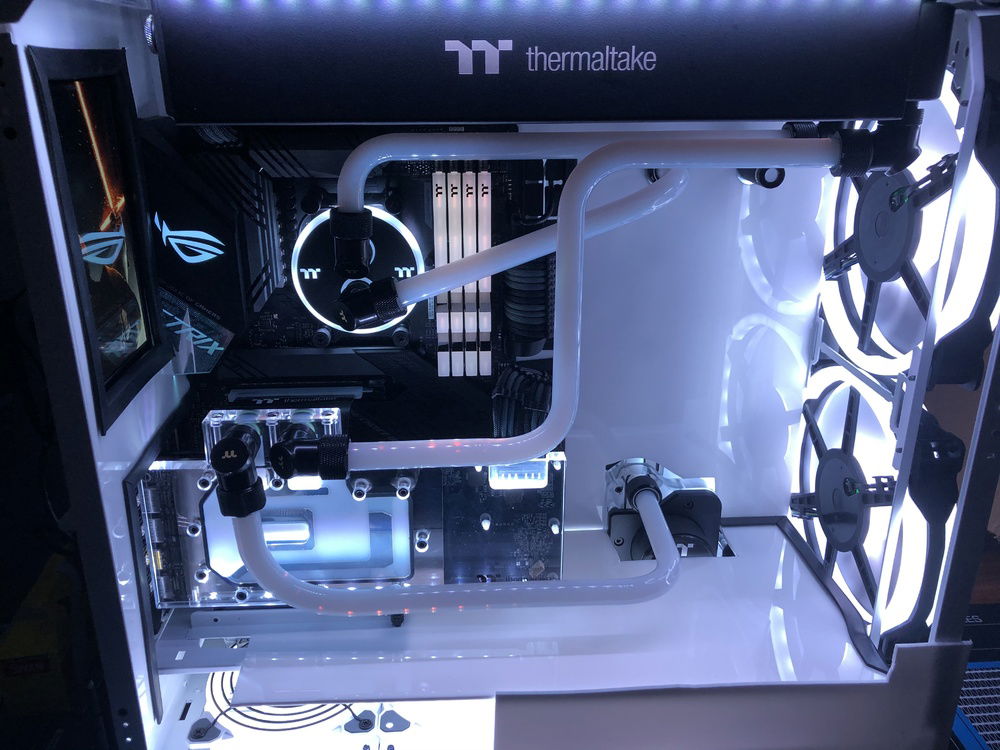
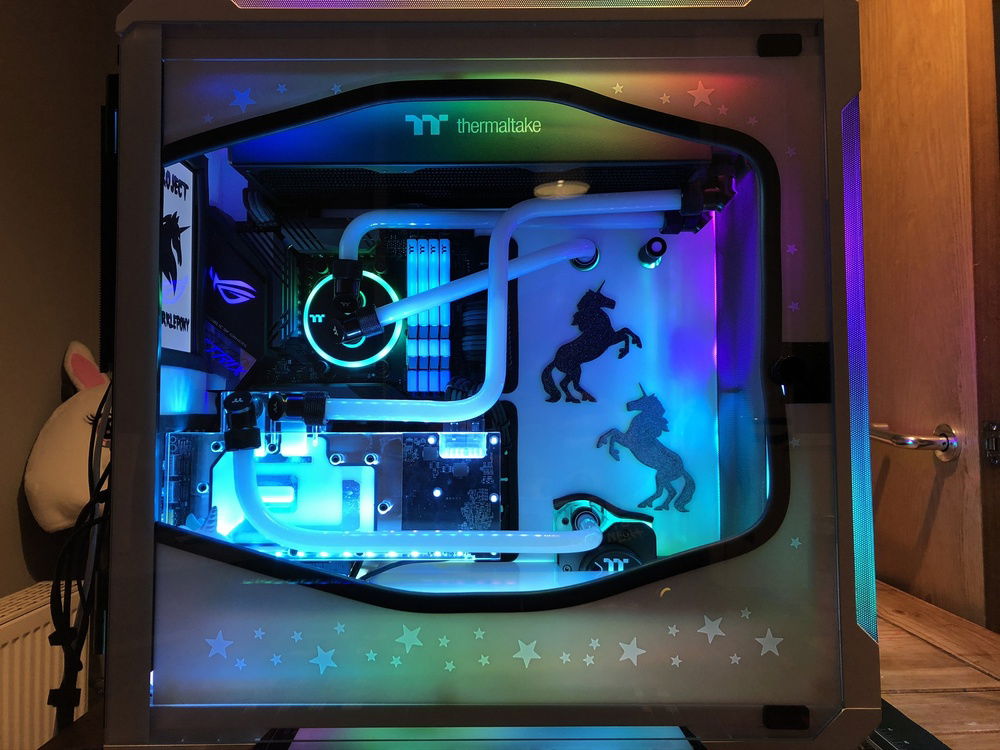
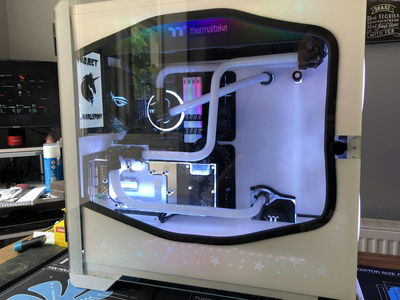
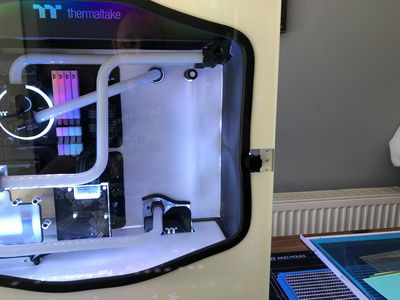
After several iterations of different bends, keeping in mind I wanted the area of acrylic on the right to not be covered up by tubing, these are how the final bends turned out:
I had considered having the CPU>Distro run travel at a 90 to the right and then straight up, but running it straight this way kept the panel nice and clear for...
...well, stuff 😉
I flushed the system several times with Distilled Water and then ran just the pump for a couple of days to make sure there were no leaks. Everything checked out, so it was then time to drain the system and put in the proper fluid, get the system filled and get out all the air bubbles, so ran the pump once again for a good couple of days:
I always love how much quieter a pump runs when you use a pre-mixed coolant compared to distilled water, just that slight change in viscosity makes a world of difference.
I briefly turned on the system fully, just to make sure everything worked. System was absolutely fine, it just took me a little while to get used to the TT RGB Plus software. But I got there in the end.
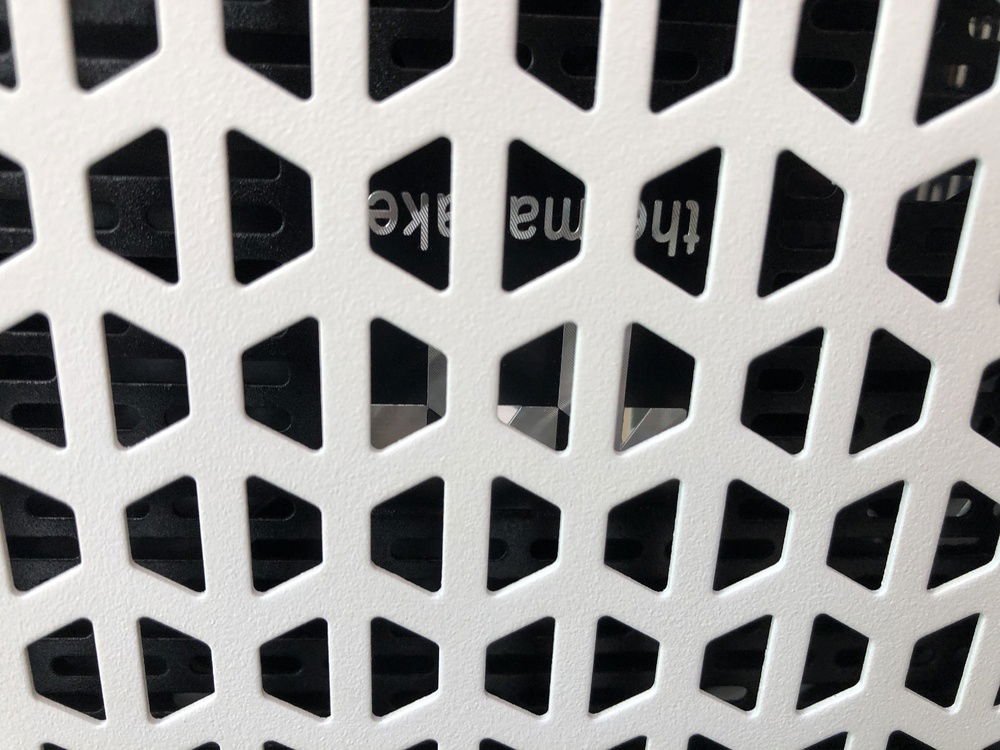
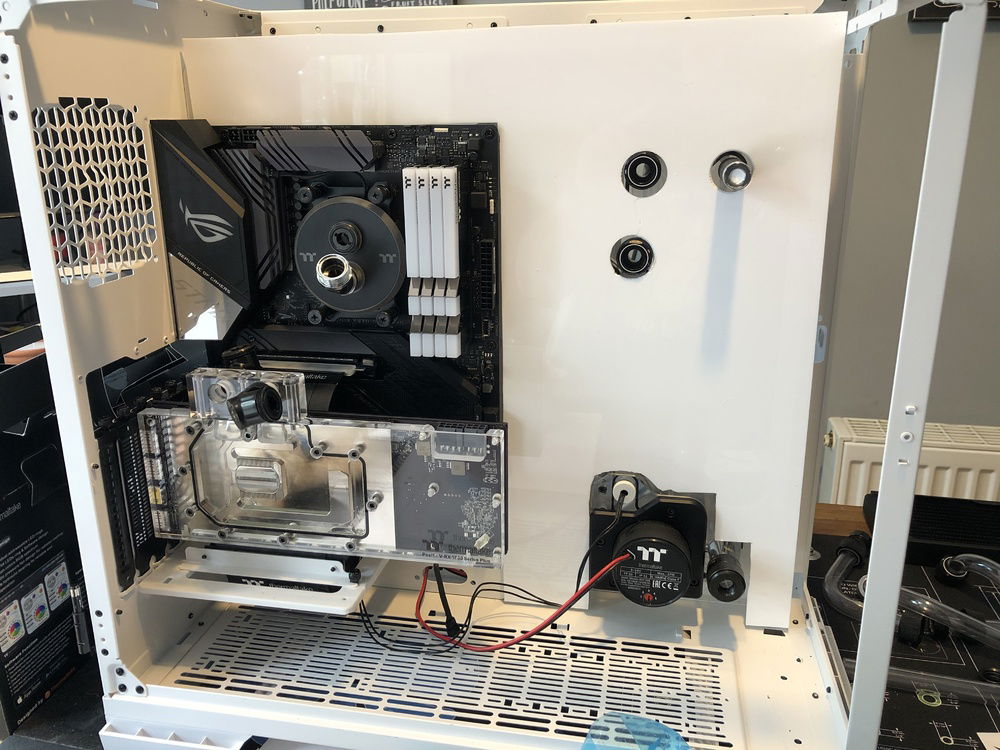
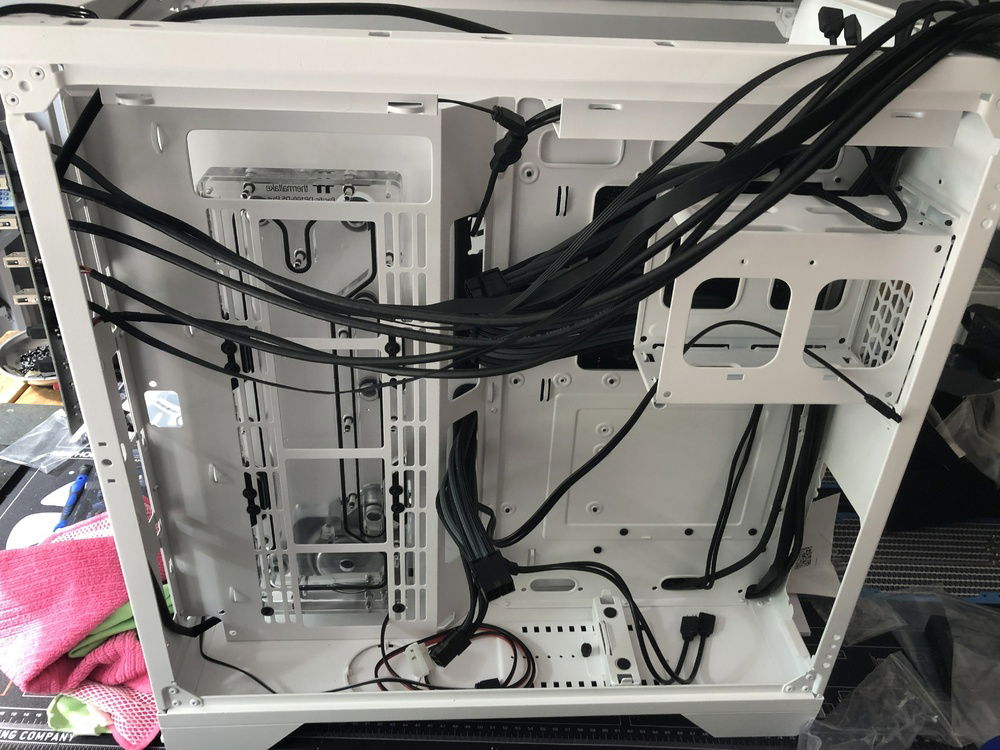
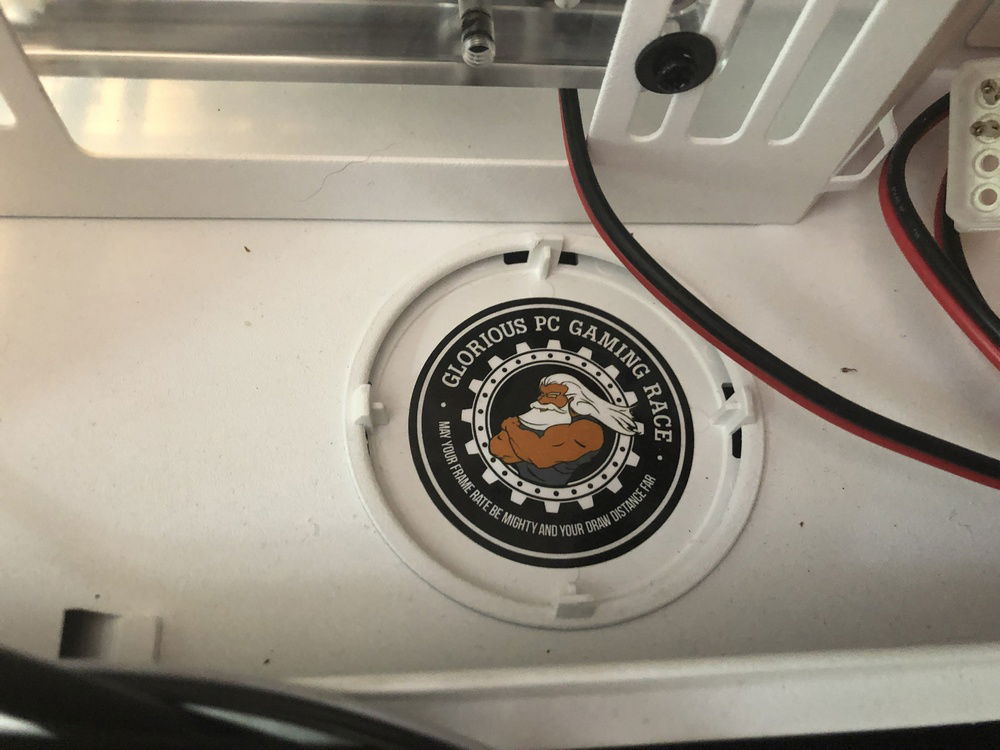
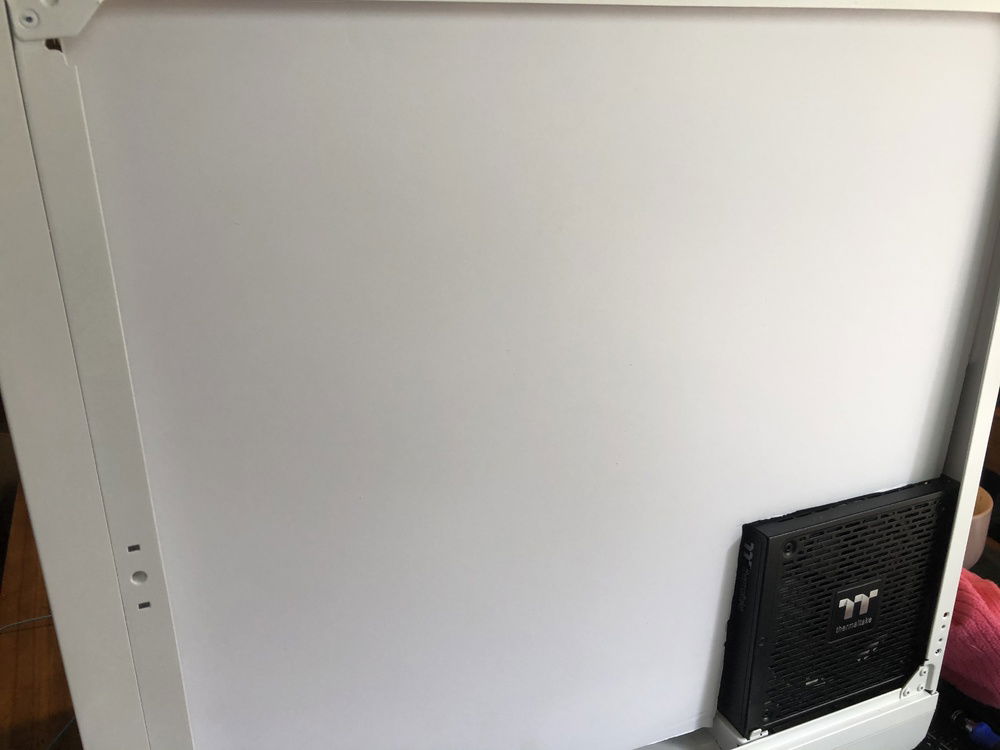
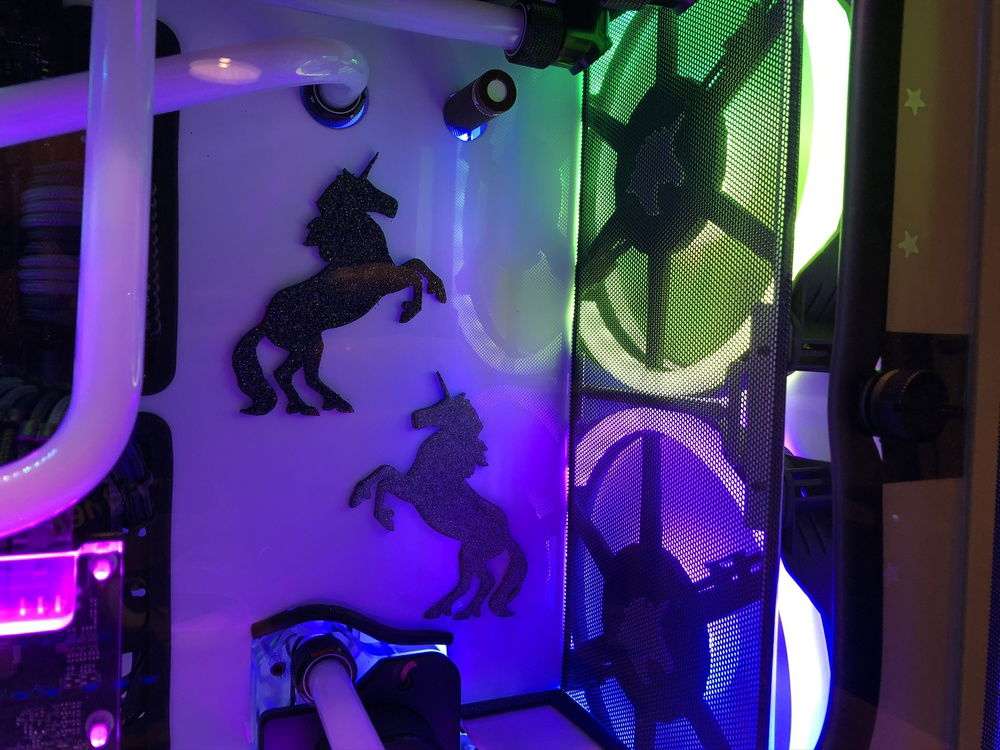
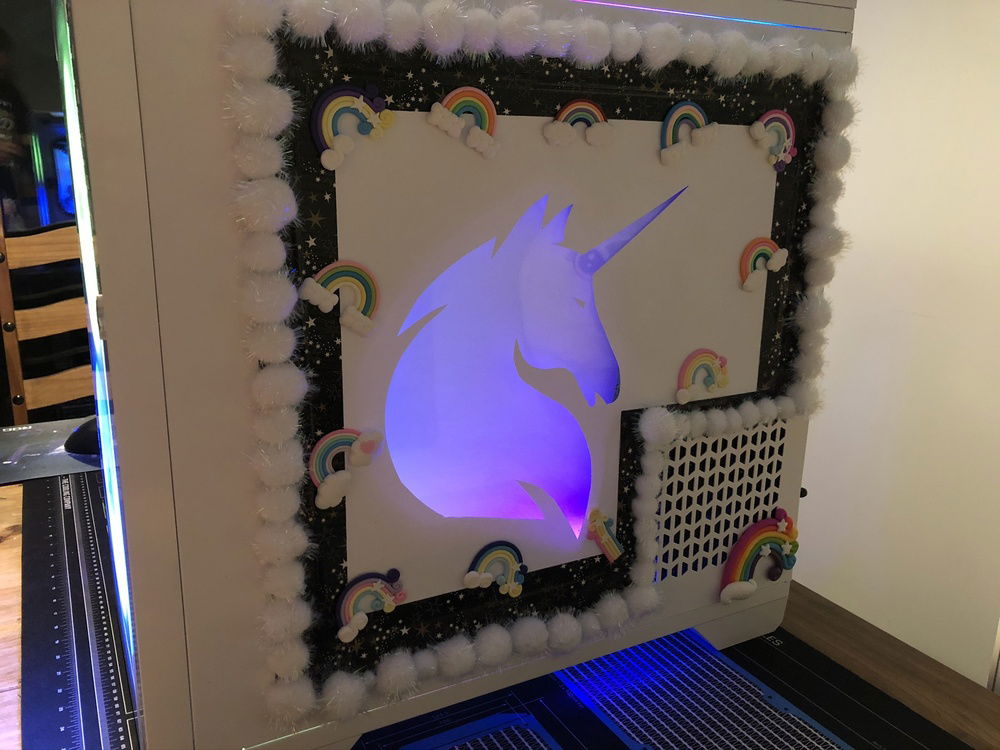
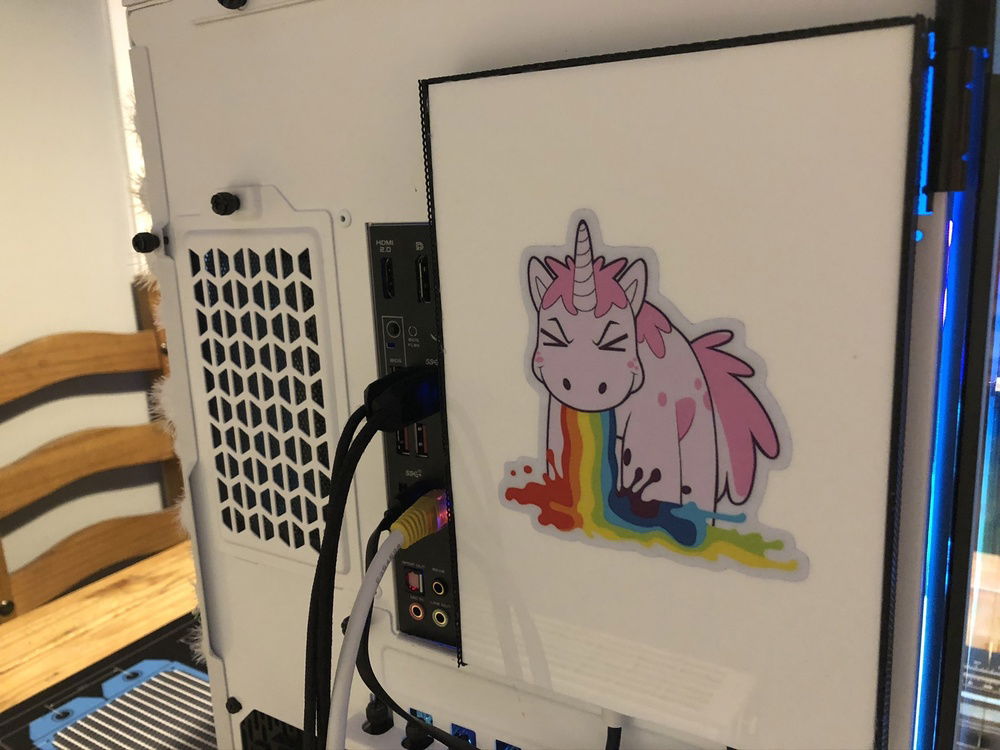
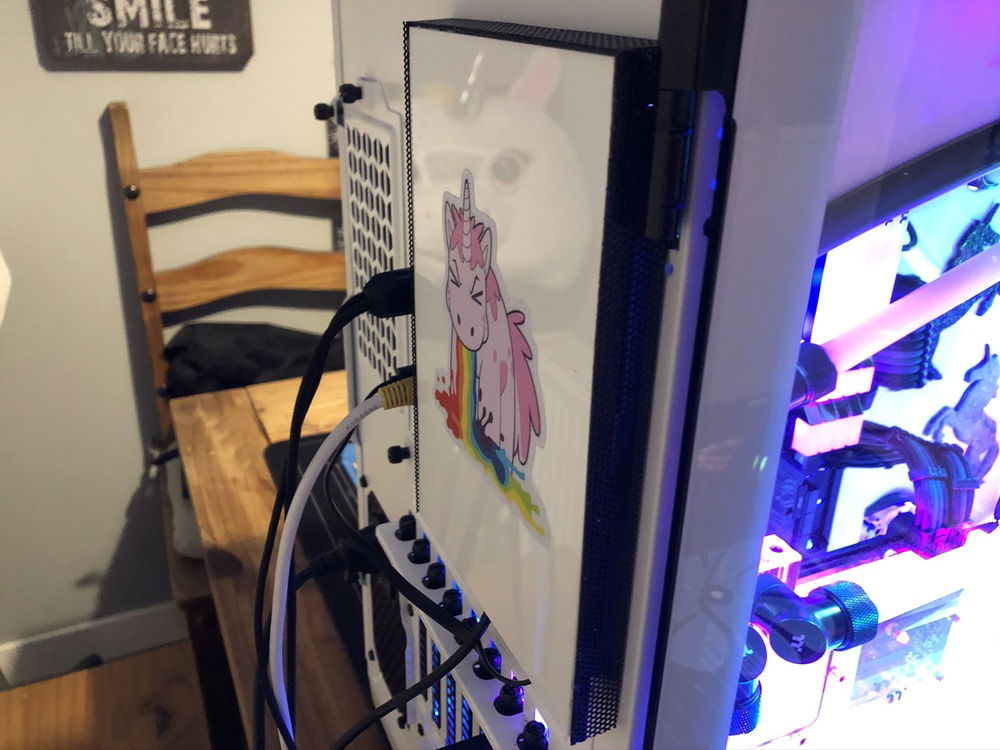
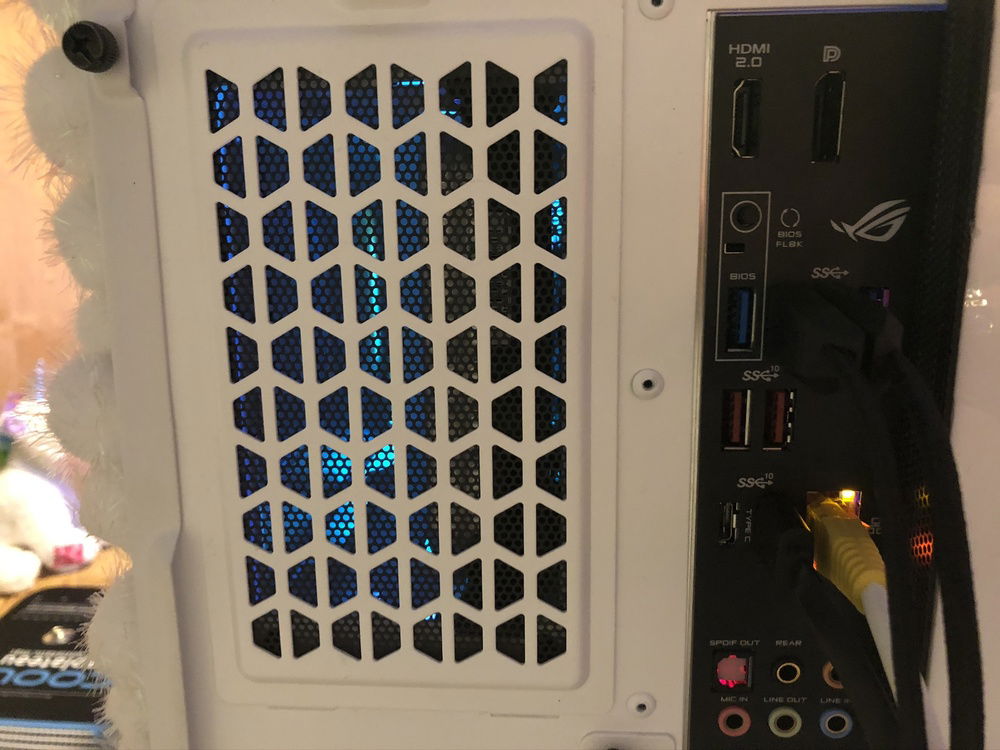
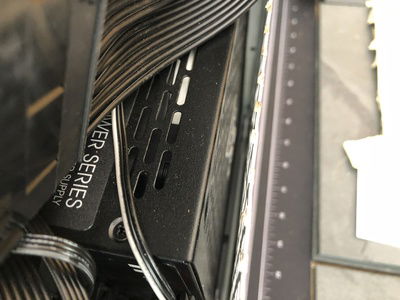
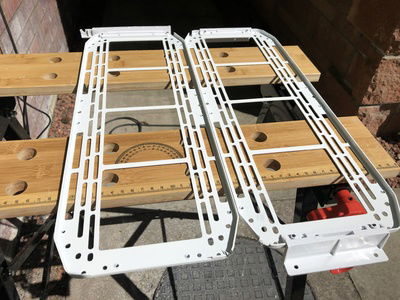
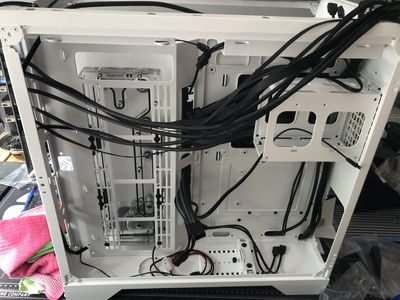
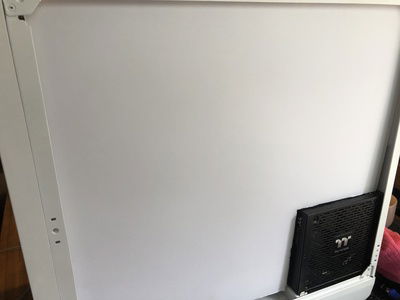
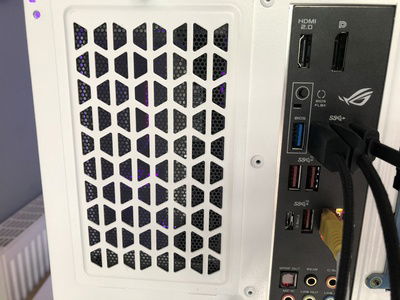
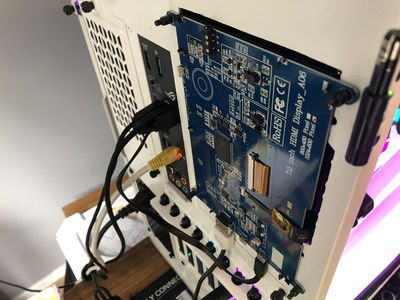
Before proceeding any further I wanted to get to work on the cables around back. I had all the intentions of making it super-clean back there, but if you recall, the rear panel was going to be modified with a lit Unicorn's Head (still the plan). In order to help facilitate this, as the actual cutout would be clear, I needed a blank canvas back there. So instead I did an alright job of running the cables fairly tidy and then slapped this in there:
Now nobody will ever know what sins lurk beneath 😉
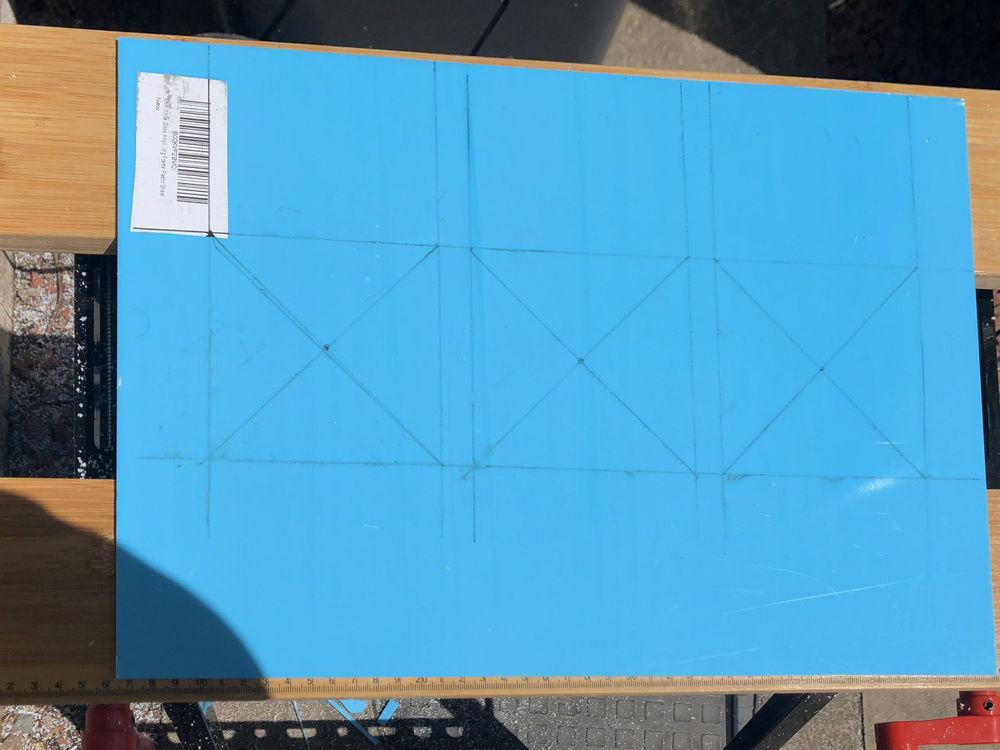
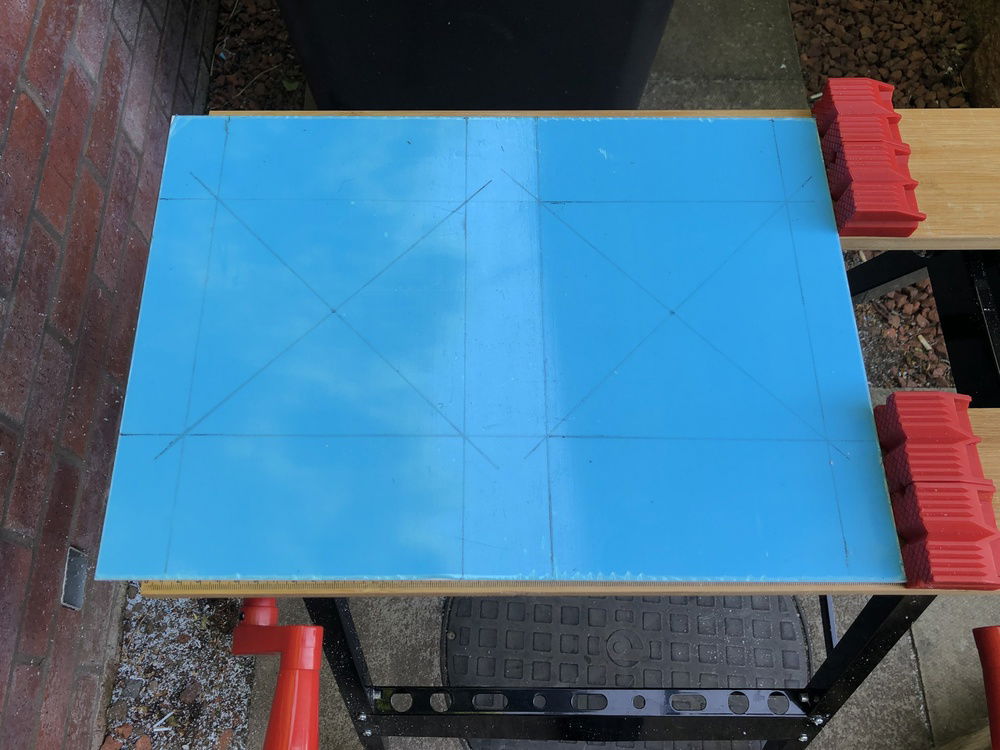
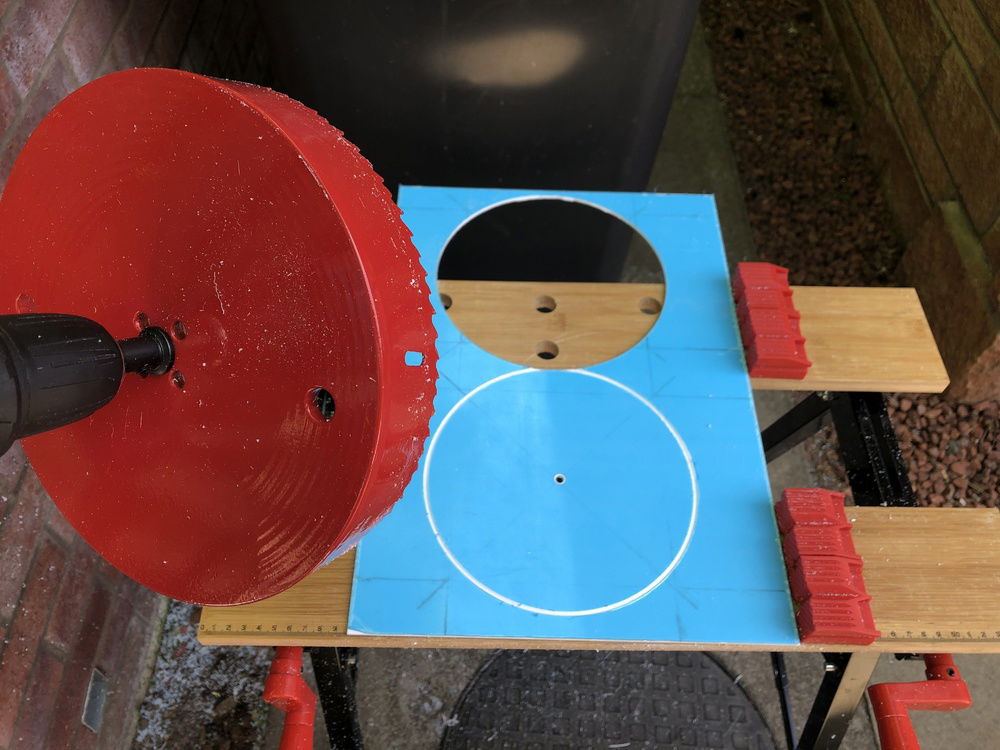
I haven't started working on the actual panel that will go there yet, waiting on some dry weather up here as I need to cut some acrylic outside. But once I get that done I can then get it bonded to the panel frame and start working on that. So shouldn't take too long.
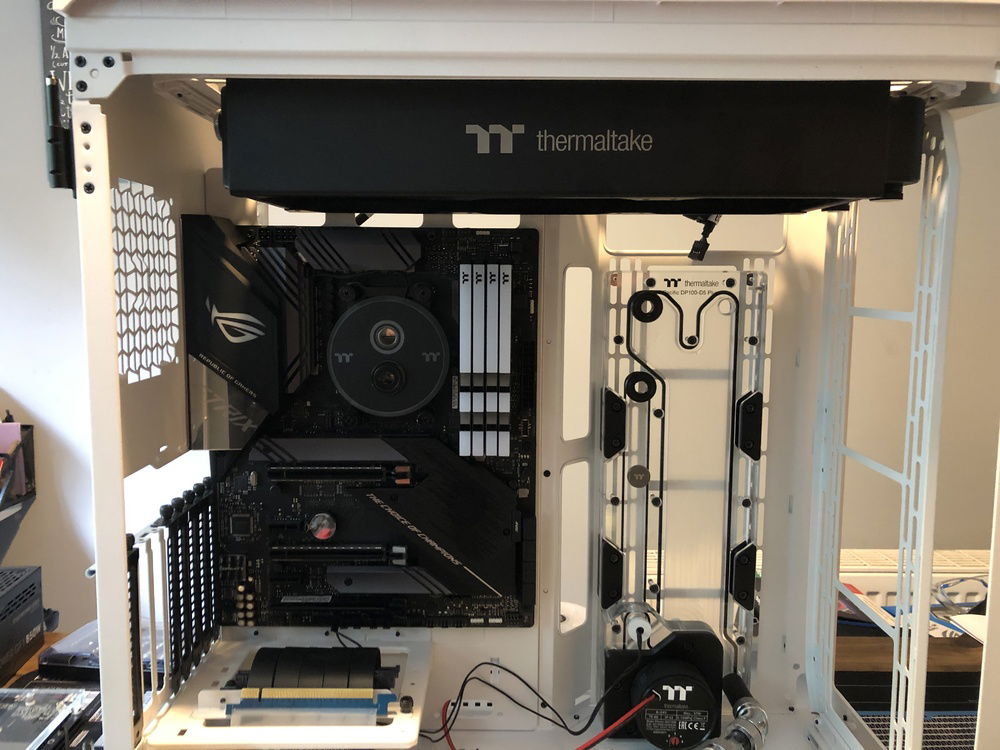
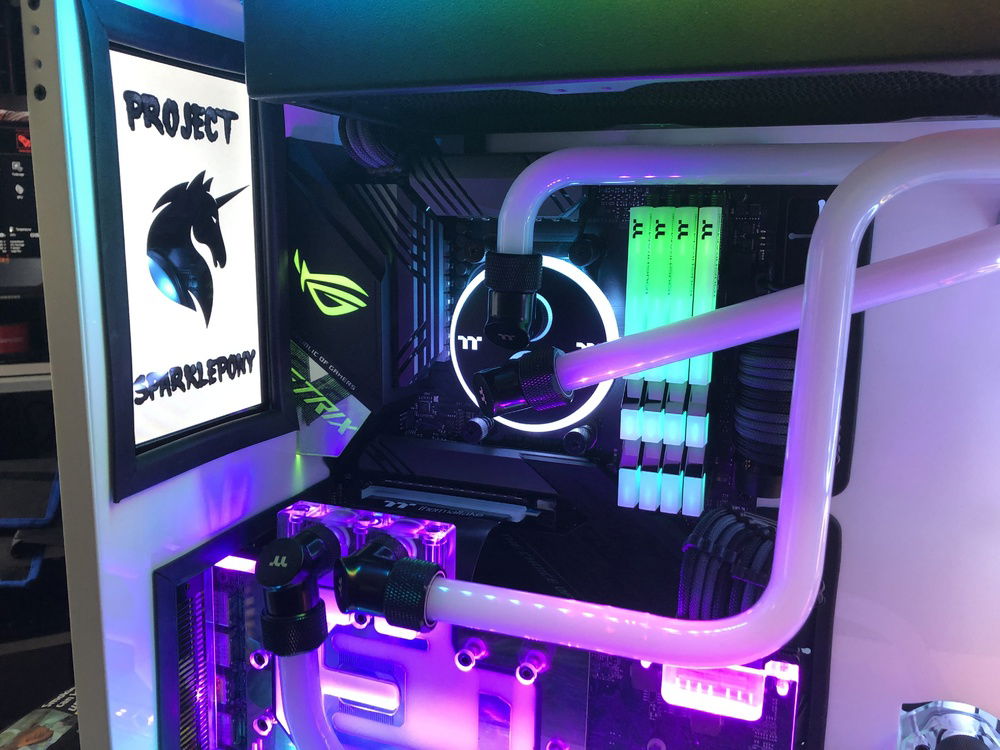
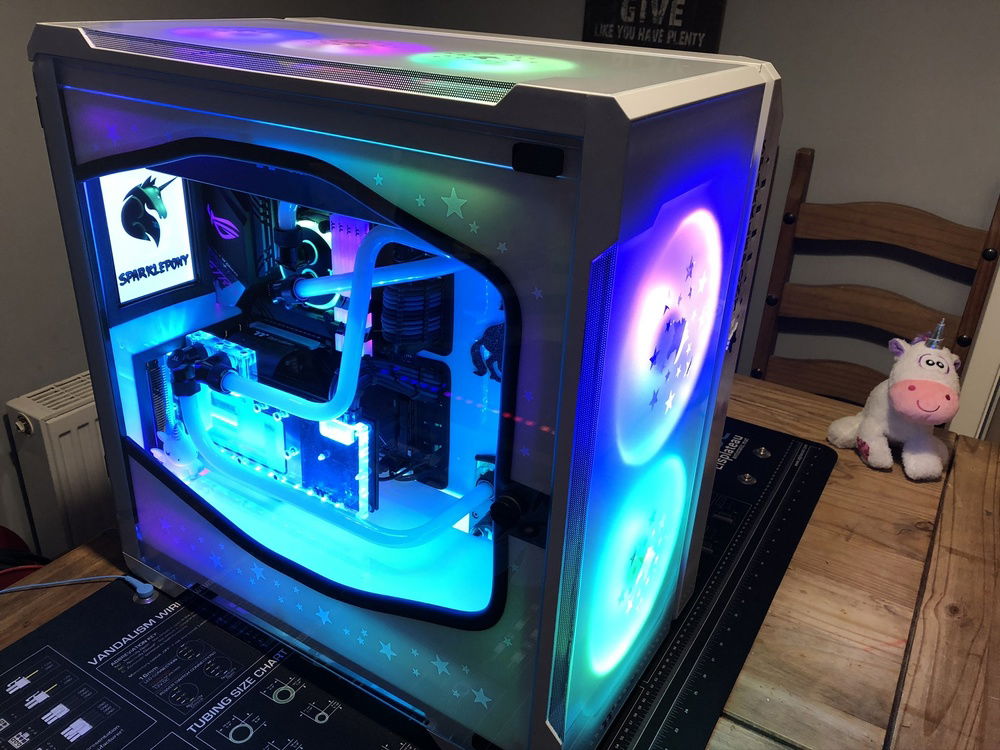
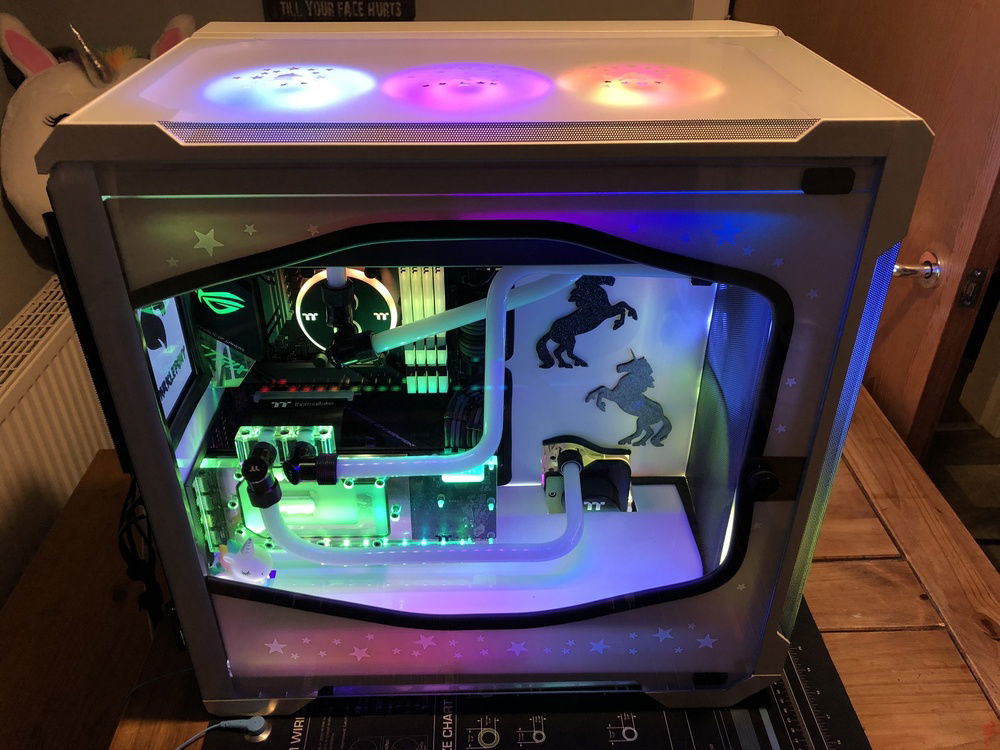
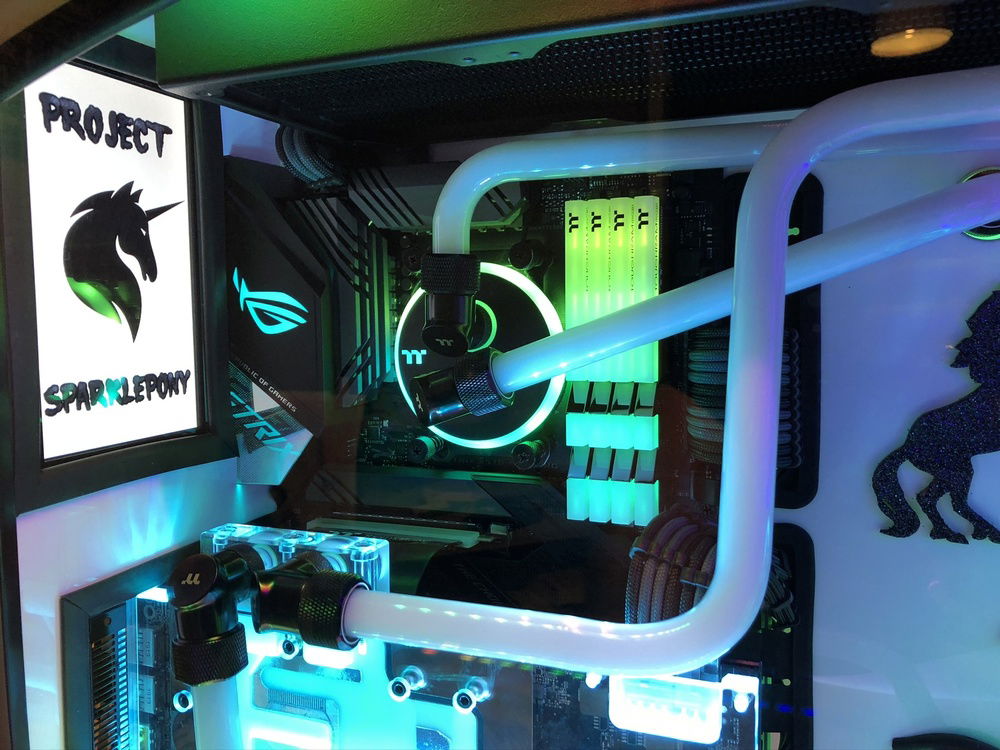
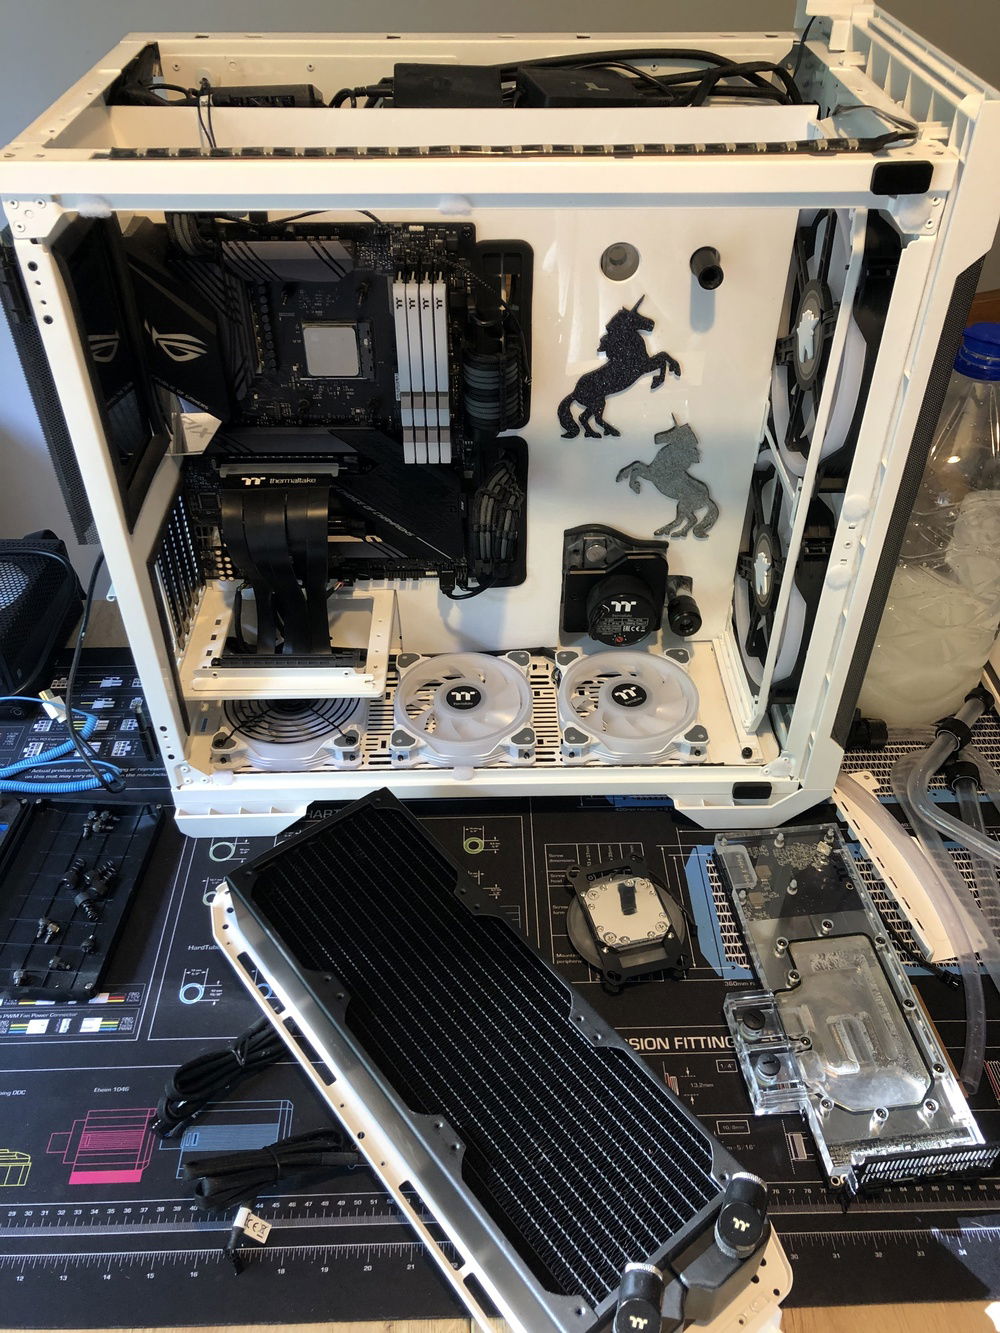
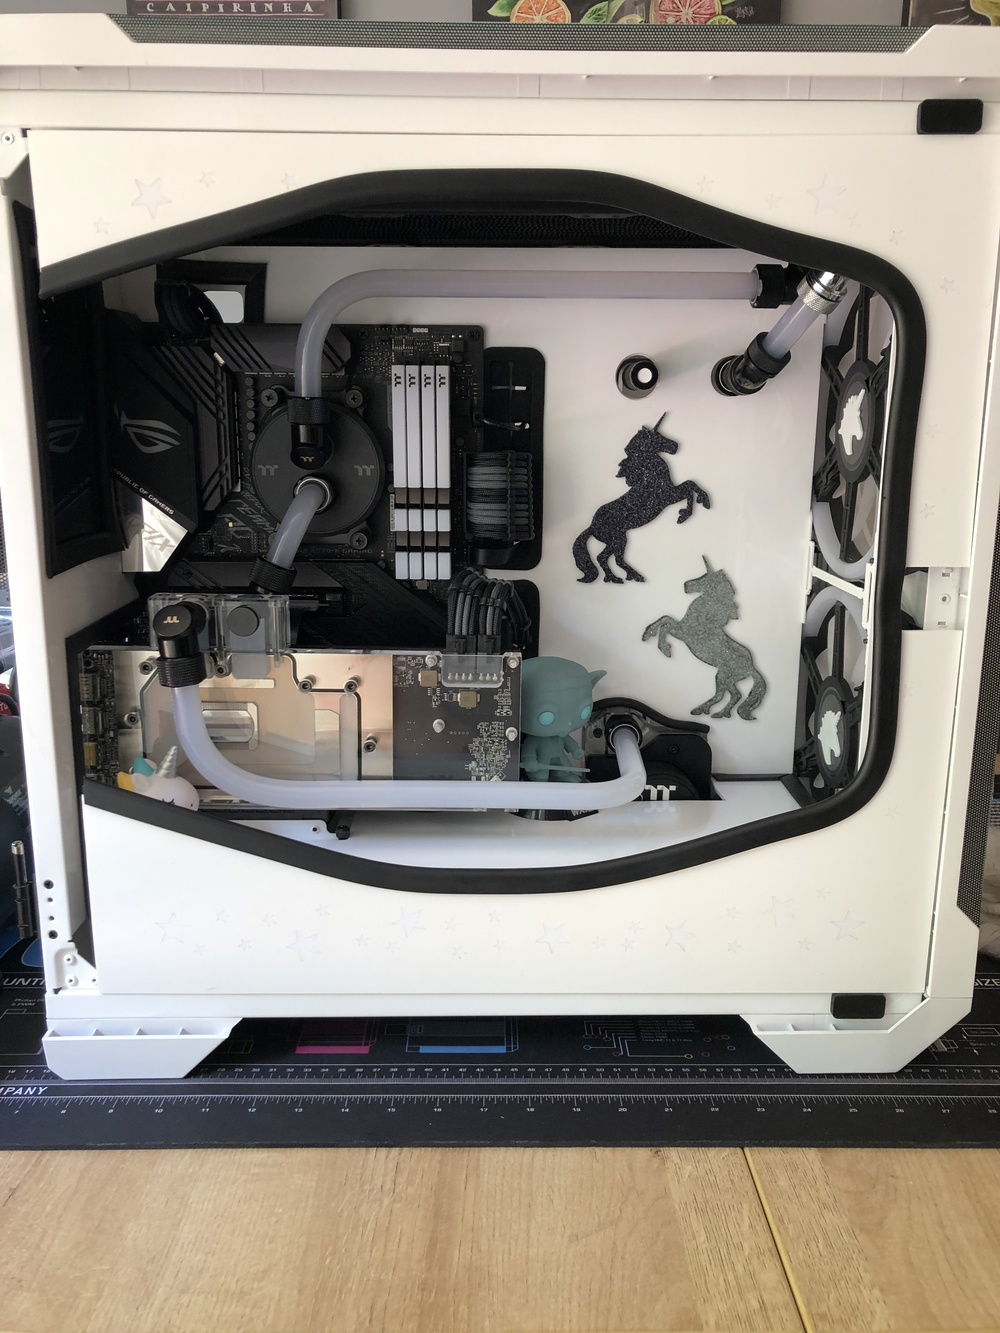
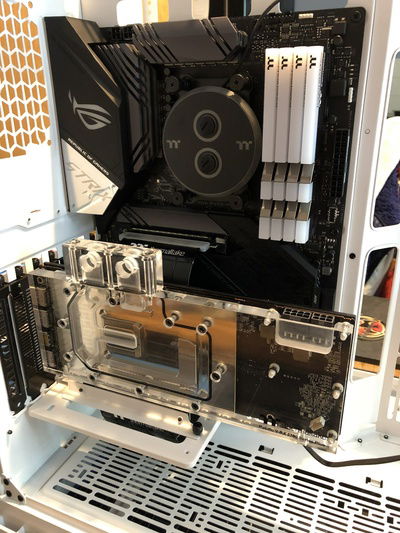
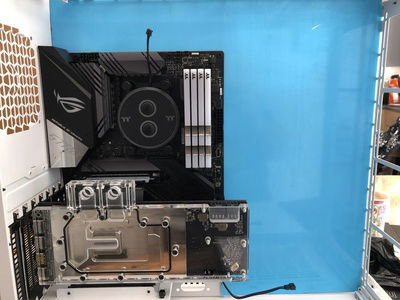
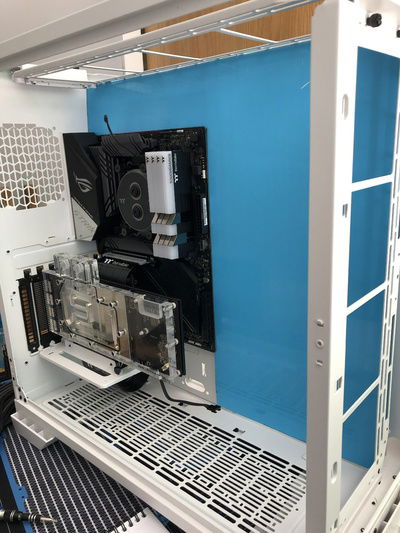
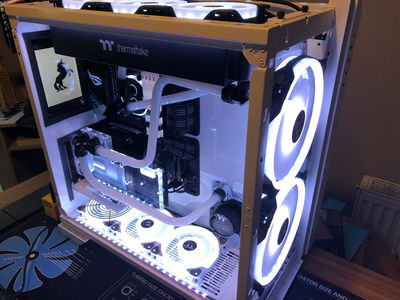
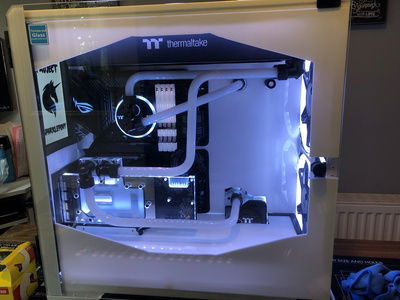
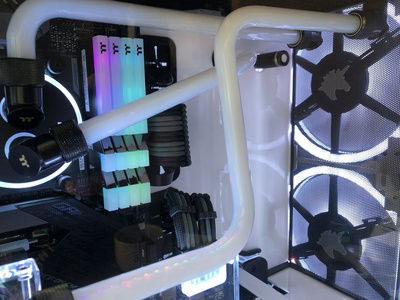
With the back kinda sorted out for now, it was time to return my attention to the interior of the case:
I was pleasantly surprised with how it looks in person so far, the glossy acrylic really shines; which ends up giving a nice combination of reflecting light as well as letting some through.
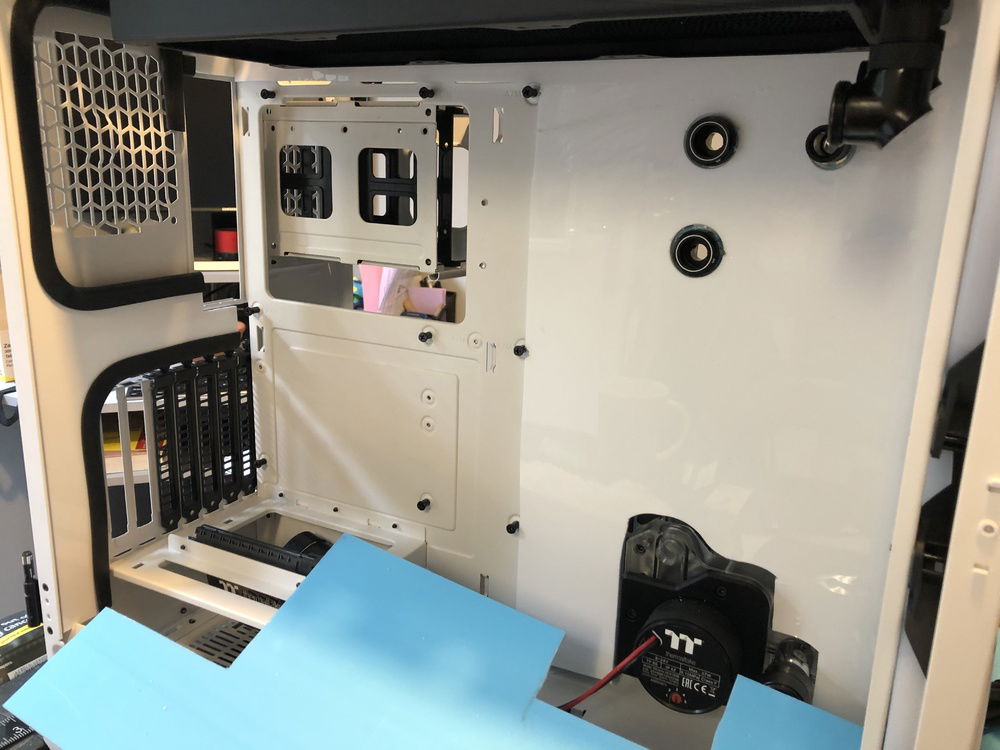
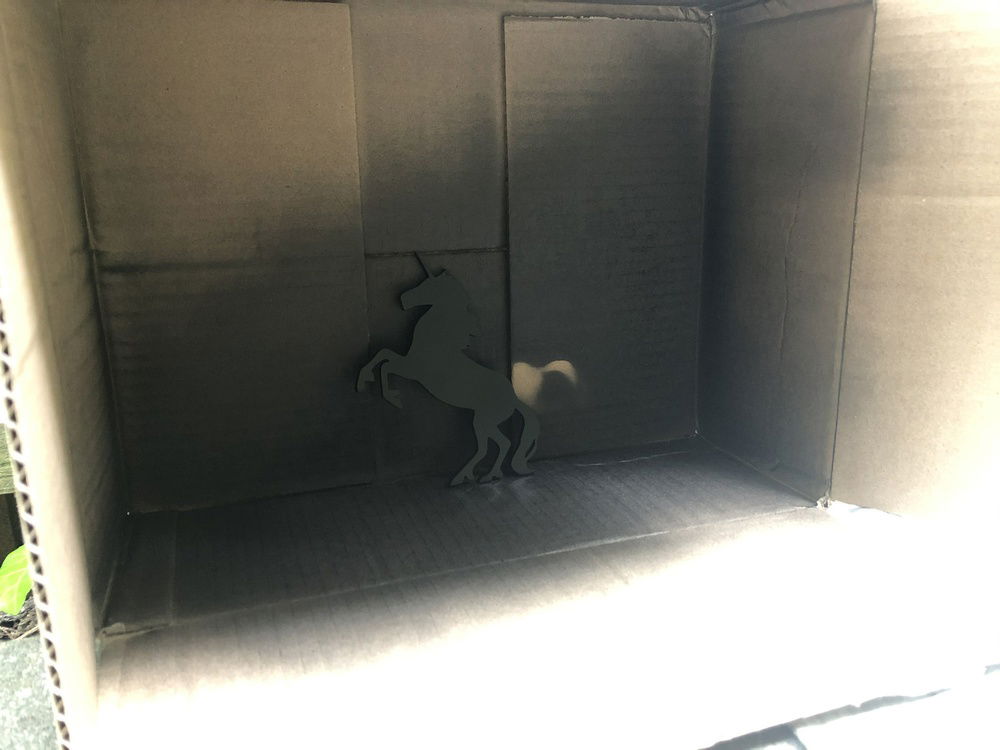
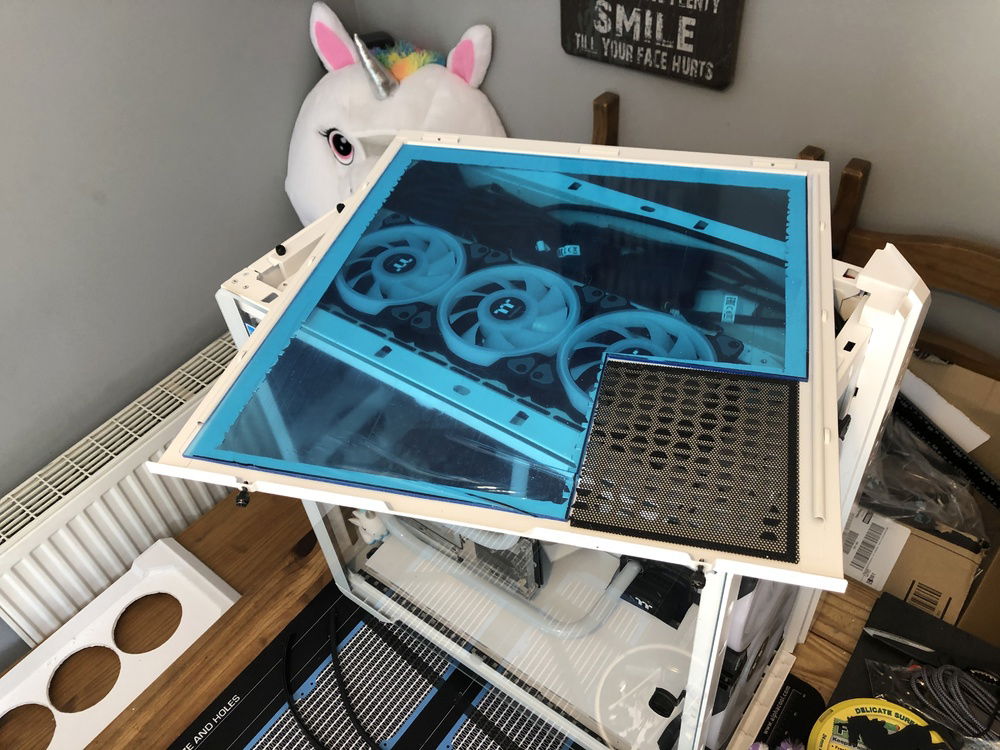
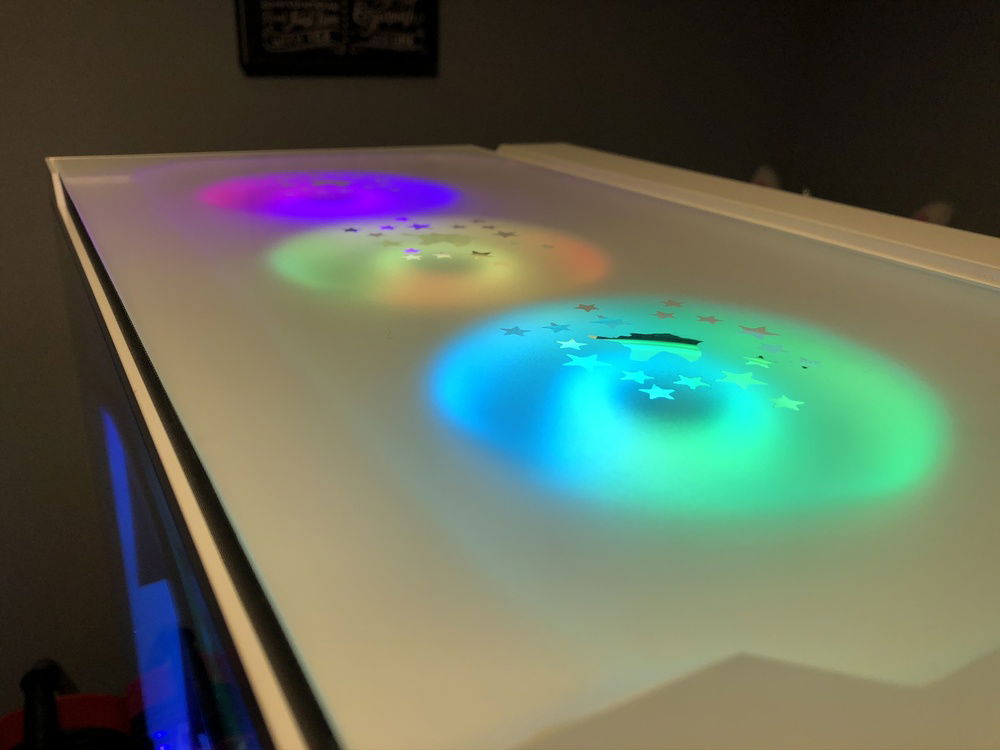
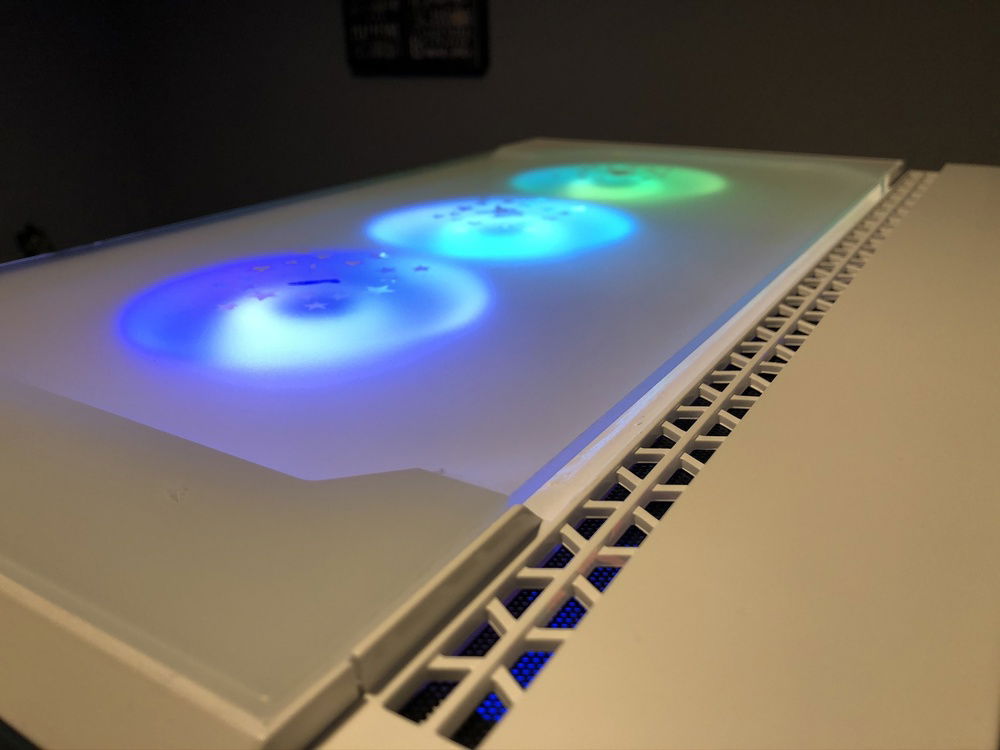
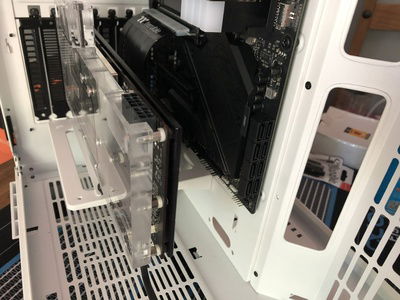
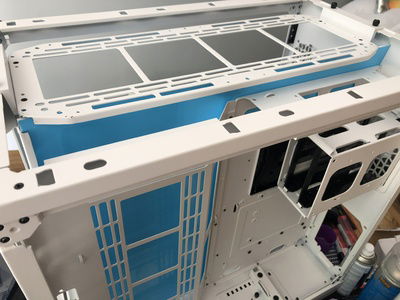
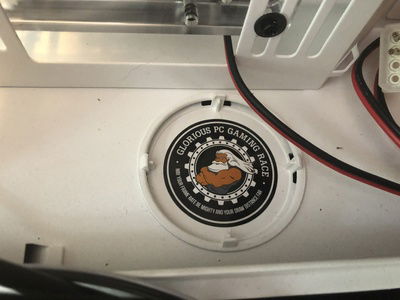
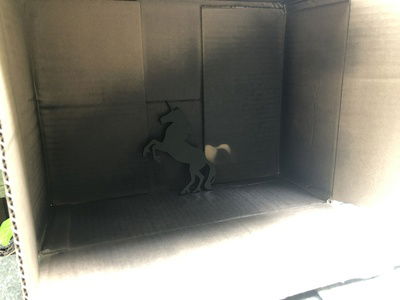
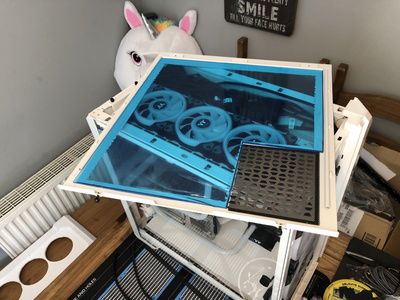
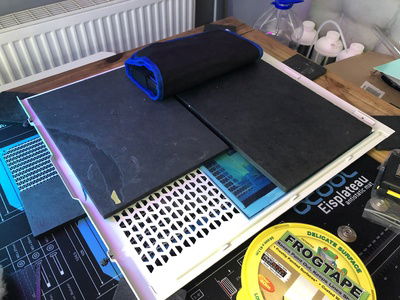
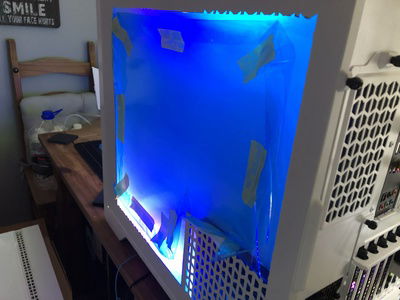
Next on the agenda was to start working on the basement. This is another part of the build that I wasn't sure whether it would give me the effect I wanted or not, so I just very quickly took some off-cuts and slapped them in there to give myself an idea of whether it was going to work or not:
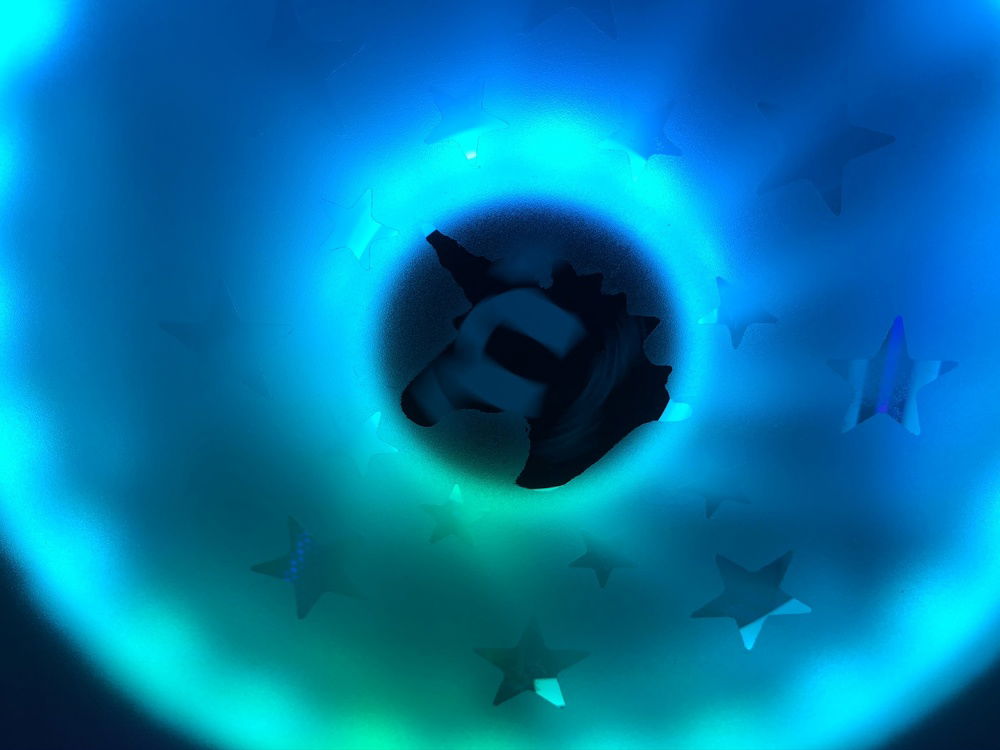
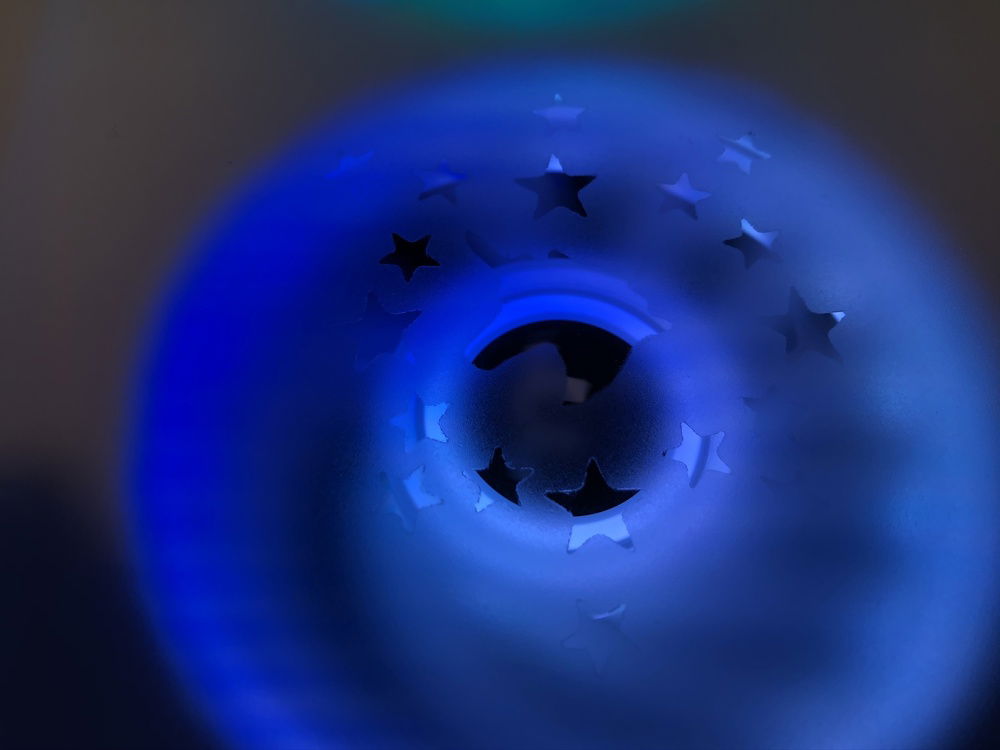
The image probably doesn't do the visual effect much justice, but sure enough it is functioning as a lightbox fairly well. So I was very relieved it would work as intended.
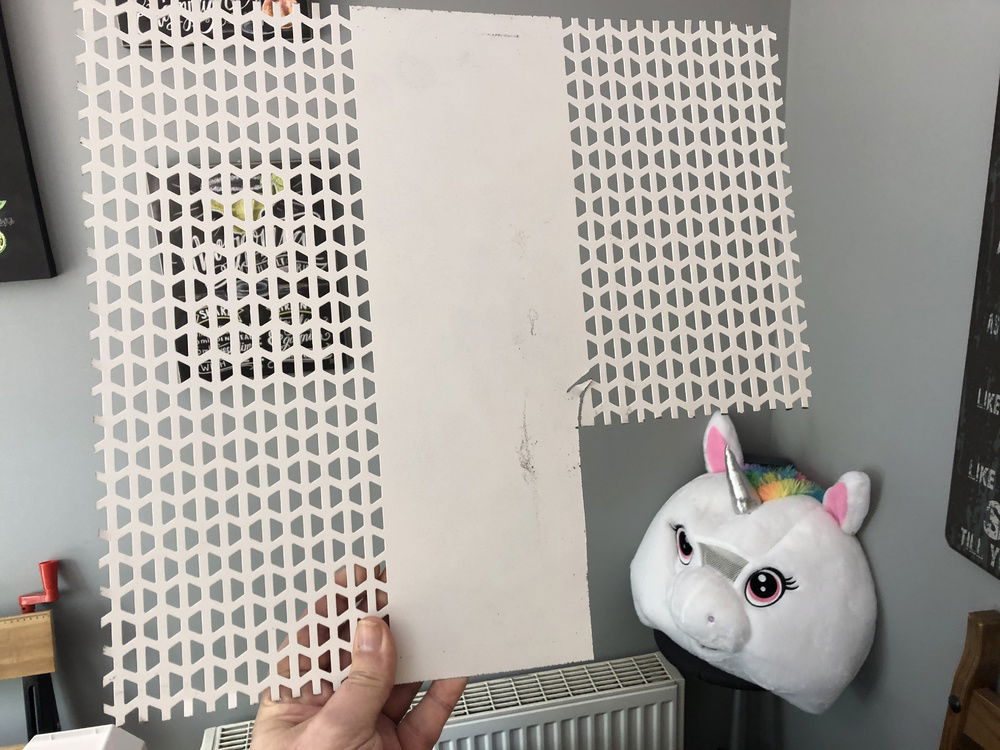
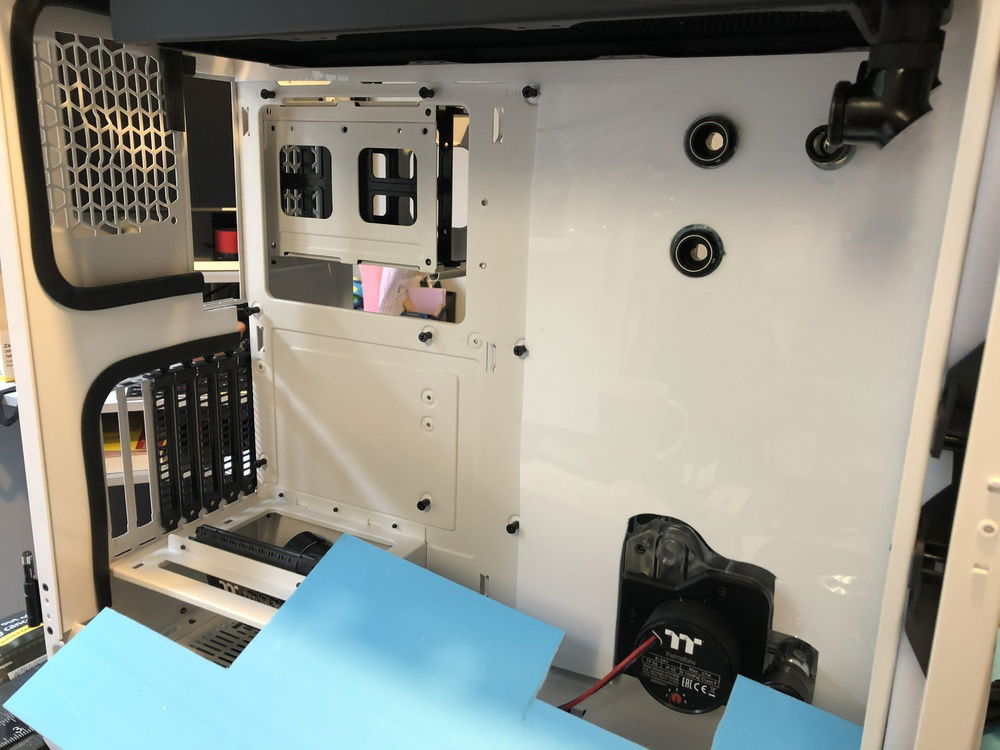
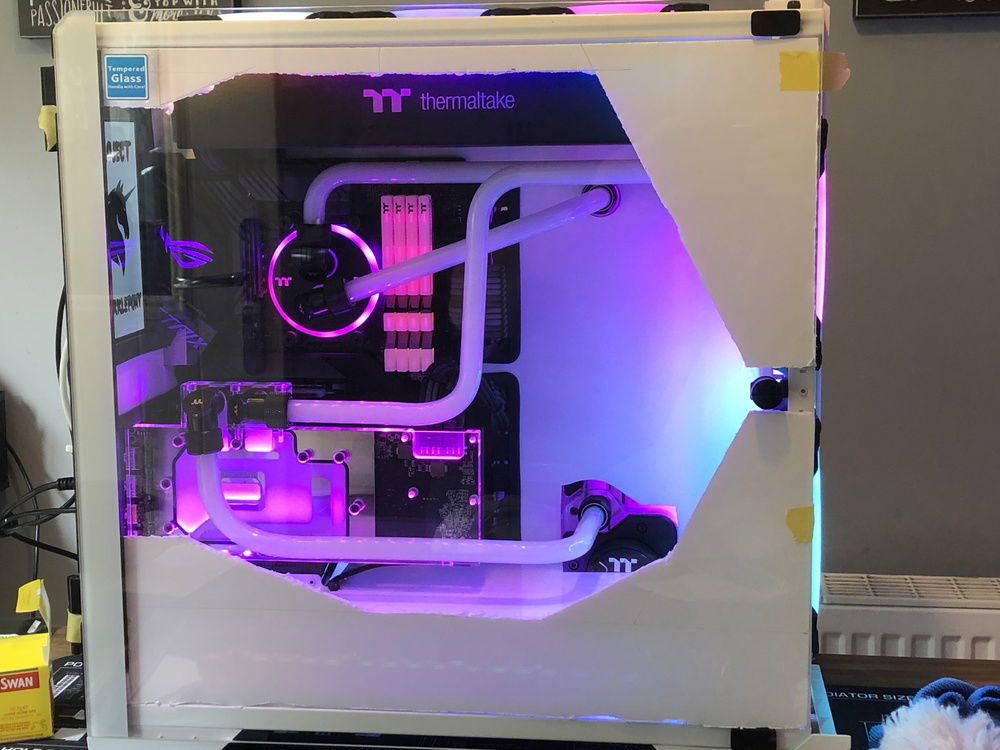
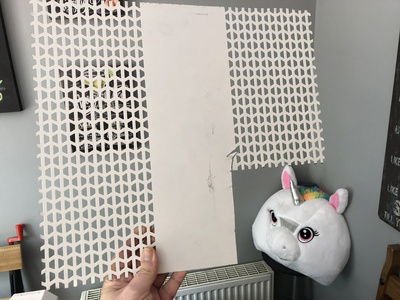
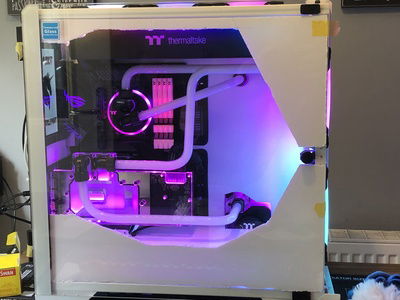
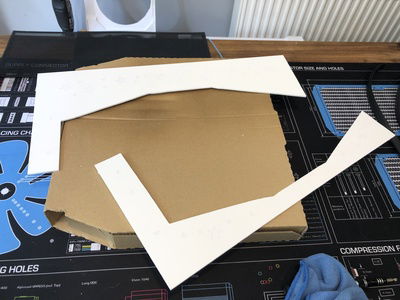
So the next thing I wanted to get sorted out was the panelling/trim on the 'business side' of the case. I kind of had an idea of how I wanted it in my head, but thought it safe to try with foamboard first.
Which is just as well, since the prototype was a fair bit wonky:
But at least it served its purpose, it enable me to fine tune things a fair bit before moving on to the actual acrylic pieces.
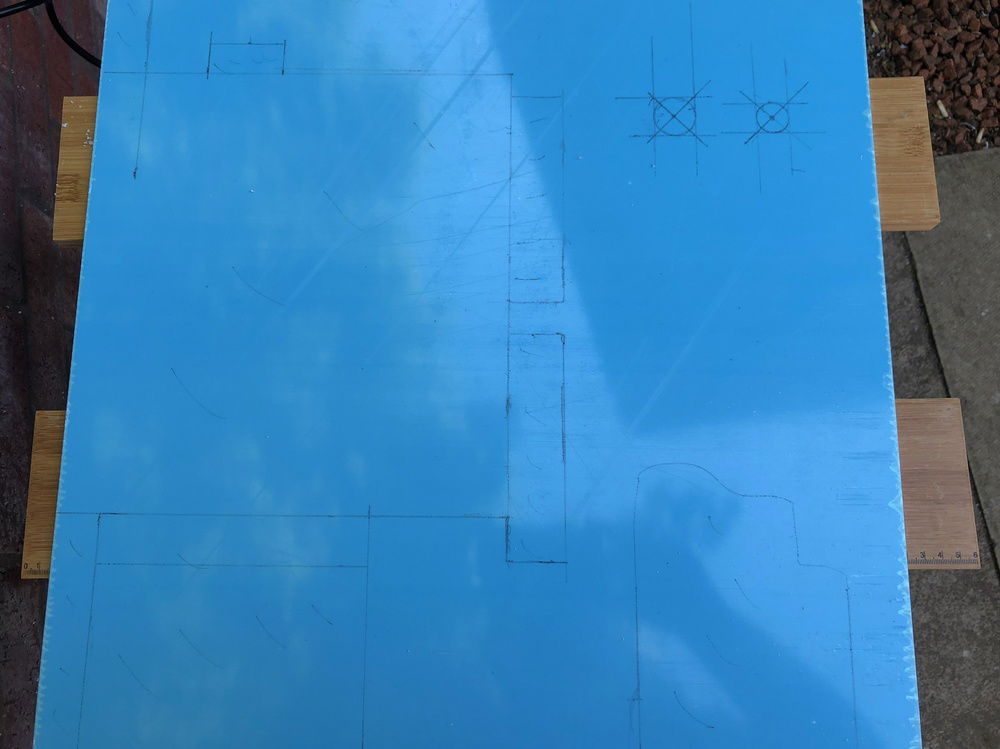
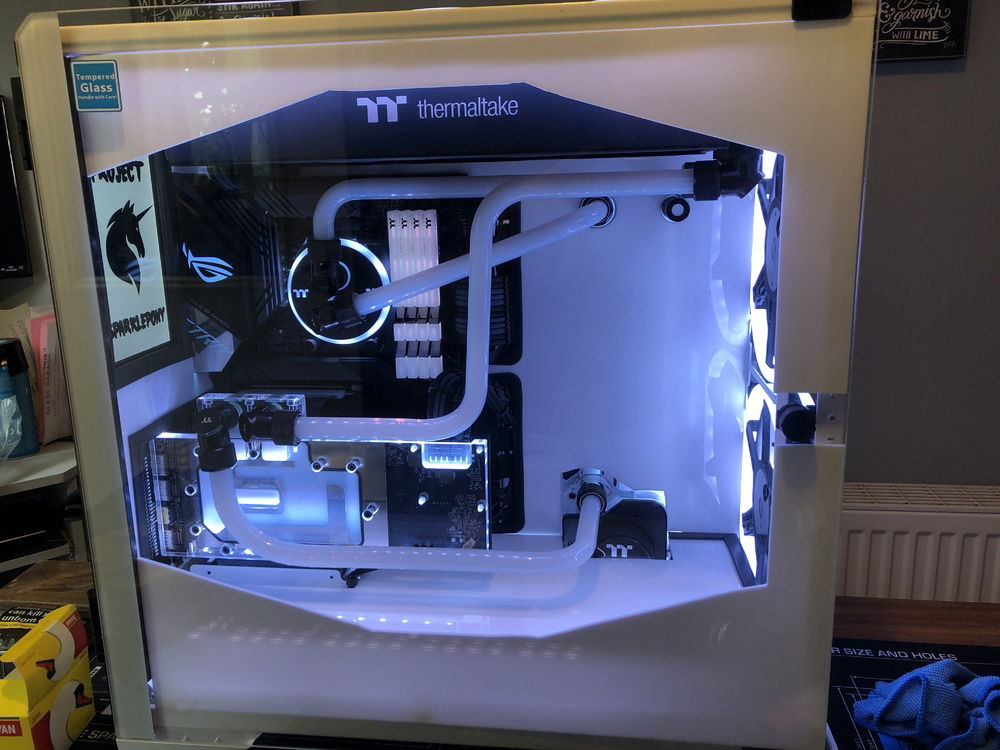
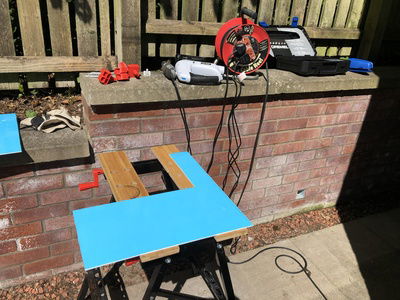
So a little bit of jigsaw action resulted in:
So my inital thoughts were that I was at least happy with the shape and relative symmetry of it, and I like that some of the lighting was coming through the acrylic; but ultimately I decided that I would like it better if I painted it.
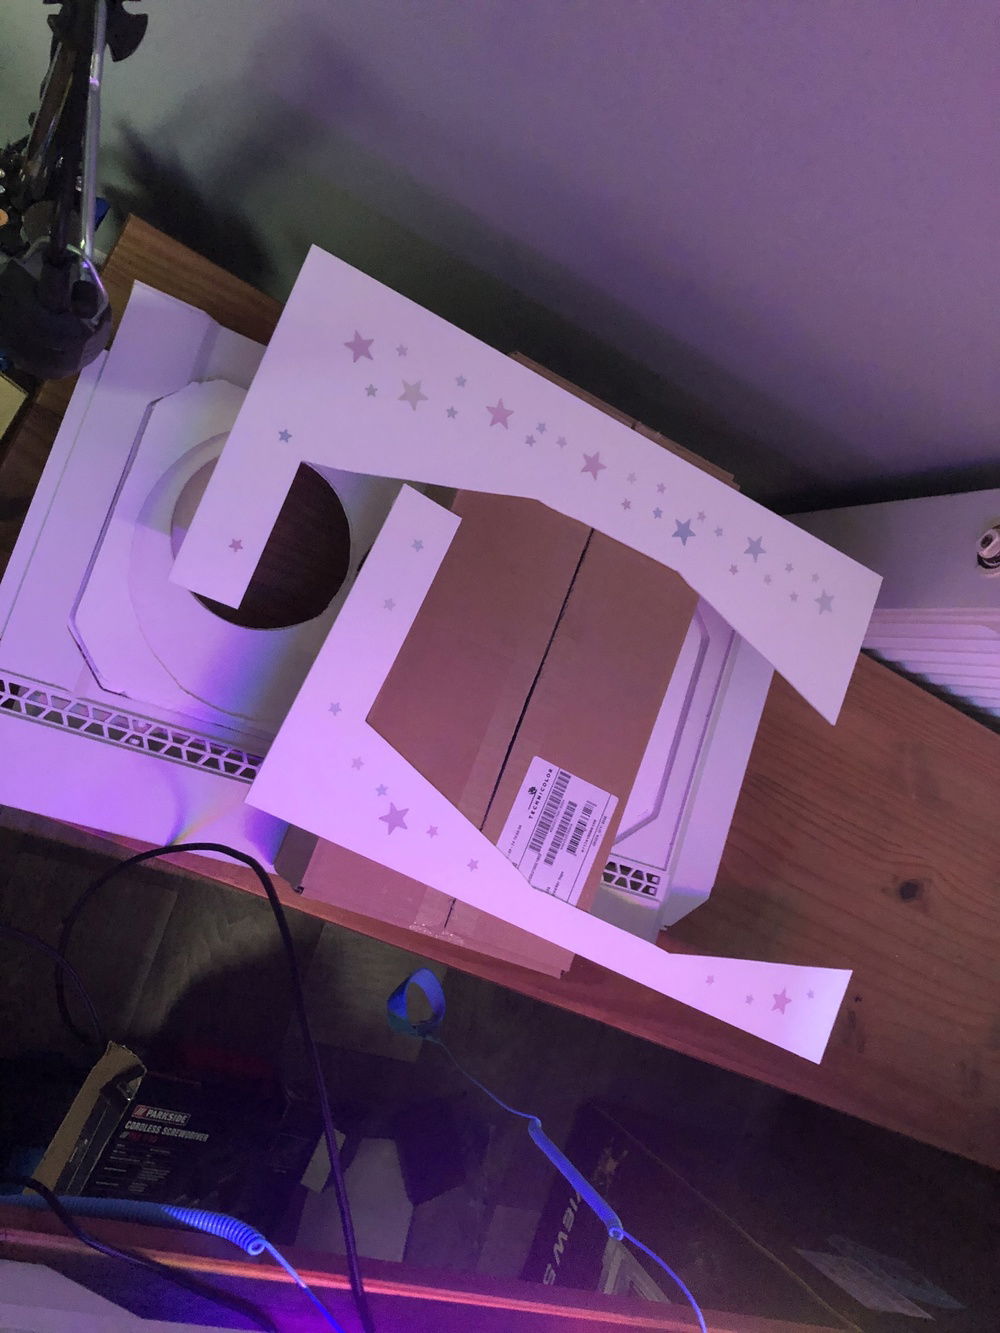
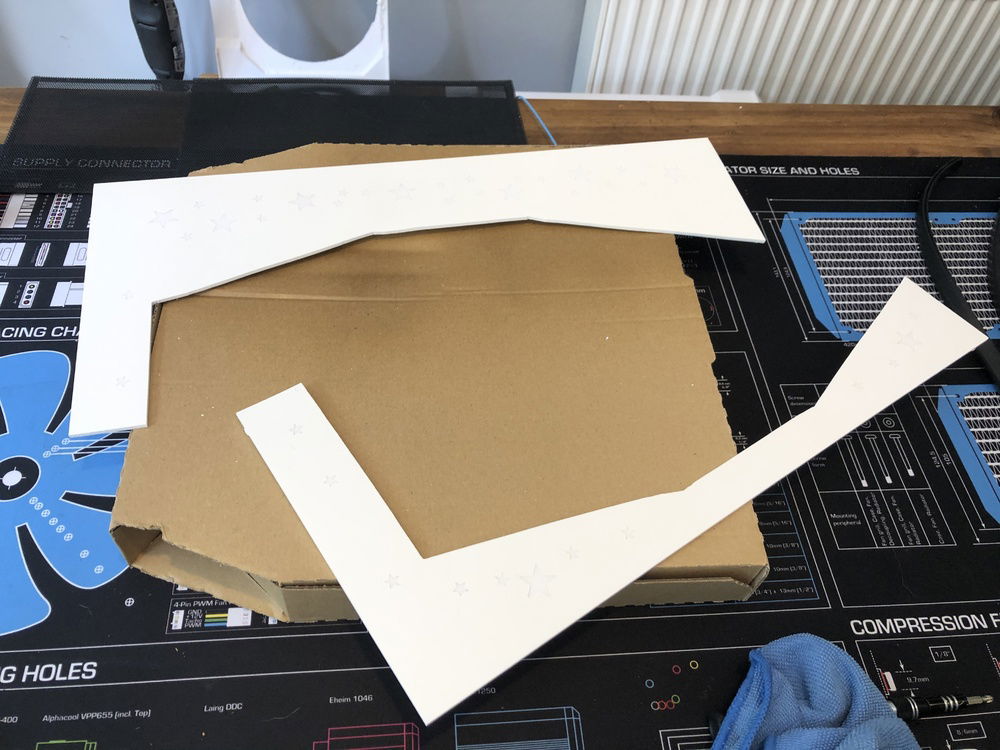
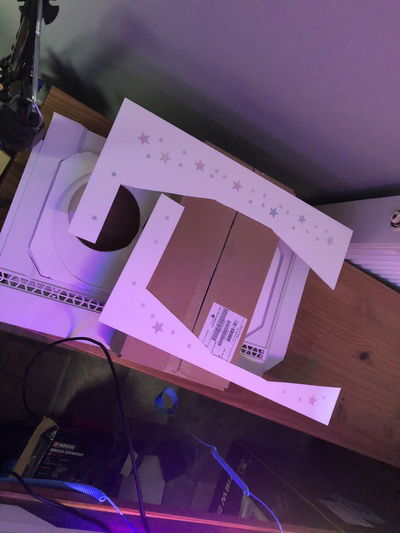
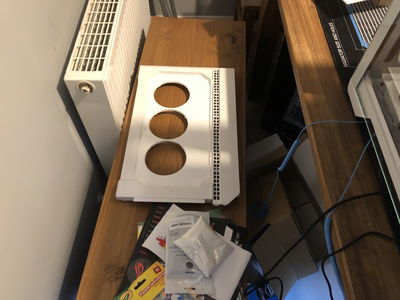
Which then gave me an idea. What if I put on some stars (as in the stickers we used to get at school for doing a good job), painted over it and then peeled them off? I wonder if that would work:
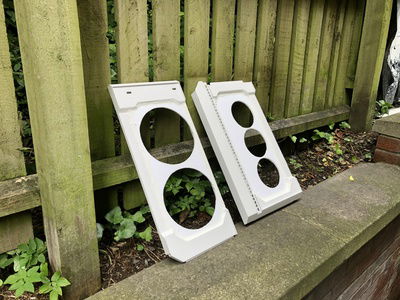
So slapped some primer on it and put it to one side for now, as I wanted to turn my attention to the front and top panels:
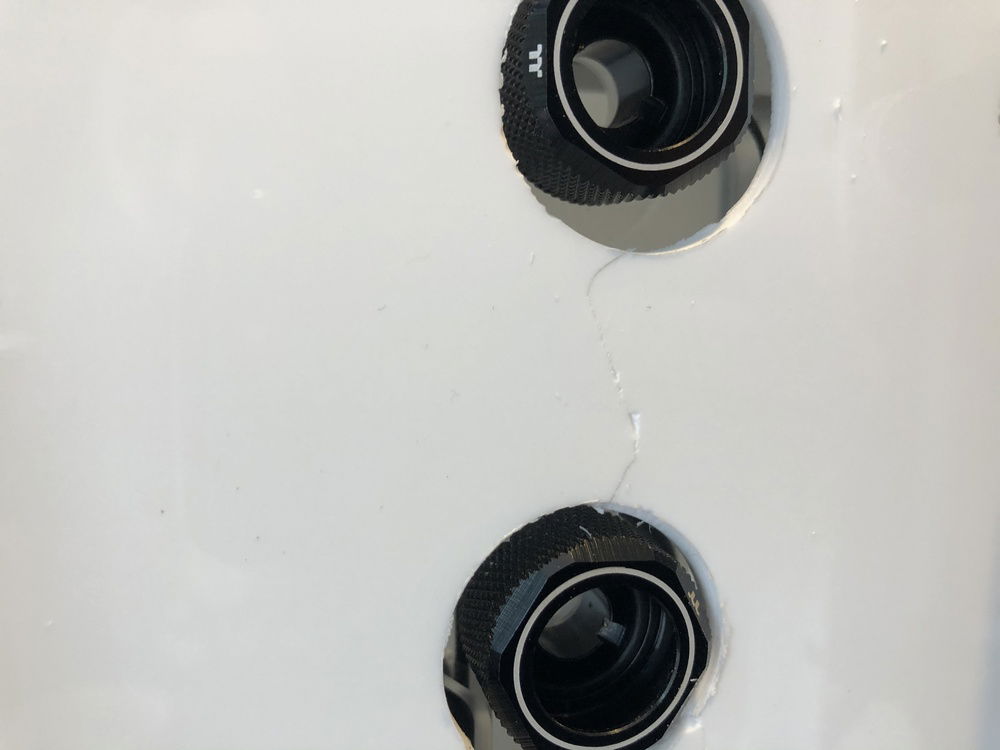
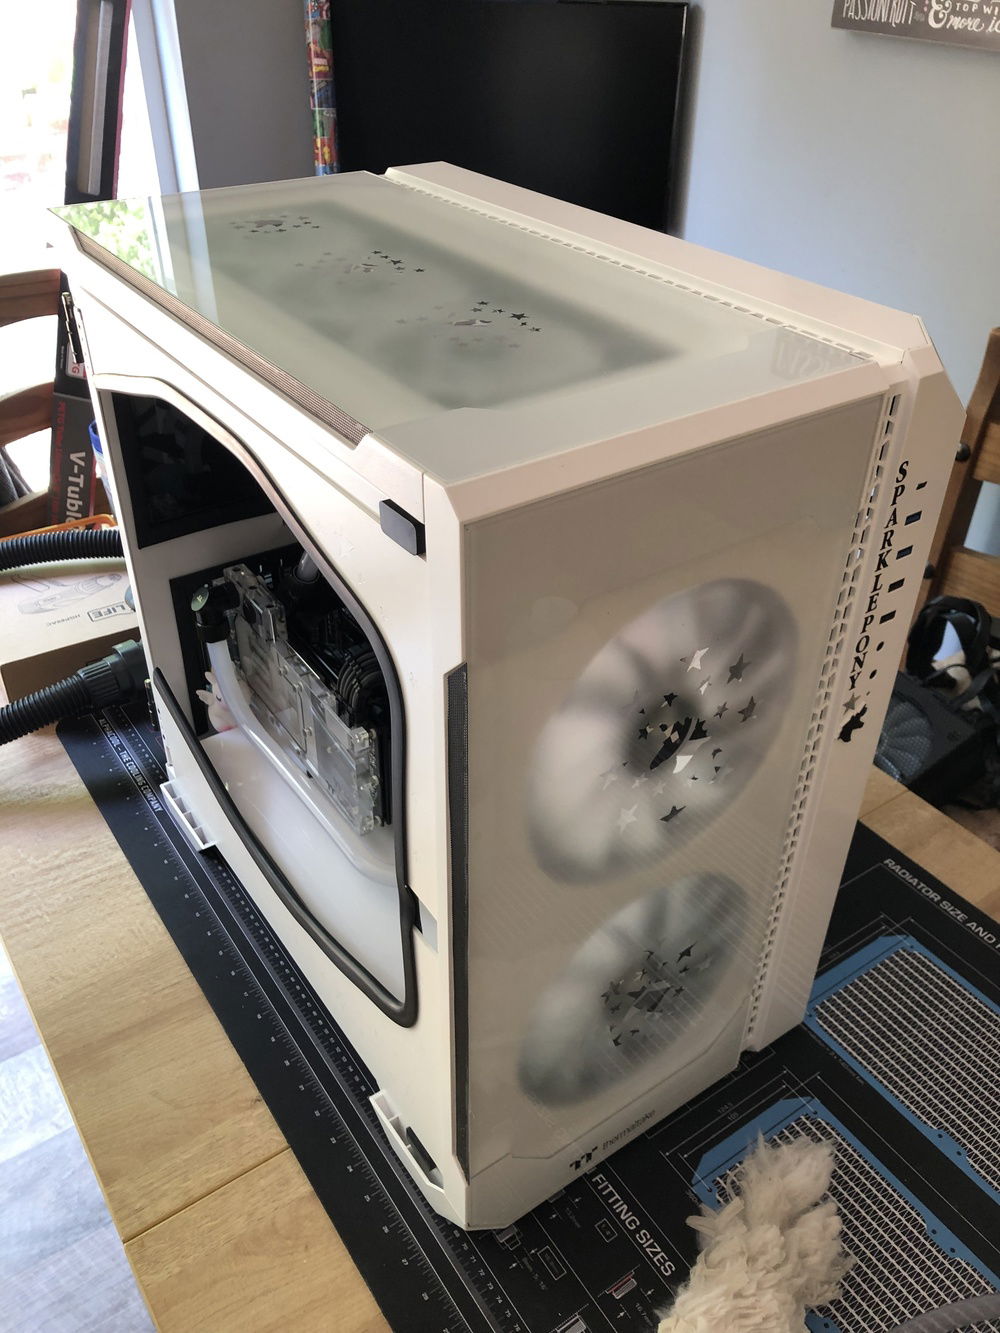
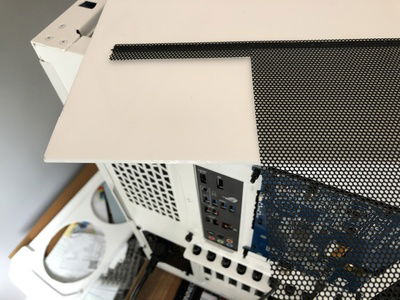
Managed to get it bonded at least, but I knew that getting the seams all smoothed out would require a little bit of elbow grease later on.
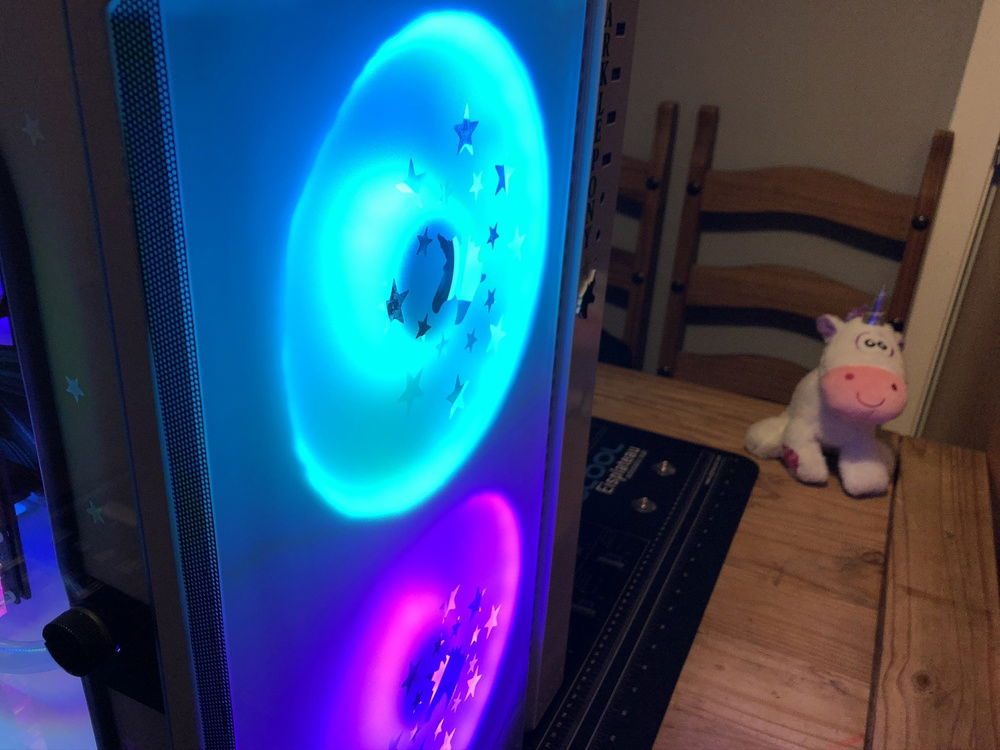
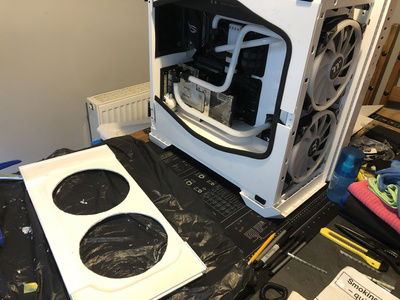
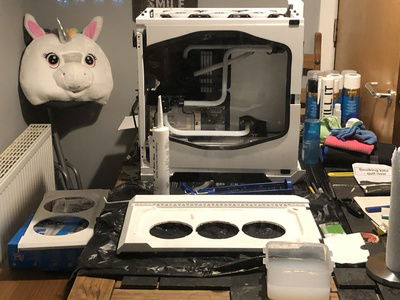
Same with the front, quite a bit messy here as I was slapping it on there a fair bit. But it was nice to see how the front would look with the panel filled in like that. Frankly I quite like the look, was exactly what I was going for!
Right, I think I will leave it at that for now; I still have more to post, but will hold off for now.
Take care folks, and stay safe!
